1953 chevy truck ad

1953 chevy truck ad

Sunday, May 13, 2018

Woodworking Update and Late Breaking News!

Hello Gray Ghost Fans!

Time for a quick update.  If you remember the last post on woodworking for the Gray Ghost, you remember that I was only halfway done with the project.  I decided to finish it up this weekend.  Of course, it was the hottest weekend of the year....  Oh well.  To finish up the project, I had to disassemble everything.  As a reminder, here is the project loose fit on the truck:


So, what's left to do:  run the edges through the router to soften them, sand everything (120 grit then 220) stain the wood and then seal them with polyurethane.  Doesn't seem like much, does it?  Well.... 

The finish woodworking was very straightforward and I was in a rush to get it done.  The rush was because I was set up in the shade and I knew that I'd lose that shade as noon approached.  So it was all business.

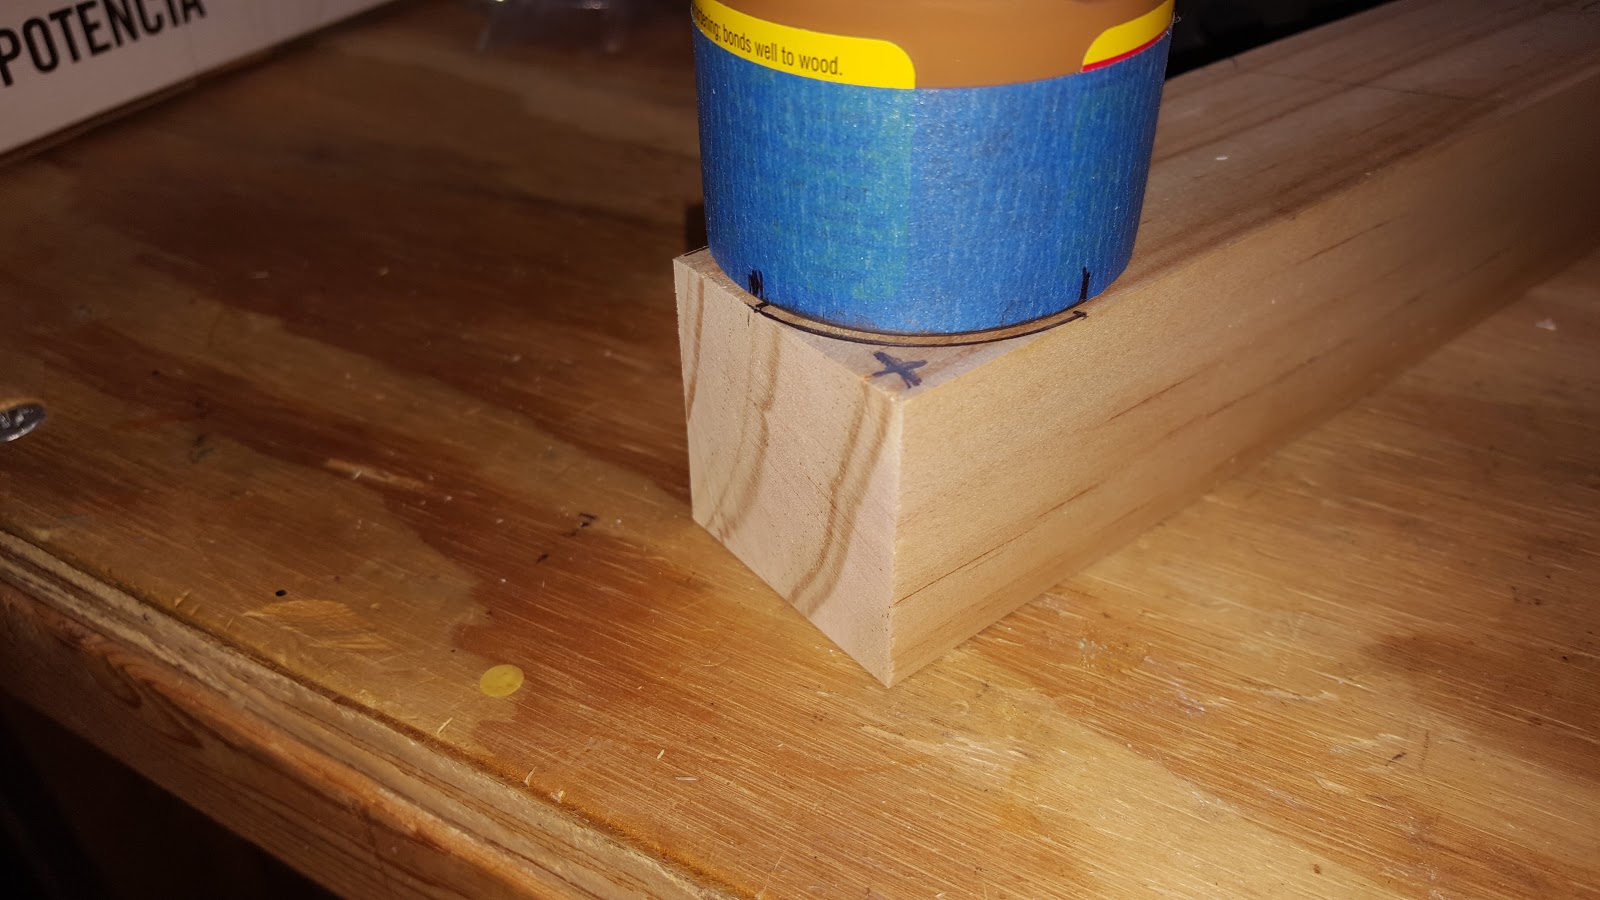
After the finish woodworking, it was time to stain and seal the wood.  Since this is made out of a softwood (pine) it needed to have a pre-stain conditioner applied first.  This somehow (I don't know the chemistry of it) opens up the pores of the wood and allows the stain to penetrate the wood evenly.  If you try to stain pine without it, it usually turns out blotchy.  So, knowing that I really don't like math, here's a bit of it anyway:  16 pieces of wood for the project, each piece has 6 sides that need pre-stain conditioner + stain + poly.  That's 16x6x3=288 sides of wood that needed attention.  (Yes, I used the calculator on my phone to figure out that number....)  Regardless, that's a lot of sides.  Granted, some are narrower than others, but some were really wide or really long, so I figure it evens out in the wash.  Here's a pic of the wood pieces after the pre-stain conditioner was applied:


You can see that it doesn't really add any color, but trust me, it's on the wood.  Here's a shot after the color was applied:


Now we can see some color.  Not that much, though.  I did not want the wood to be a dark color.  In fact, I was a little disappointed that it was so dark.  Oh well.  Here's a shot the next day after applying polyurethane to the first side:


You can see that it is darker still, after adding the polyurethane.  The wood is still wet in this shot, so it looks glossy.  However, it is a semi-gloss, so that shine will be toned down once it is fully dry and cured.  I had to wait for this side to dry, then it was on to the other side.  More lather, rinse, repeat.

After waiting the obligatory drying time, reassembly was next.  For the most part, it was pretty easy figuring out which piece went where.  Some of them were labeled "D" or "P" for driver or passenger and others were not.  All in all, it went together easily.  Here it is fully assembled, with the carriage bolts properly flanged down:


Once again, I beseech you to pay not attention to the debris in the back of the truck!  I like the proportion of each tier to the others.  The top tier is made from the part that I cut off of the second tier.  Both the middle and top tiers are made from the board that I originally was going to use on the bottom.  You may remember that I didn't like my first attempt at this project, so I took that long board and cut off the 30 degree bevel.  That made the boards narrower than the bottom board.  The top board is narrower than the other two, so that it matched up to the top of the back board.

The only issue I had on reassembly was that two of the carriage bolts would not properly seat in the wood and spun in the hole.  No matter how hard I tried, they spun.  As I wrote this, I figured out how to fix them.  Good grief!  Sometimes I'm a bit slow on the uptake.  The answer is to use a C clamp on the ends of the bolt.  With enough pressure applied, the bolt should stay in one position while I turn the nut....  Thanks, Gray Ghost Fans!  Writing this up helped me remember something I already knew, but had forgotten!

Breaking News!  I may actually be getting a garden shed this summer!!!  It's an idea that my wife and I are discussing.  Getting that shed would be one of the biggest projects for the Gray Ghost!  Stay tuned!

That's all for now. 

Friday, May 4, 2018

A Little Woodworking for the Gray Ghost Restoration

Hello Gray Ghost fans!

Well, spring chores are almost done.  What a relief!  I had more gumballs from the sweet gum trees in my yard this year than ever before.  They are almost impossible for the leaf blower to dislodge.  Late falling leaves are gone, blown into the woods.  Fertilizer is down and showers are due this weekend.  All is well on the back 40....  That means that I finally have some time to do something, anything, on the Gray Ghost.

Even though the spring chores have been eating up my time, it doesn't mean that I haven't been thinking and planning my next tasks on the Gray Ghost.  So today, I spent a little time in the garage doing wood working.  I know what you're thinking.  How is woodworking related to an antique truck restoration?  Easy.  It's related to the third brake light!  Remember?  We talked about this in this post about the third brake light.  Anyway, I had actually started this work a couple of weeks ago and wasn't satisfied with how it turned out.  So, in my spring chore downtime, I tried to think it through.  Today, I made those changes to my initial effort and I think it's going to turn out pretty nice.

The whole point of the woodworking is to provide an attachment point for the third brake light.  The light will be centered on the back side of the bedside frame that I'm making.  It will sit just under the rear window, so it should be easily visible to cars that might be behind me.  Especially considering that when I restored it, I used a super bright LED bulb:


And that brightness level is in a lit garage!  In order to keep the light stable, I decided to add side assemblies that are attached to the back.  The thought is that it won't rock back and forth if it is attached to the side parts.  So, on to the woodworking stuff:

Mostly, it is standard woodworking for me.  Even though the outside of the truck will be kept "ratty", I wanted this to look nice, as it's something that everyone will see when I'm finally driving down the road.  With that in mind, I took the time to add a few finish touches to the wood.  At this point, I'm not done with the actual construction, just the rough fit on one side and the back.  So, once all of the actual construction is done, I'll disassemble everything and run it through the router to soften the edges.  Then it'll be sanded, stained a light color and given a coat of polyurethane.  After all of that, I'll reassemble it onto the truck.  Then I'll be ready to add that stunning, 60+ year old light!

Here are a couple of shots showing the "high tech" technique for laying out a radius on the stakes in such a way that it is repeatable:


This is a small jar of wood filler.  Add a little painter's tape and 2 marks.  The marks were determined by aligning the jar onto the piece of wood that needed the radius until I liked the curve.  Then I marked the jar so it could be used as a tool.  Here's another shot of the jar being used as a tool:


The "X" shows me what needs to be removed.  I could have used either the band saw or a jig saw, but chose instead to use the oscillating spindle sander.  Gray Ghost fans know that I wouldn't lie or hide the truth...I stink at using the band saw!  And frankly, didn't want the hassle of taking out yet another tool.  So off to the spindle sander!  Here's a shot:


Pretty straightforward stuff.  Just need some patience and a bit of eye hand coordination.  In the end it looks like this:


Just take it right up to the line.  When I run it through the router, it'll round the edges over and the pencil line will be gone.  I don't have any shots of the partial assembly on the truck, but that too was straightforward.  Using 1/4" x 3" carriage bolts to hold it all together.  Right now, everything is loose fit.  It'll get tightened down once it is installed for good.

Now, before I show you this pic, I have to keep true to my goals.  Showing the good, bad and ugly.  This pic may cover all three bases at once!  One of my realities is that I don't have a garden shed.  Right now, the back of the truck holds alot of junk that would otherwise be in such a shed.  It's just one of the things that people doing this have to deal with.  And now, without further ado, the passenger side and back bedsides:


Disregarding the junk, I think it'll turn out nice.  Like all my woodworking projects and the Gray Ghost, too, I can see it finished in my mind.  I just need to make the wood look like what I can see.

As a trivia point, the stakes in the middle are not attached to the truck, at all.  Only the front and rear stakes sit in stake pockets.  The other two stakes float, as does the bottom board.  All are approximately 1/4" above the metal bedside and cut on a 30 degree angle, which matches the angle of the bedside.  I did this to prevent further corrosion of the bedside.  At some time in its past, the truck had bedsides that touched the metal and caused it to rust.  This will prevent that.

That's all for now.  Just wanted to catch up.  Sorry for the rambling nature of the beginning of this post.  Once I finish all of the woodworking and install that light, I'll post a wrap up post for this project.

As always, it doesn't hurt to hit one of the buttons at the bottom and it's completely anonymous!