1953 chevy truck ad

1953 chevy truck ad

Sunday, March 22, 2015

No work this weekend, but how about a panoramic pic?

Family first this weekend, so no time to do actual work on the brakes.  They'll have to wait until next weekend.  I did find time to get under the truck and take a panoramic pic of where I'll start next weekend.


I took this with my iphone, which is maxed out on memory, so parts of the pic got dropped off, but you can get a pretty good idea of where I'm at.  Starting on the left, you can see the old master cylinder with the 2 brake lines that I had to cut to get the banjo bolt and junction block off.  You can then follow the 1/4" diameter brake line from left to right as it disappears into the grime around the transmission crossmember.  It reappears on the right, where it joins the junction (or division) block that sends brake fluid fore and aft, heading to the right front wheel and the rear wheels.  The other brake line near the master cylinder goes to the front left wheel.

That's all for now.

Thursday, March 19, 2015

AWP no more!

Well, the pork chops came through and I am no longer AWP (awaiting parts)!  I now have enough material on hand to replace all of the brake lines from the master cylinder to each of the wheel cylinders, plus the internal parts to rebuild the rear brakes.  I probably should have ordered the materials to do the front brakes at the same time that I ordered the rear brake rebuild materials, but I haven't had the front wheels off of the truck and was unsure of what was required.  I know it would have saved me a ton on shipping, but I wanted to be sure before I bought the materials. Hindsight will tell me if I was right to wait or not.

Anyway, here is what I have so far:


Brake hard lines on the left, brake shoes on top, brake shoe attaching hardware + springs, front wheel cylinders, brake hoses and the master cylinder.

1.  Brake lines:  These are the replacement lines that I got from Jim Carter Truck Parts.  This is the complete set that fits my specific truck.  As you can see, they are prebent and have the correct fittings already attached.  The line with the horseshoe bend is the line that runs down the frame rail of the truck and is bent for shipping purposes.  It will need to be straightened before installation.


2.  The brake shoes:  Believe it or not, my FLAPS (friendly local auto parts store) had them in stock.  I actually got them while they were on sale!  They included a core charge, which will require me to return the old ones....

New ones:


The cores to be returned look like this....


Not sure what they do with them, but it gets me $6 back, so worth the stop when I'm out and about.

3.  Brake shoe attaching hardware + springs:  I got these from Chev's of the 40's.  They were the only ones that had everything in one place.


Here you can see the star wheel adjusting devices, the wheel cylinder to brake shoe connecting rods, the brake shoe attaching hardware and the brake shoe springs. Hopefully I haven't overlooked something!

4.  Wheel cylinders and brake hoses:  I got these from Classic Industries.  The hoses are a bit confusing, because they are different shapes, but all say that they can be used on front or rear. My thoughts here are to match what I take off of the truck with what I have on hand.  Once again, hopefully I haven't overlooked something or purchased the wrong thing.


The 2 wheel cylinders in the pic are for the front.  They are specific to each side of the truck, while the rear cylinders can be used on either side.

4.  Master cylinder:  I got this from Classic Industries.  It is a bolt on replacement.  As I noted in an earlier post, I've removed and cleaned the clevis, clevis pin, jam nut and cotter pin from the existing master cylinder and attached them to the replacement master cylinder.


So that covers all of the parts that I purchased to rebuild the brake system.  I will be reusing the old junction blocks that the brake lines and hoses attach to, as there is nothing wrong with the old ones and it saves me close to $100 !  No point throwing money away.

I'm hoping to get out into the garage this weekend and start the removal of the old equipment and installation of the new!  I'll have another post on that and lots of before and after pics!

Sunday, March 15, 2015

It's still a runner!

After a long winter sleeping, I woke up the replacement 235 today.  It took me a bunch of tries to get it to fire, mostly due to a weak battery, I think.  A quick charge of the battery and away we went.


I'm still waiting for brake parts to arrive.  Hopefully by next weekend I'll be able to work on the rear brakes.  That's all for now.

Monday, March 9, 2015

Update on the Brake Lines

As I promised yesterday, I contacted Jim Carter Truck Parts about the brake lines.  Their customer service was outstanding!  After I explained my situation to the sales rep (the only point of entry into the company where I could talk to a live person), he took my call back info and said that he was going to talk to someone in the technical department.  About 15 minutes later he called me back and informed me that they would be replacing my brake lines free of charge and that they would reimburse me for the shipping charges I incur in returning the old brake lines.  Apparently, there was a known problem that had since been corrected.  So, they in fact may be "authentic replacements", I'll have to wait until the new ones arrive to see.

Sunday, March 8, 2015

Breaking into the rear brakes

Today I decided to break into the rear brakes.  I needed to get the new wheel cylinders installed before I could remove and replace the old brake lines.  So, it was supposed to be a nice day, why not do it today.

I had already removed the right rear tire and brake drum to get a look at how bad things were in there:


As you can see, things were pretty worn out and rusted.  As I mentioned in the previous post, I didn't have all of the components to rebuild inside the brake drum, but I did have new wheel cylinders.  So I thought I would get everything else out of the way and then replace them.  The above pics will serve as a reminder, when it comes time to rebuild the shoes, springs and adjusters.

Here you can see all of the shoes, springs, adjusters and e-brake are out of the way and the new wheel cylinder is installed.


It was interesting to note that on the old wheel cylinders, the brake bleeder screw had been hacked off on both wheel cylinders.  The base of the bleed screw was still installed, but the hex part that you use to loosen it was gone.  The new wheel cylinders would not fit into the space with the full bleed screw installed.  I had to remove the bleed screw, slide the wheel cylinder into place, being careful not to allow any gunk into the inside of the wheel cylinder.  Once it was in the space where it would be attached, I was able to install the bleed screw from behind the backing plate.  After that, it was just a matter of bolting the wheel cylinder to the backing plate.  I decided to use new attaching hardware, too.  The bleed screw, brake line attaching point and new attaching hardware are all visible in this picture.  The old junction block that attaches the brake line to the wheel cylinder is also visible.


After finishing with the right rear wheel, it was off to the the left rear wheel.  That wheel had not been off the truck while I have owned it.  After getting the wheel off, it took me close to an hour to break the drum free from the axle!  After much banging with a dead blow hammer and a couple shots of Kroil, it popped free with a resounding clang!  From there, it was no time to remove the inner workings and replace the wheel cylinder.

Once I was done installing the wheel cylinders into both rear wheels, I wanted to add the brake lines that connect each wheel cylinder.  However, when I got the new OE replacement brake lines out of the box and onto the workbench, it became clear that something was wrong.  In this picture, you can see that the new fitting is too large to fit into the old junction block.


So much for "authentic" and "OE replacement"....  Tomorrow, I'm going to call the company (Jim Carter Trucks) and see if there is a remedy.  I'll post what they tell me.

Here's a pile of old, worn out brake parts:

If you look closely at the wheel cylinder on the left, you can see the brake bleeder screw that is missing the hex part of the screw (it's between the 2 attaching bolts and above the banjo bolt/j-block attaching point).

Tuesday, March 3, 2015

Brake system: gathering the pieces....

Even though it is winter, I'm trying to use the time as best as I can and get some work done.  I'm hoping to get the brake system completely replaced before the spring gets here and the warm weather that comes with it.  I hope to be ready to do the engine swap once it turns warmer and we can work outside.

So, to prepare for the brake system replacement, I've been collecting the parts necessary to do the replacement.  I'm going to do a stock replacement.  I'm not going to upgrade to a dual master cylinder, nor am I going to add disk brakes.  My logic in not doing the upgrades is linked to my decision to postpone the restoration and just get the truck running and back on the road.  I'm sticking with an inline 235 and the original driveline, including the slow rear end.  I may get around to swapping out the ring and pinion gear set for one with a better ratio, but that is some time in the future.  So for now, the stock brake set up should be fine.  When I get to the restoration, I'll rethink everything, but for now it's going to be stock.

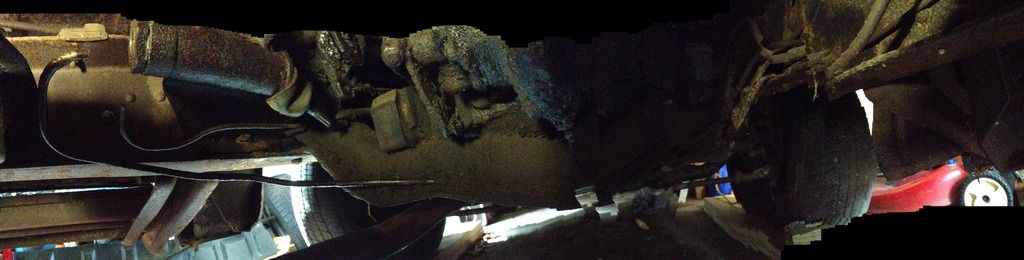
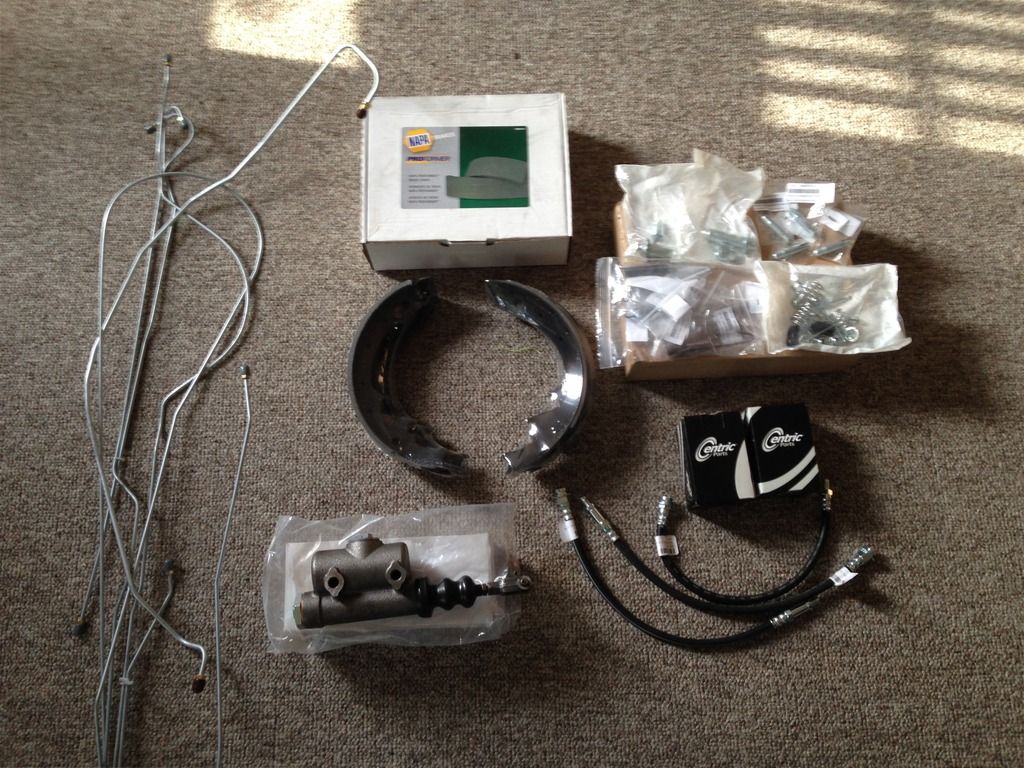
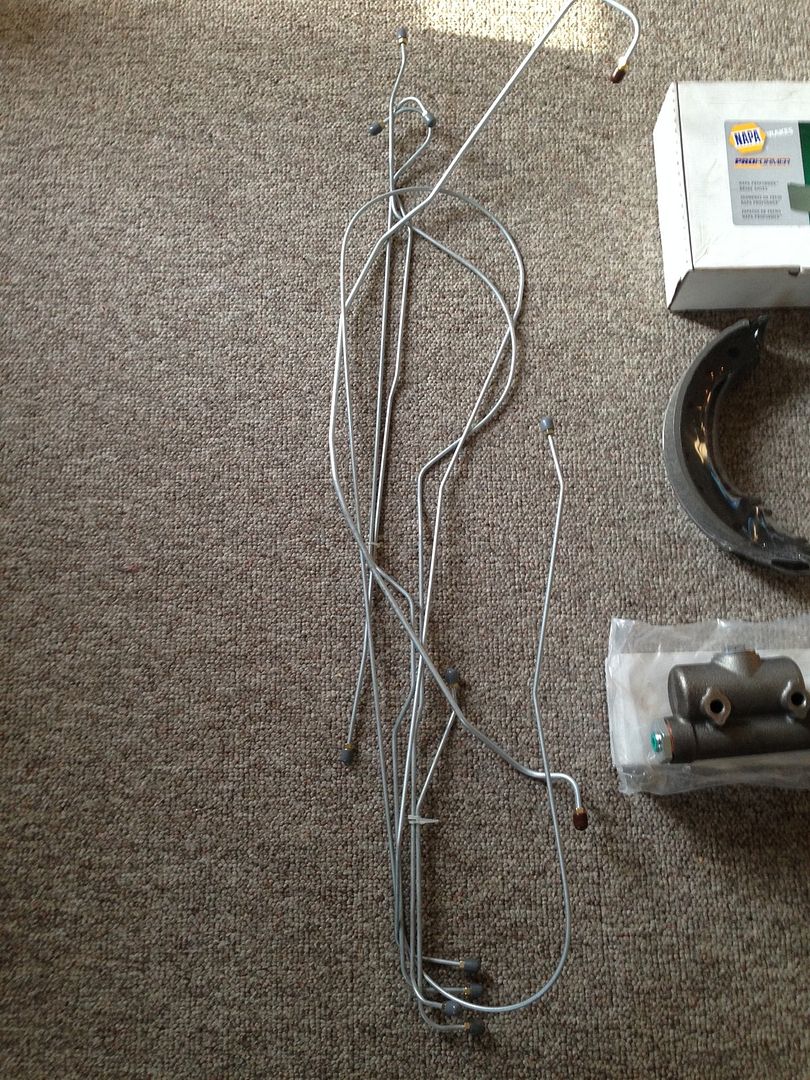
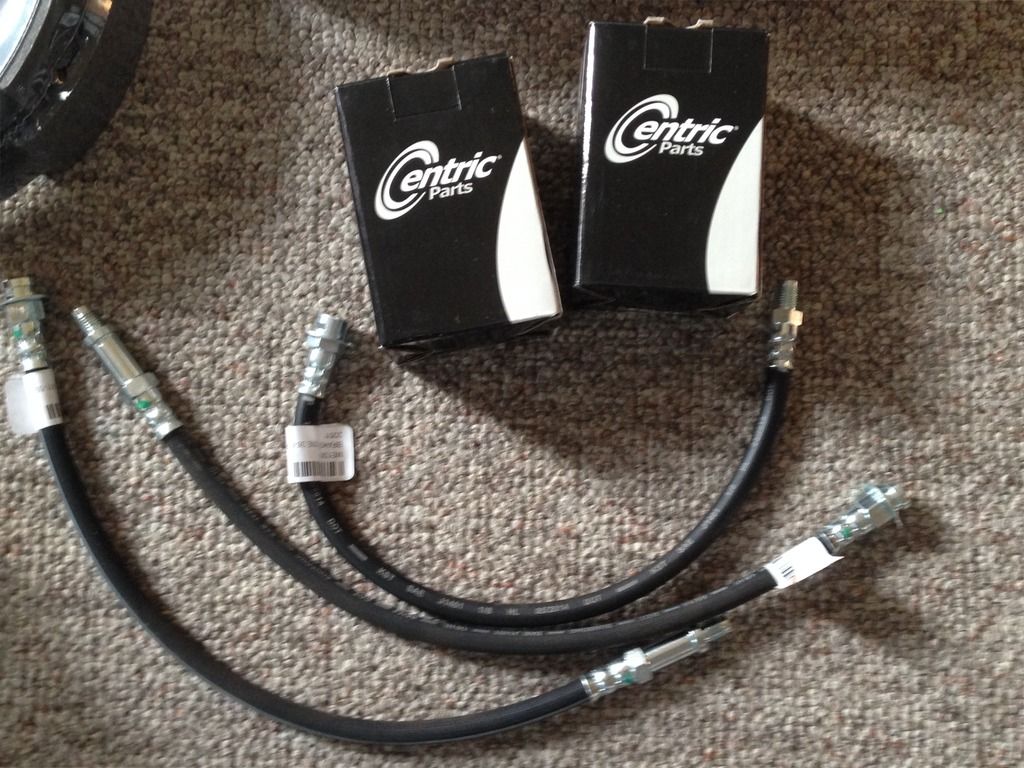
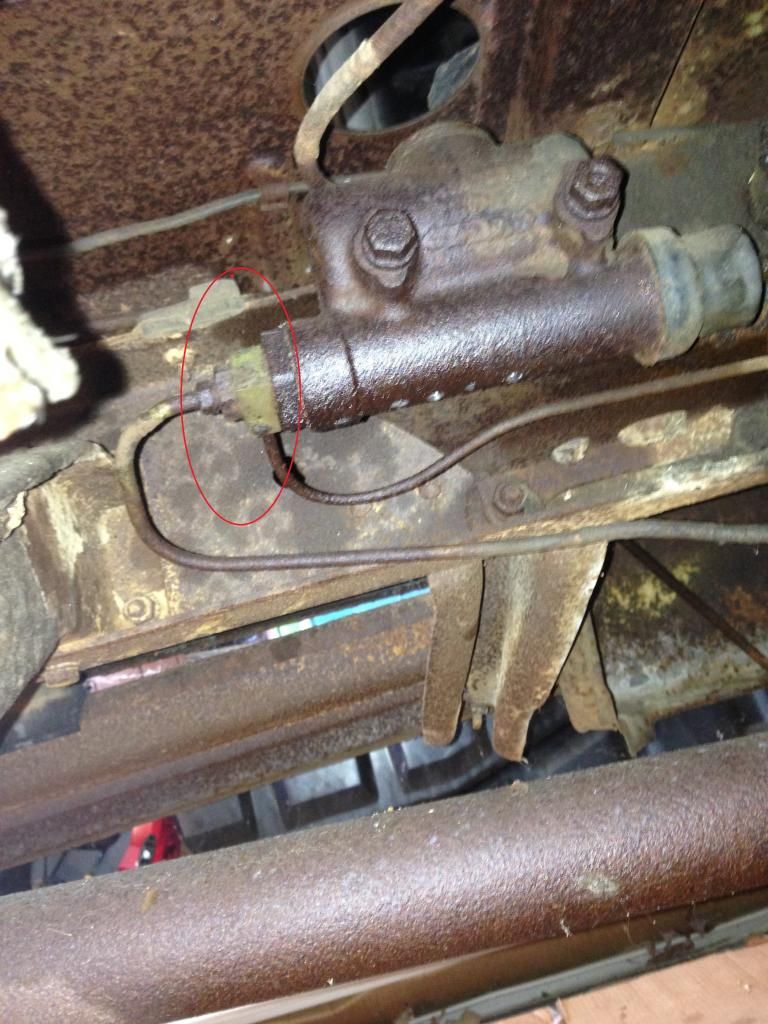
So far, I have a new master cylinder, a new set of OE style brake lines, wheel cylinders for front and back, brake hoses and brake hose clips.  I'm hoping to reuse some of the attaching hardware such as banjo bolts and junction blocks.  I will, however, be using new copper washers on those connections. This is the old master cylinder.  I've circled the junction block and banjo bolt.


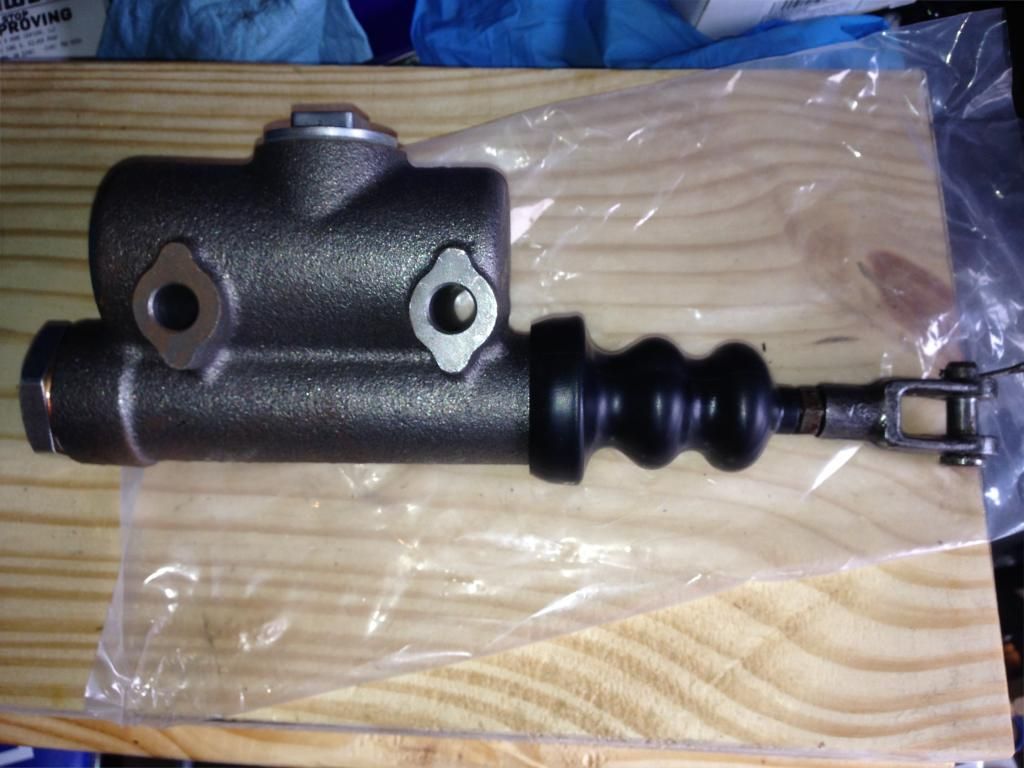
Here is the new master cylinder with the old (and cleaned up) clevis, pin, cotter pin and jam nut attached.


Here is the old clevis, pin, cotter pin and jam nut before cleaning:


Here's a close up of the cleaned hardware:


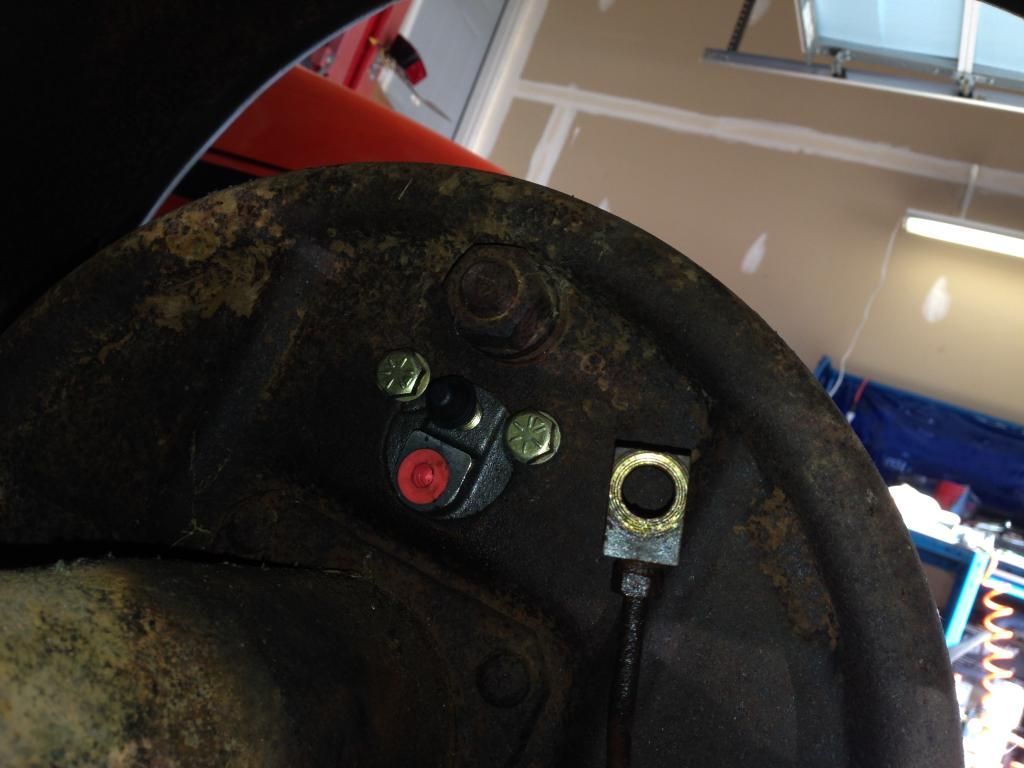
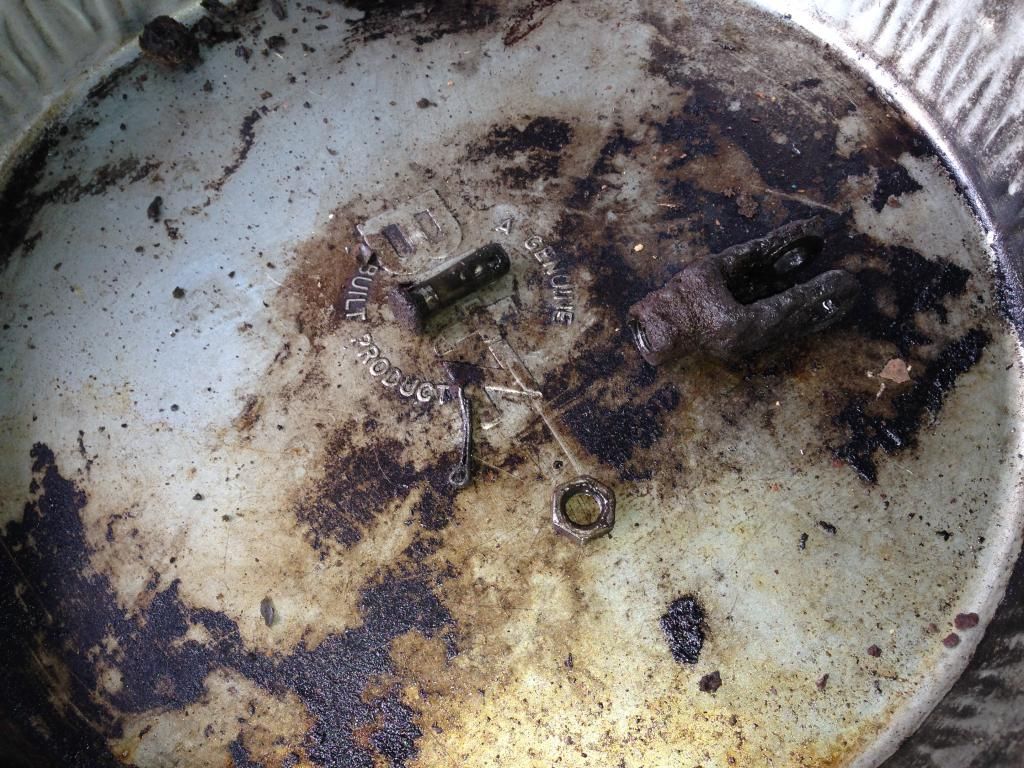
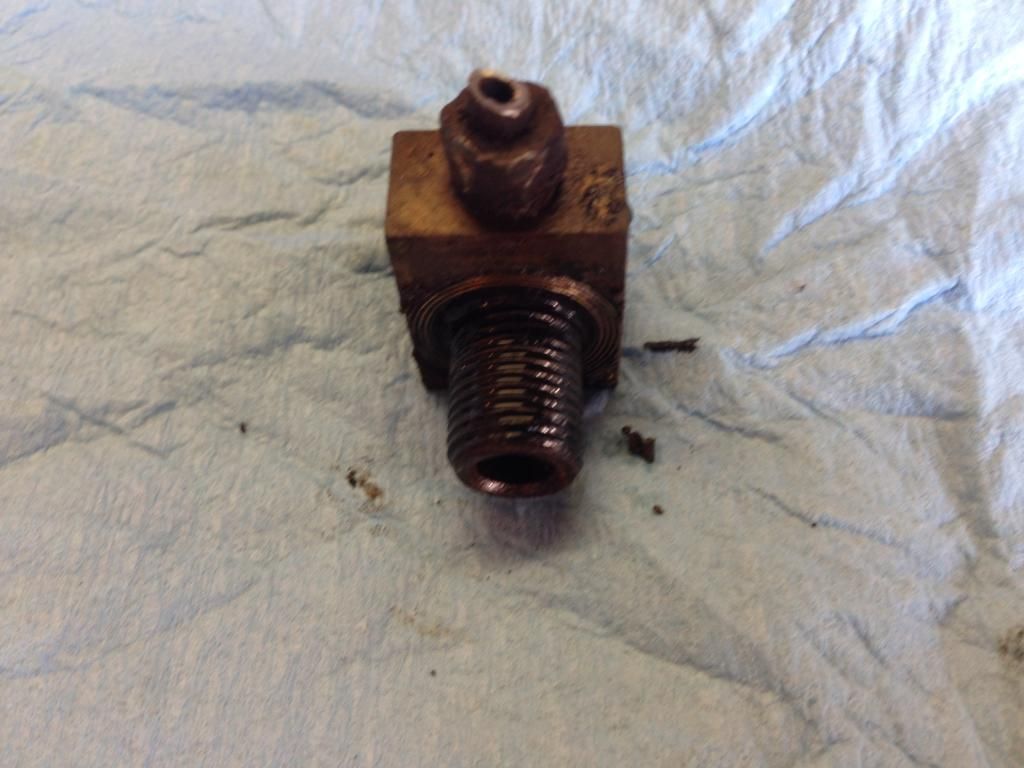
I tried for many days to locate a source of supply for new master cylinder banjo bolts.  I was unable to find any new ones.  So I decided to disassemble the old one from the junction block and see if it was still usable.  This is what it looked like when it came off of the truck:


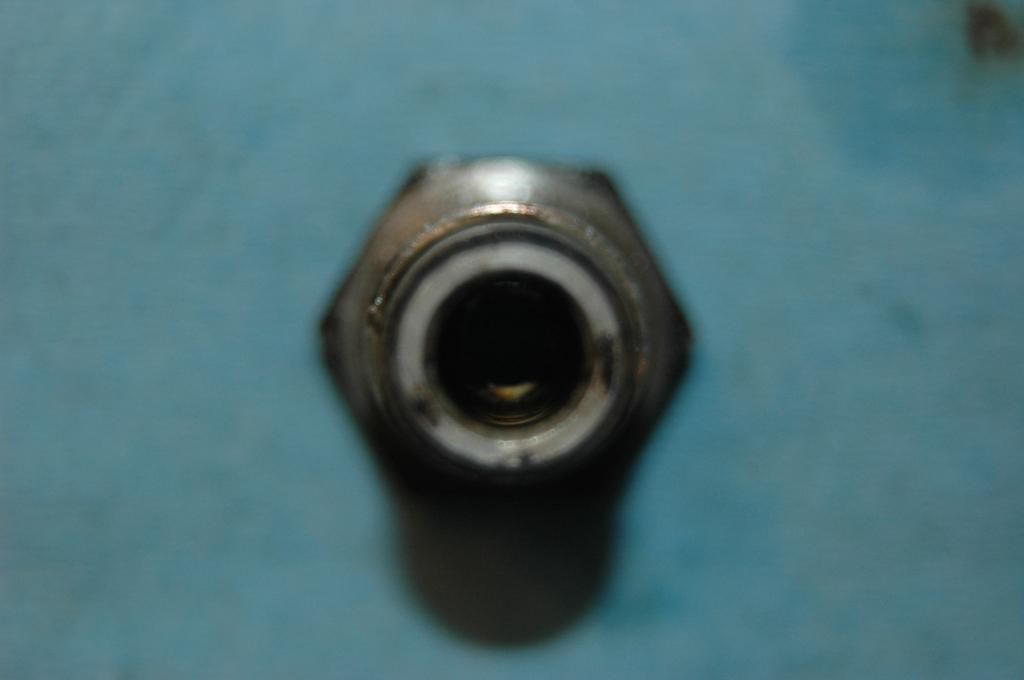
As you can see, the old brake line fittings were rusted in place.  I could not get them to break free while under the truck, so I cut the lines (with a Dremel and cut off wheel) and then I could get a socket over the banjo bolt.  I was then able to get enough torque to break the banjo free and out it came.  This view is a little blurry, but shows the overall condition.


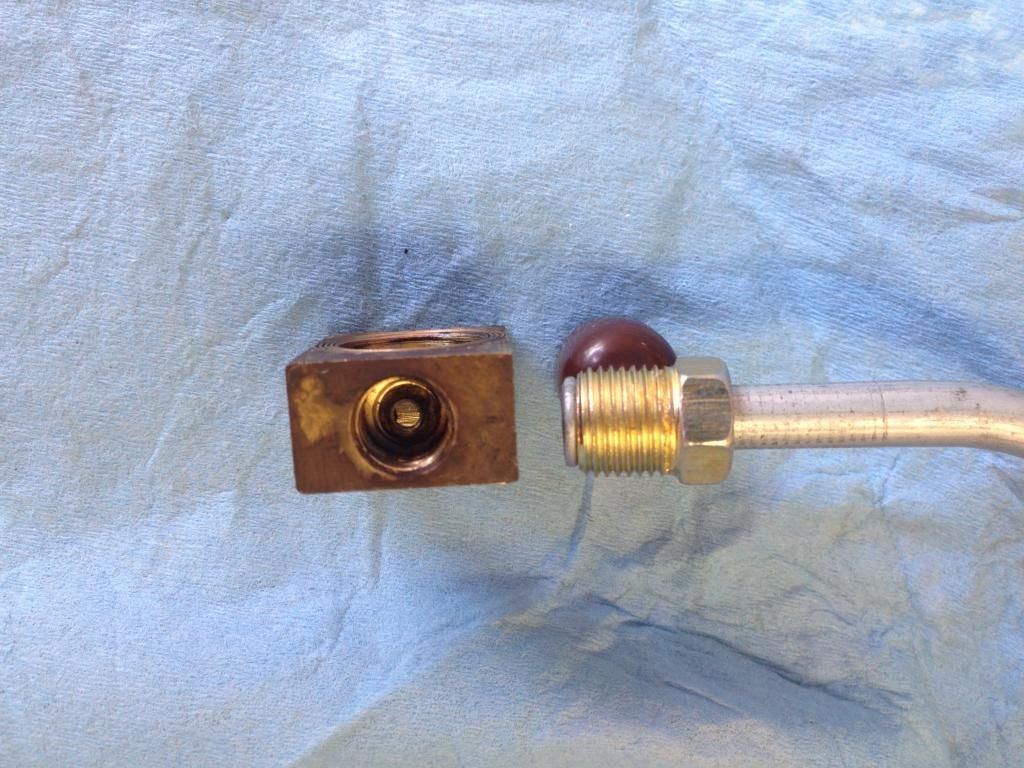
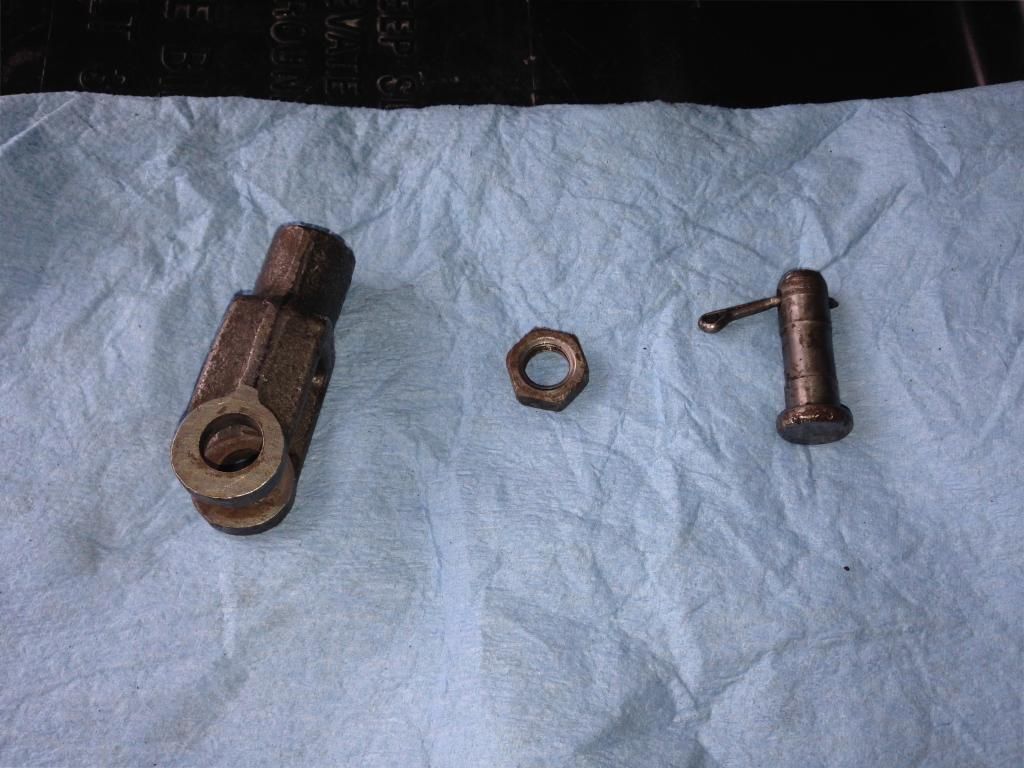
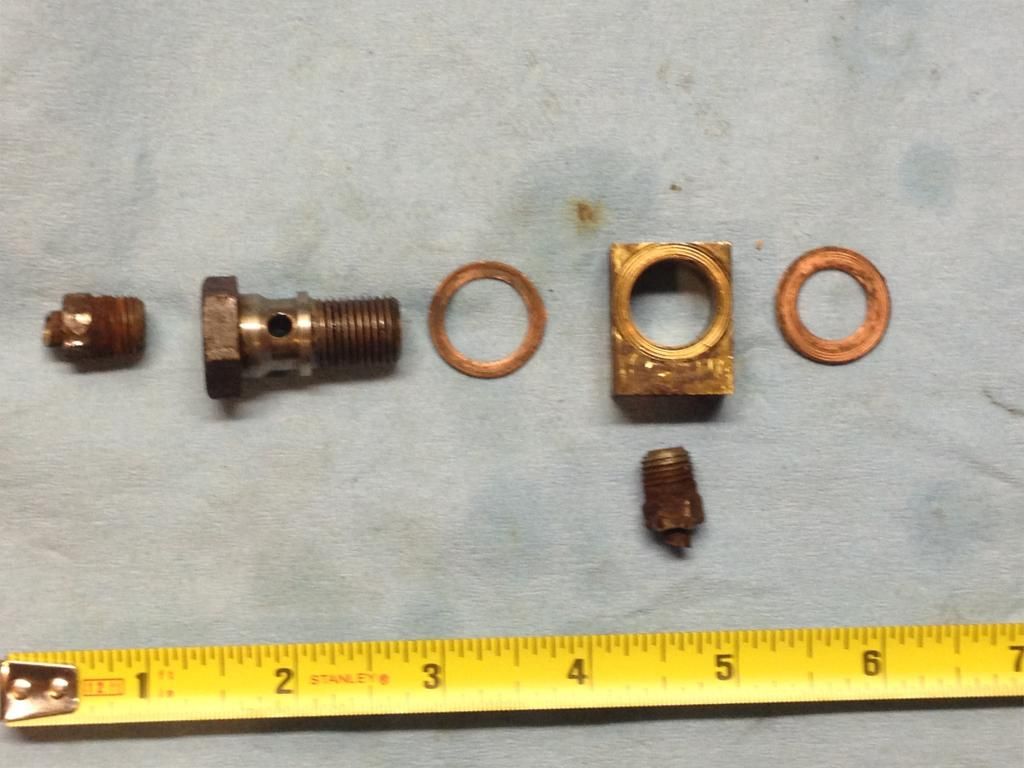
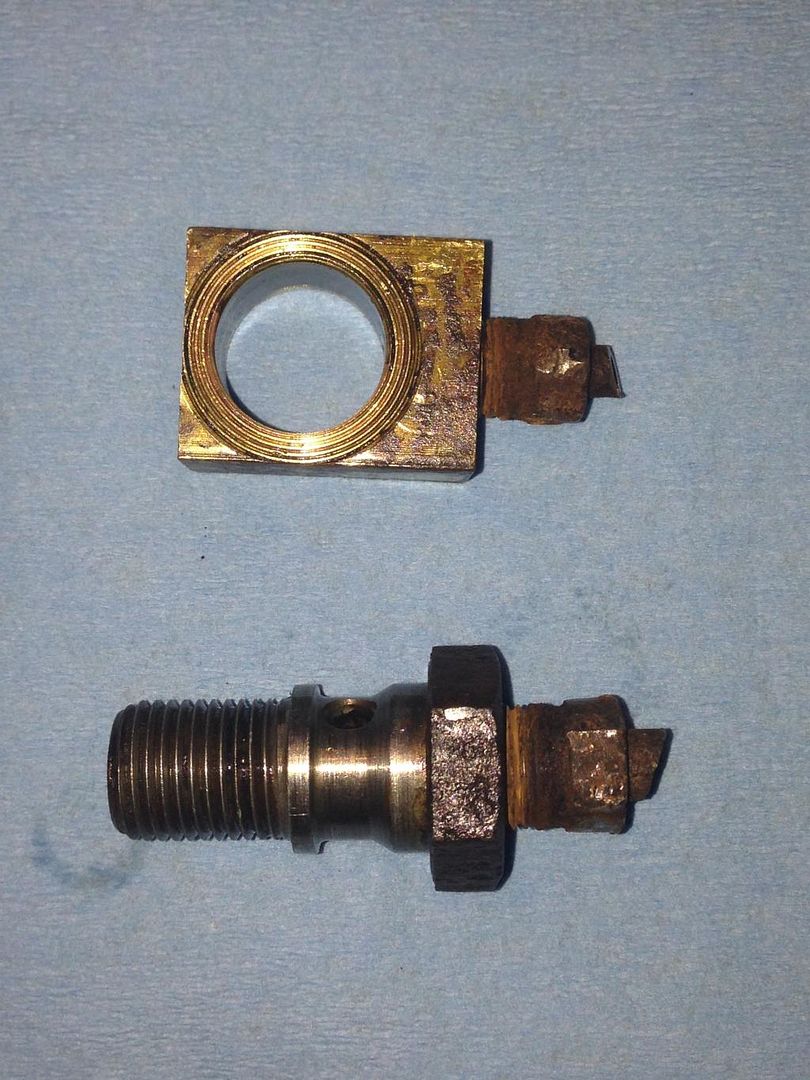
Once the junction block was off of the truck, I put it in a vice and used a ratchet to break the fittings loose.  After breaking the fittings loose, I had to apply a little persuasion to the banjo bolt (dead blow hammer) to get the shoulder of the banjo bolt to get past the indentation inside the junction block. Here are all the parts disassembled and in relation to each other:


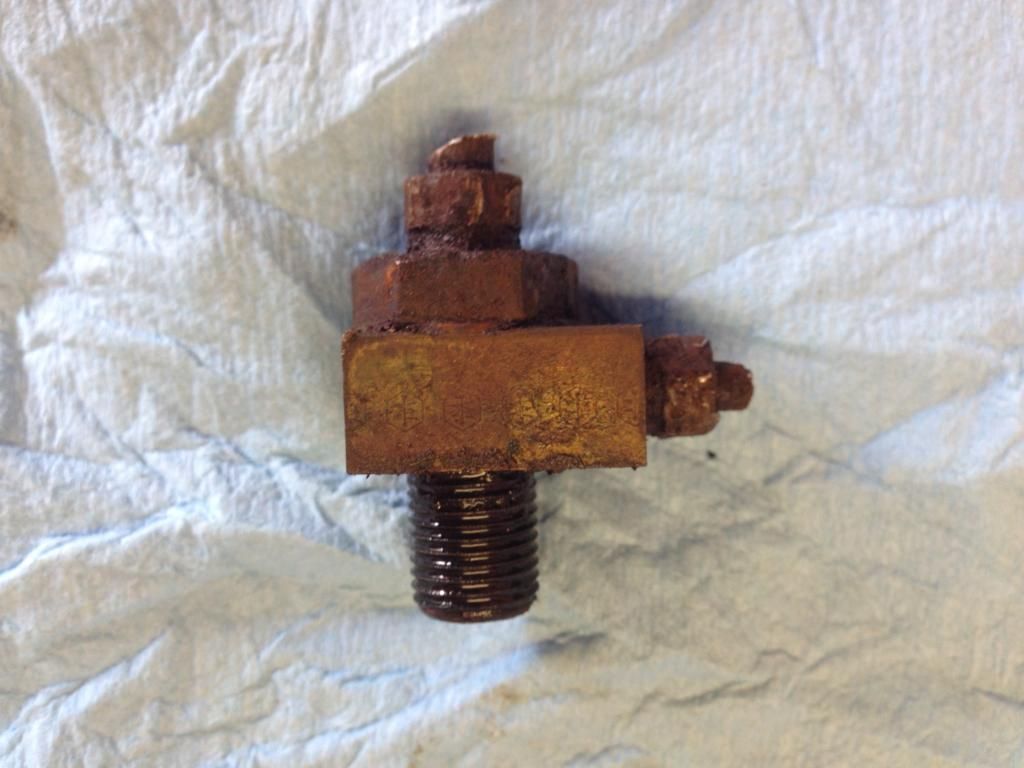
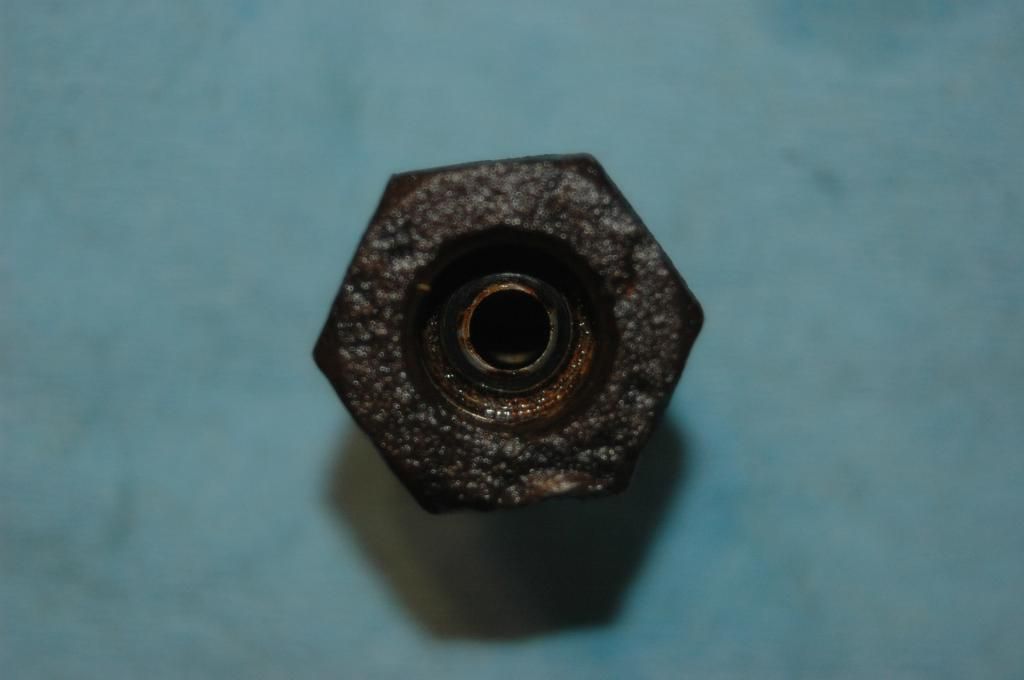
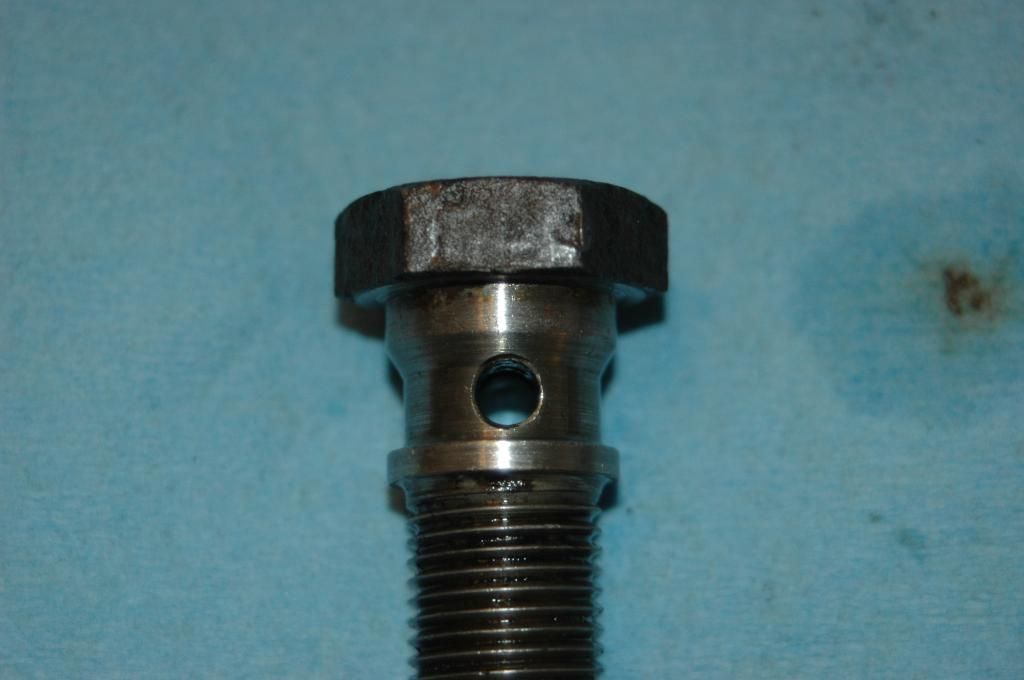
The following are all of the banjo bolt from different angles:


And the j block:


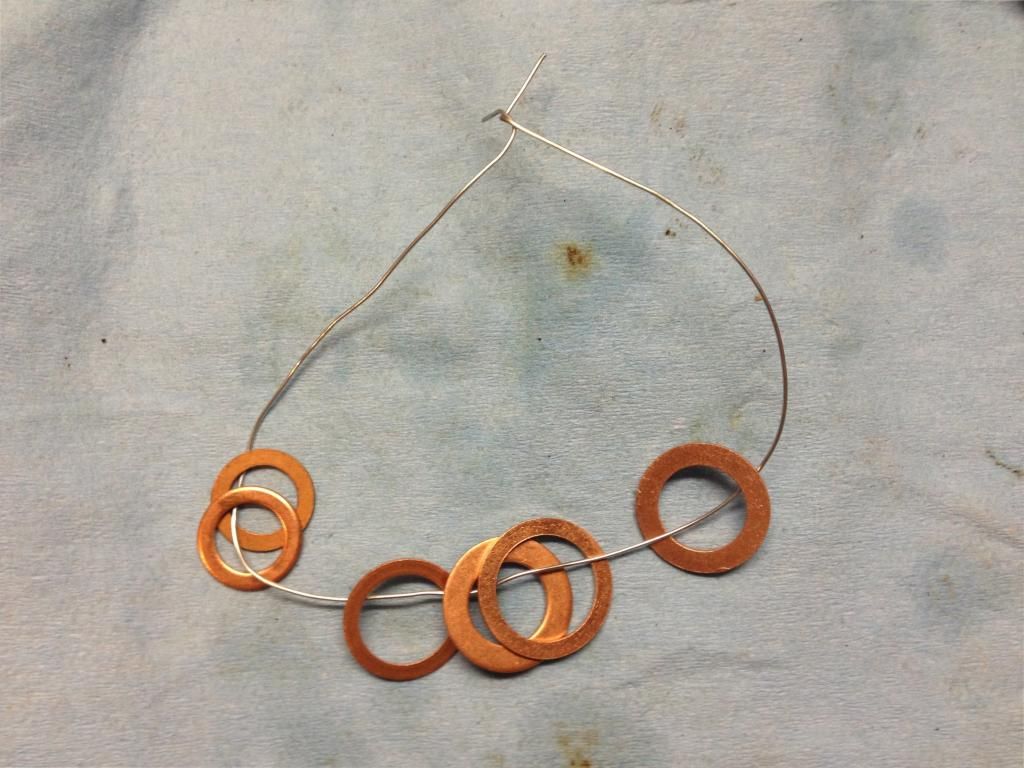
The inside of the banjo bolt was in pretty good shape.  The drilled and tapped area in the head being the worst, but the picture is deceiving.  Inside, it cleaned up well.  The areas that were in the j block and the master cylinder were pristine.  So, I'm going to reuse both the banjo bolt and j block.  I did get new copper washers and decided that I should anneal them before I used them, to make sure that they were soft and would provide a good seal.  Here is the string of them before annealing:


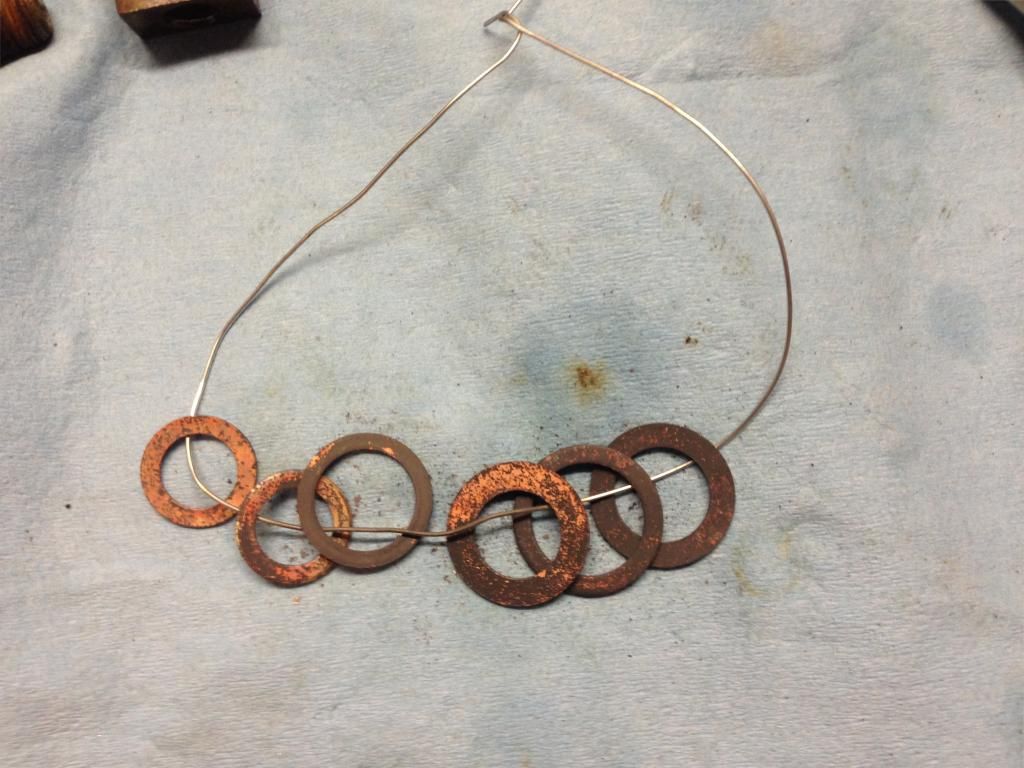
And after annealing:


This was my first attempt at annealing anything.  I read up on how to do it and then gave it a shot. After I was done and the washers had cooled down, I took one of the extra washers and gently tapped a screwdriver with a hammer onto it.  It made a shallow indentation in the washer and I was satisfied that the washer was soft enough to conform to the grooves on the j block and make a good seal.

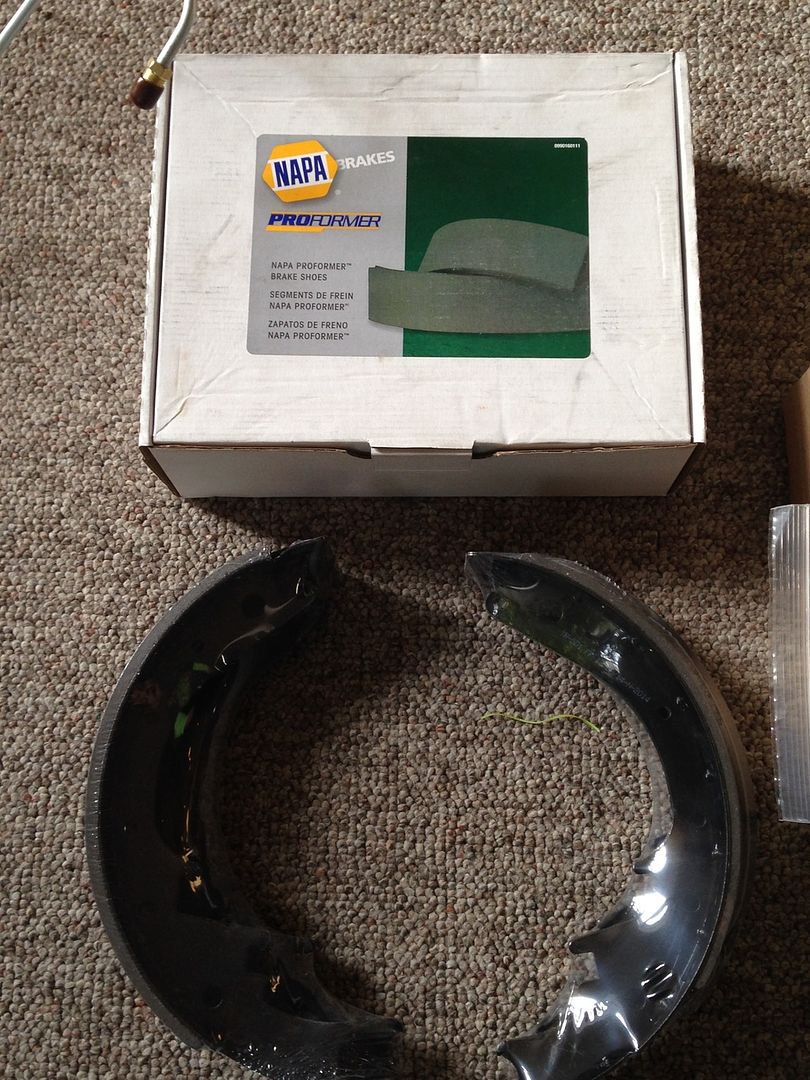
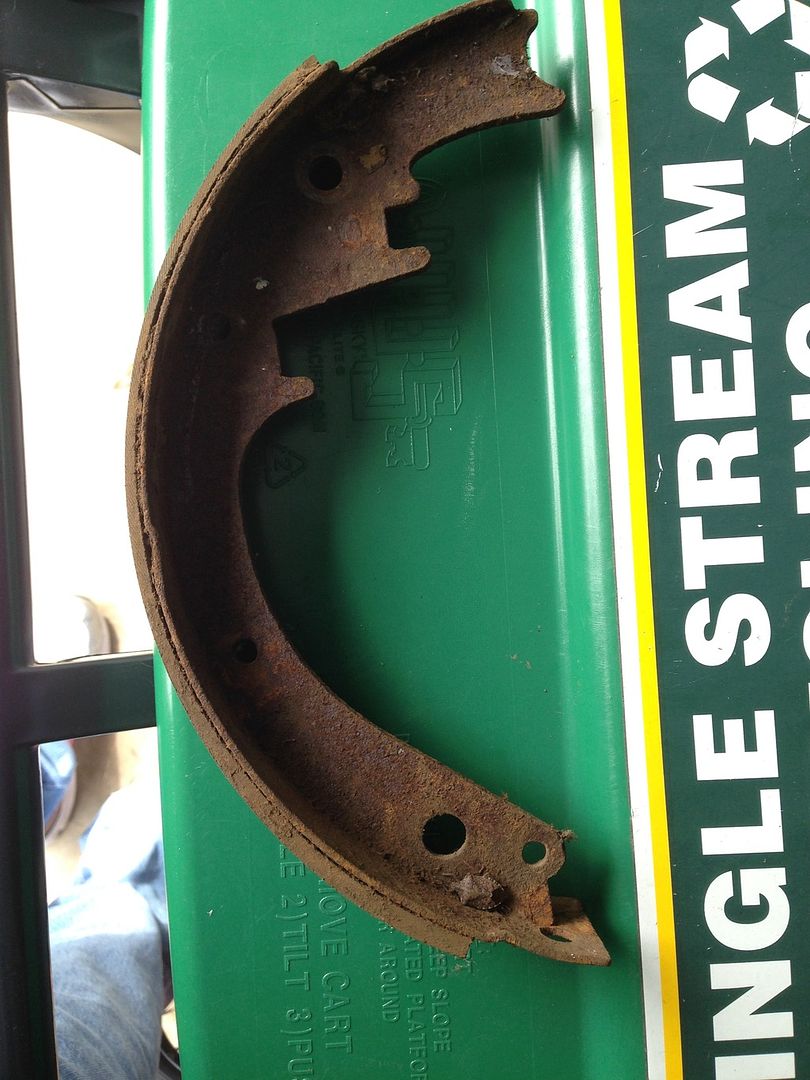
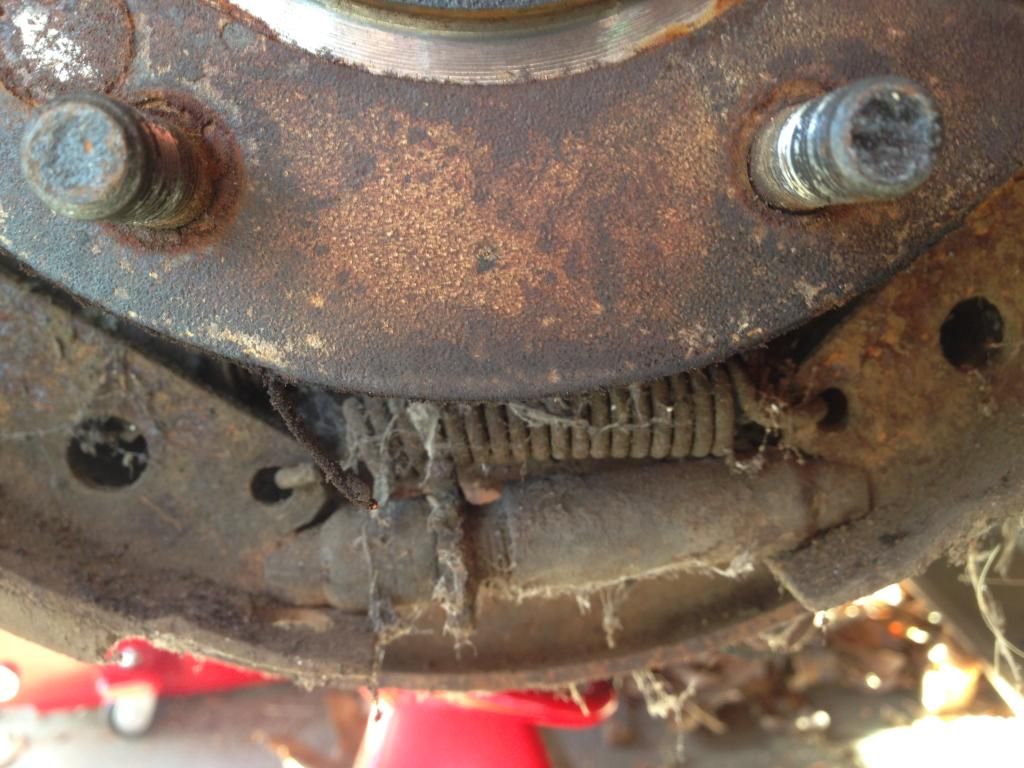
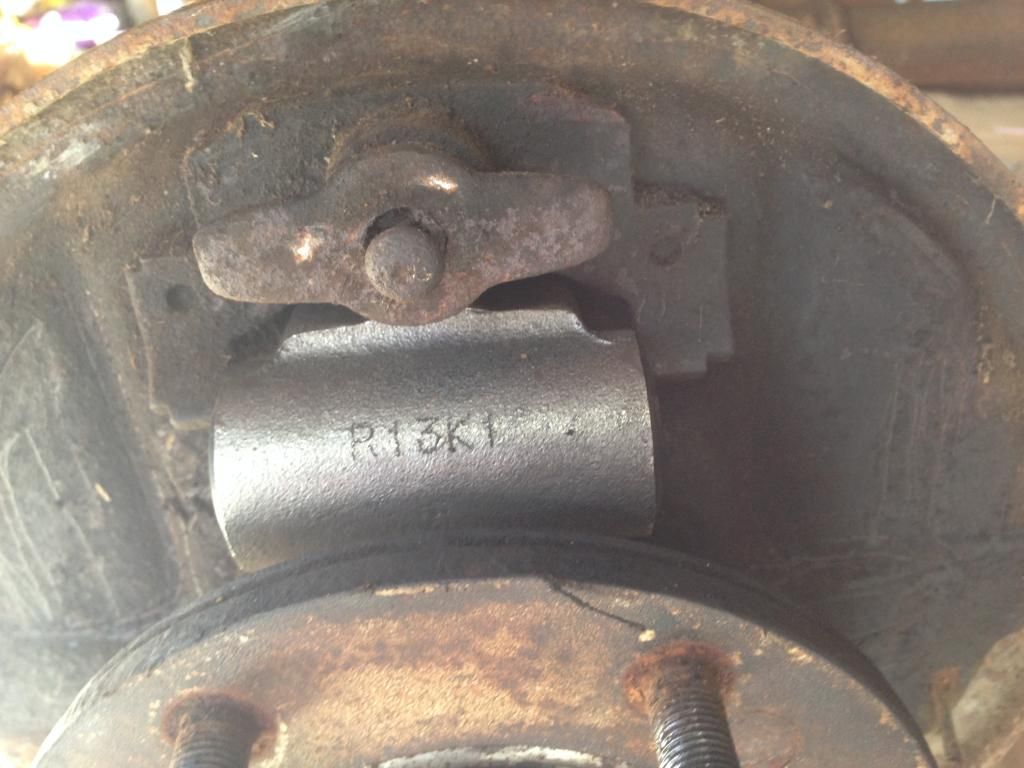
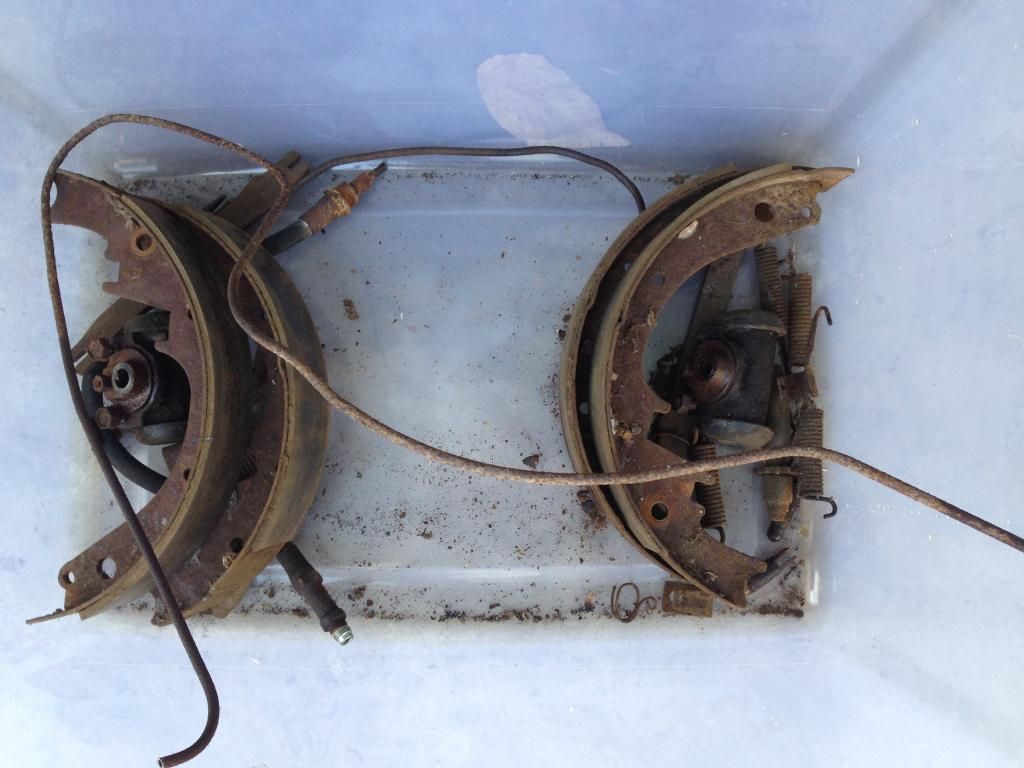
So that's where I am.  I've got some of the parts that I need, but not all.  I should have everything that I need to get from the master cylinder to each wheel and just inside.  I do not have the internal workings for each wheel.  I still need to get new springs, brake shoes, adjusting screws and the spacers that attach to the wheel cylinders.  I'll also need new brake drums, as mine look pretty thin. I'll probably do the drum replacements after getting things working and the truck running.  We'll see.