1953 chevy truck ad

1953 chevy truck ad

Friday, February 19, 2016

Cue The Mission Impossible Music

I had a little time today, so I decided to remove the passenger side park light.  It was rusted in place, so both bolts broke off while I was trying to remove the nuts.  Turns out the whole thing is really rusty and I'm not sure I can save it.  Here it is after removing it from the truck:


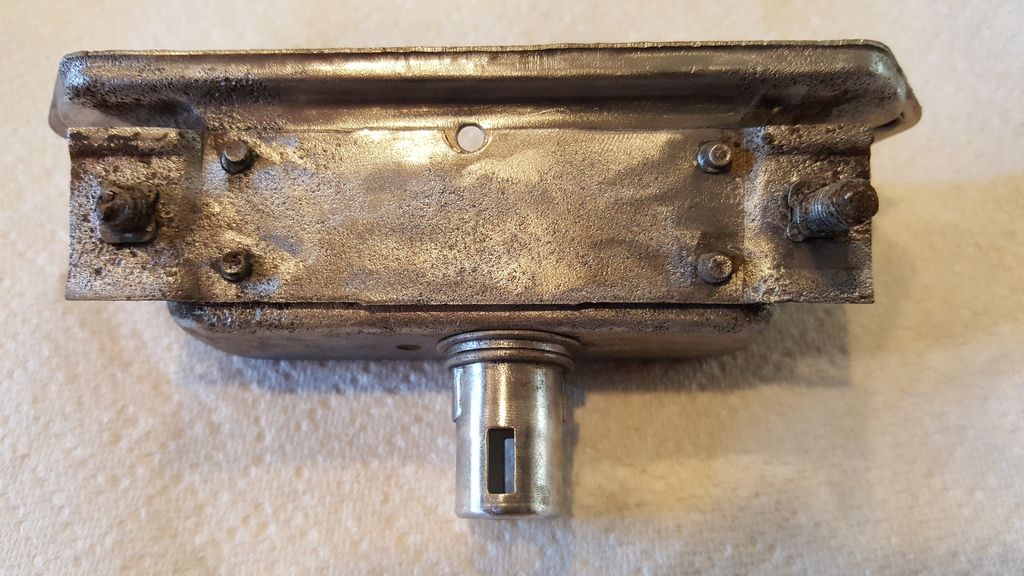
Here's a top view (that will not allow me to rotate it into a normal view...Photobucket strikes again):


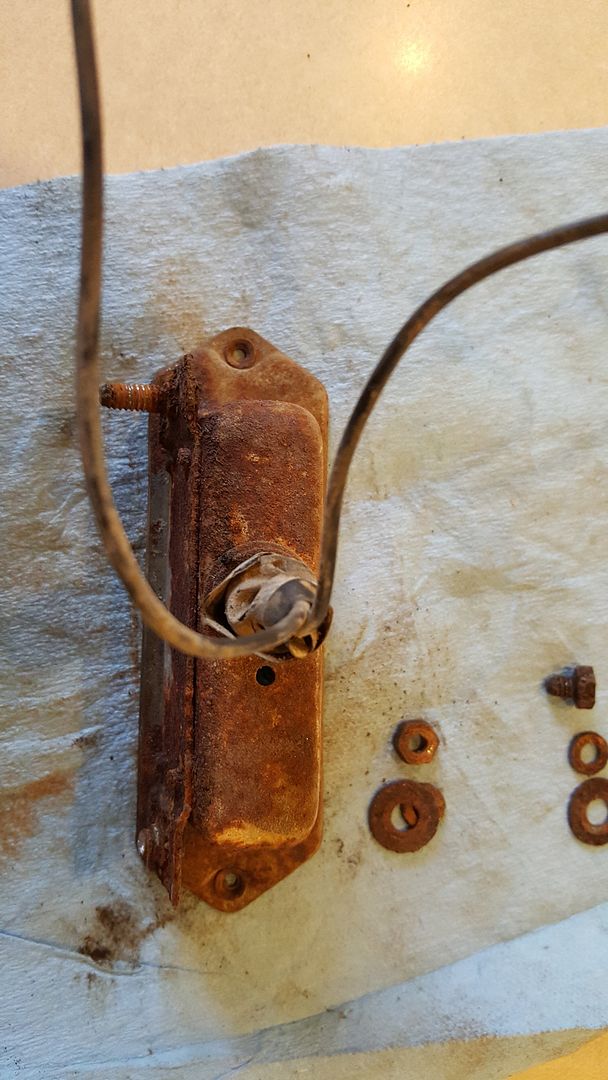
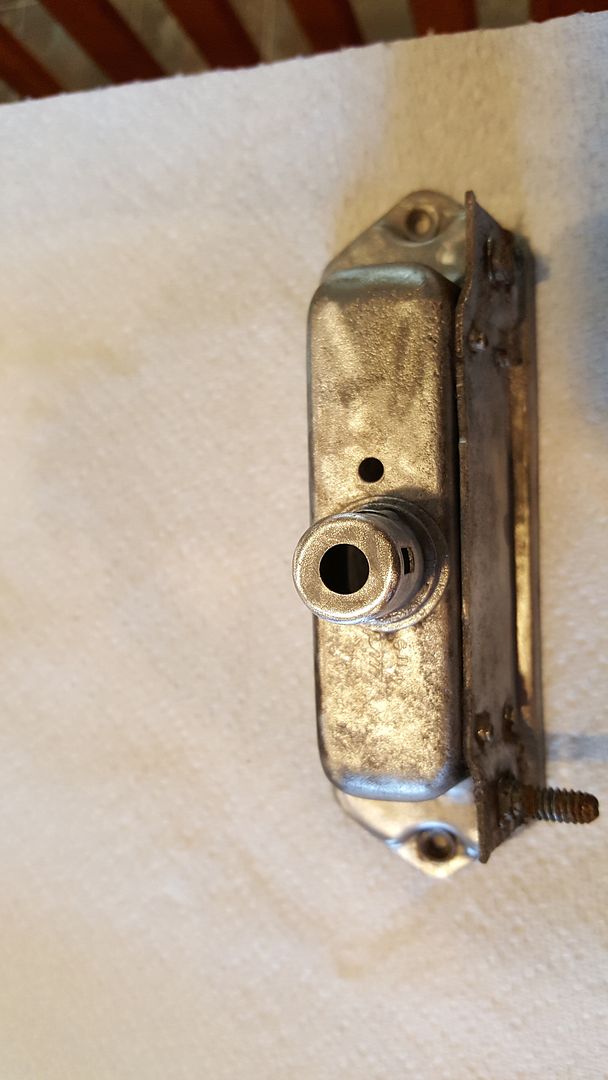
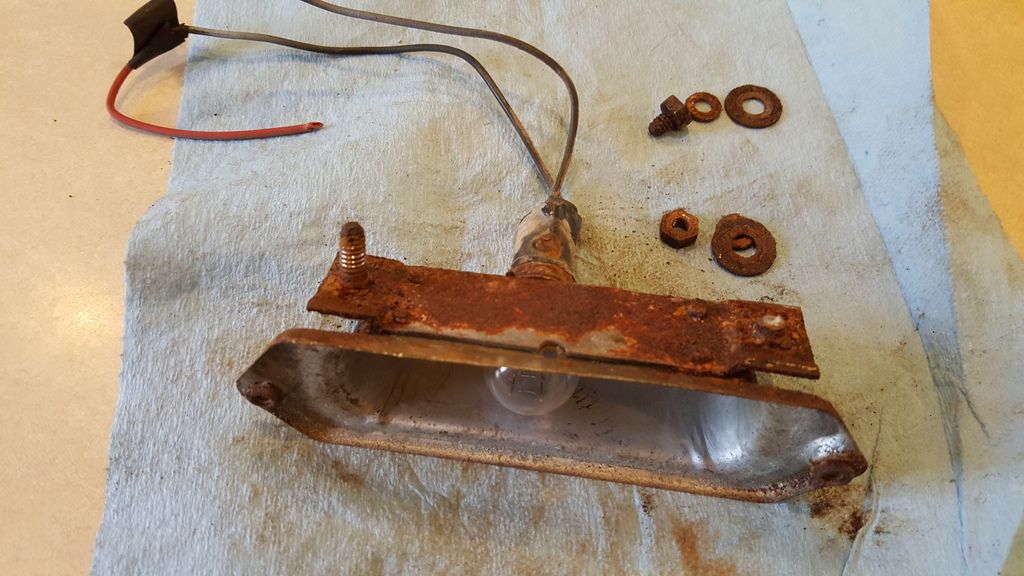
I think that everyone will agree that this is rusty!  Instead of trying to go straight into the Evap-O-Rust, I decided to cut off the rivets and separate the bar from the housing and disassemble the all of the parts, then give them a soak.  Here is an exploded view of all of the parts front and back:


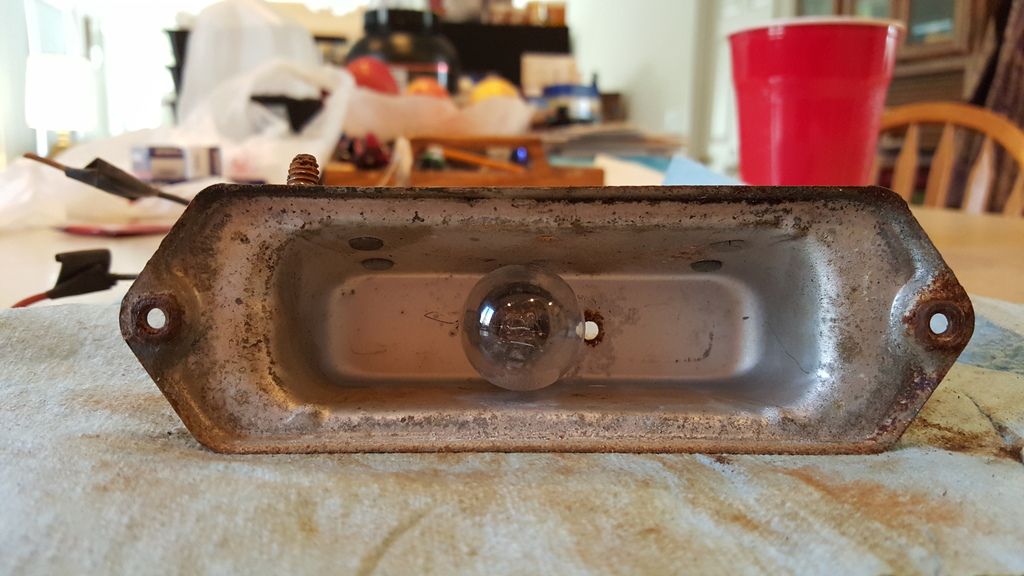
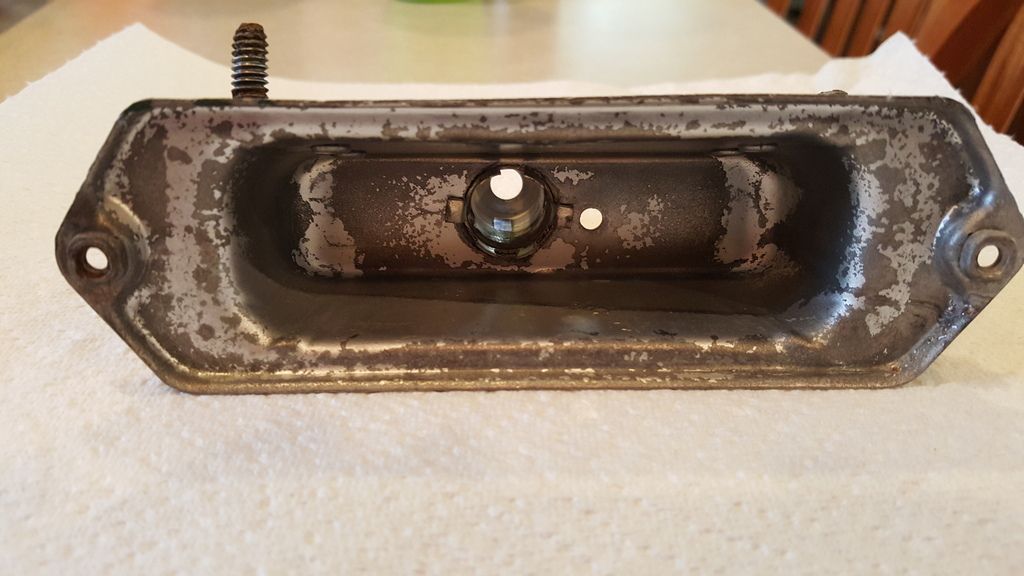
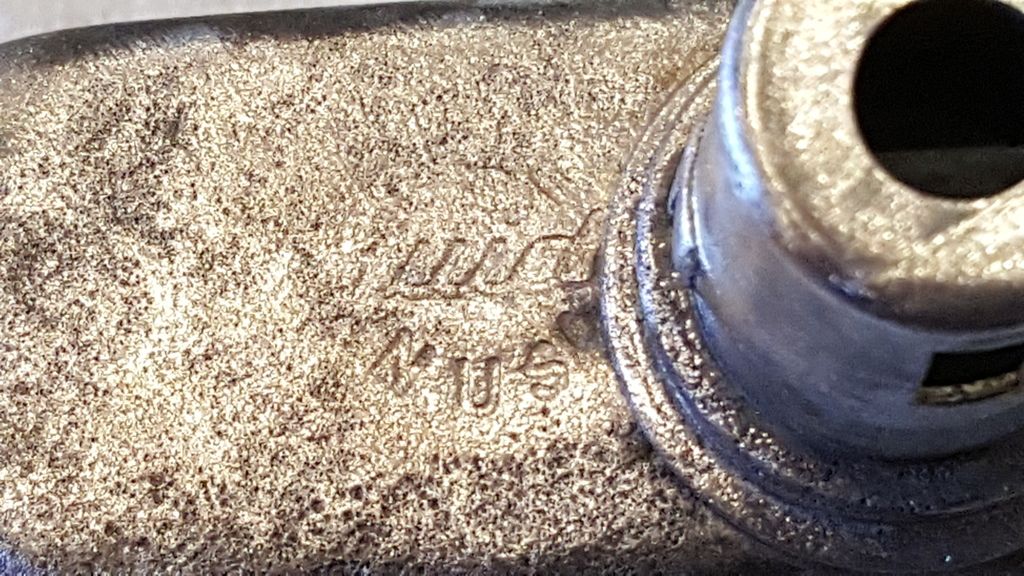
The funny thing that you can clearly see in the last 2 pics is the gray primer that the previous owner sprayed on everything (think back to the primered pencils and cigarette butts in the ashtray) is covering the outside of the glass lens.  That is why it looks kind of frosted or milky.  But when you look at the inside, it is nice and clear.  Thankfully, it comes off easily and is way less of a concern than the state of the metal housing.  I think that the bar is shot, so I'm going to attempt to make one over the weekend.  The front bezel and gasket are also shot and will need to be replaced.  If this doesn't work out, I may try to find a decent one online, if the prices aren't too high.

Currently the housing and bar are soaking...we'll see.

Wednesday, February 17, 2016

The Dangers of Hidden Rust: De-Rusting Part 3

Well, I couldn't leave it alone.  I just knew that the Evap-O-Rust wasn't getting all of the rust.  So, armed with drill bits and small punches, I set about removing the bar from the bottom of the park light housing.  Here is the whole housing before de-rusting in the Evap-O-Rust:


Admittedly, it was pretty rusty and gnarly.  Now, here it is after the initial soak in the Evap-O-Rust and polishing with the Dremel and a light abrasive wheel:


Even after the soak and polishing, you can see the pits are still dark colored (probably rusty) and I was convinced that there was rust between the bar and the main housing.  They say a picture is worth a thousand words so here goes with a pic after drilling and punching the rivets out:


And there you have it:  RUST!  Hidden from view and survived a 24 hour soak in the Evap-O-Rust. Right now, it is back in for another soak.  When it comes out, I'll polish it again and see how the pits are and if the bar is salvageable.  If it is, I'll look into getting replacement bolts.  If not, I'll try my hand at making a replacement strap.  It's hard to see, but there is a subtle bend on each end to accommodate the bolts, which are specialty bolts.  In a quick search online, it appears that these bolts are called "elevator bolts".  They fit the description of elevator bolts, anyway.  If I end up making a new bar, I may make the bend a little more pronounced to accommodate regular carriage bolts, which have a slightly thicker head.  No matter which way I go, I'll pop rivet them back onto the housing.  So far, it looks like I should be able to salvage these housings.  I'll keep you posted on the progress.

Sunday, February 14, 2016

De-Rusting Part 2

Well, it's been a little more than 24 hours and the Evap-O-Rust results are in.  Here are the before and after shots:


Plus a couple shots from different angles after a quick polishing with the Dremel:


On this shot, you can make out the "Guide" maker's mark and part of the "Made in USA".  But, you can also see just how pitted the metal is from the corrosion.  The pitting doesn't go all the way through and will not be seen, since it is on the back of the housing.  So I think it is salvageable from that perspective.  I am thinking, however, that I will drill out the rivets that hold the bracket with the bad bolts and remove the bracket.  Removing the bracket will allow me to fully clean underneath it and install new bolts.  Then I can reattach the bracket to the housing, probably with pop rivets.


When I remove the bracket and do that part of the housing restoration, I'll post on that plus the painting and rebuilding of the unit.  Also, I plan to do the passenger side light, too.

In the final "analysis", the Evap-O-Rust did a great job cutting through the rust.  It wasn't able to get down into the pits, but I think it would have if I had left it in the solution for a couple of days longer. You may be able to see the difference between the straight out of the solution look and the look after polishing.  When the metal comes out of the tank, it has a dull gray look to it.  I used the Dremel and a high number (light grit) wheel and polished the gray off.  It would now be ready for primer, if I wasn't going to remove the bracket and replace the bolts.  If I do that soon, I should be able to avoid surface rusting.  If some does show up, then I'll polish it again and then prime. See you then....

Saturday, February 13, 2016

De-rusting while winter rolls on

Single digit temps outside make work on the truck kinda hard right now.  So, in an attempt to at least feel like I'm doing something, I am running a little test to see if I can salvage my park light housings or if I need to buy whole assemblies.  Since I'm doing everything on a shoestring budget, I would really like to be able to save the housings and only buy the new internals and bezel.  The glass was fine and cleaned up easily.  The outer bezel was toast, though, and will definitely need to be replaced. I'm also thinking about buying the LED insert instead of using the standard bulb.

It took a little persuading to get the nuts started on the housing.  At least I thought they were starting....  One of them sheared off and one of the came off.  So, if the de-rusting works, I'll have to replace one of the studs, at a minimum.  Here's a couple of shots of the housing from different angles:


Well, a couple of pictures tell the story.  You can clearly see that the inside of the housing is in pretty good shape.  The lens and gasket did what they were supposed to do and kept out the moisture. The backside and bottom were another story.  The last pic shows the broken stud.  I think that I can drill it out and replace it with a bolt of the same diameter.

To do the de-rusting, I'm using Evap-O-Rust.  I've used it in the past, with good success.  This housing is pretty rusty, so I'm going to be putting it to the test.  The tub that I'm soaking it in is not quite deep enough to cover the whole housing.  So this will be a 2 part effort.  I'll post an update when I get it done, likely next weekend.