Hello Gray Ghost Fans!
As you remember, the restoration of the Gray Ghost was on hold, due to severe space limitations in the garage. My solution? Build a garden shed to free up some space. In a departure from my normal blog entries, I'm going to let the photos do most of the talking. Keeping it real, as I do for the restoration itself, I simply couldn't figure out how to make a slideshow for blogger, so I've just piled up a bunch of the construction pics. I'll add a short caption to set the stage. Enjoy!
 |
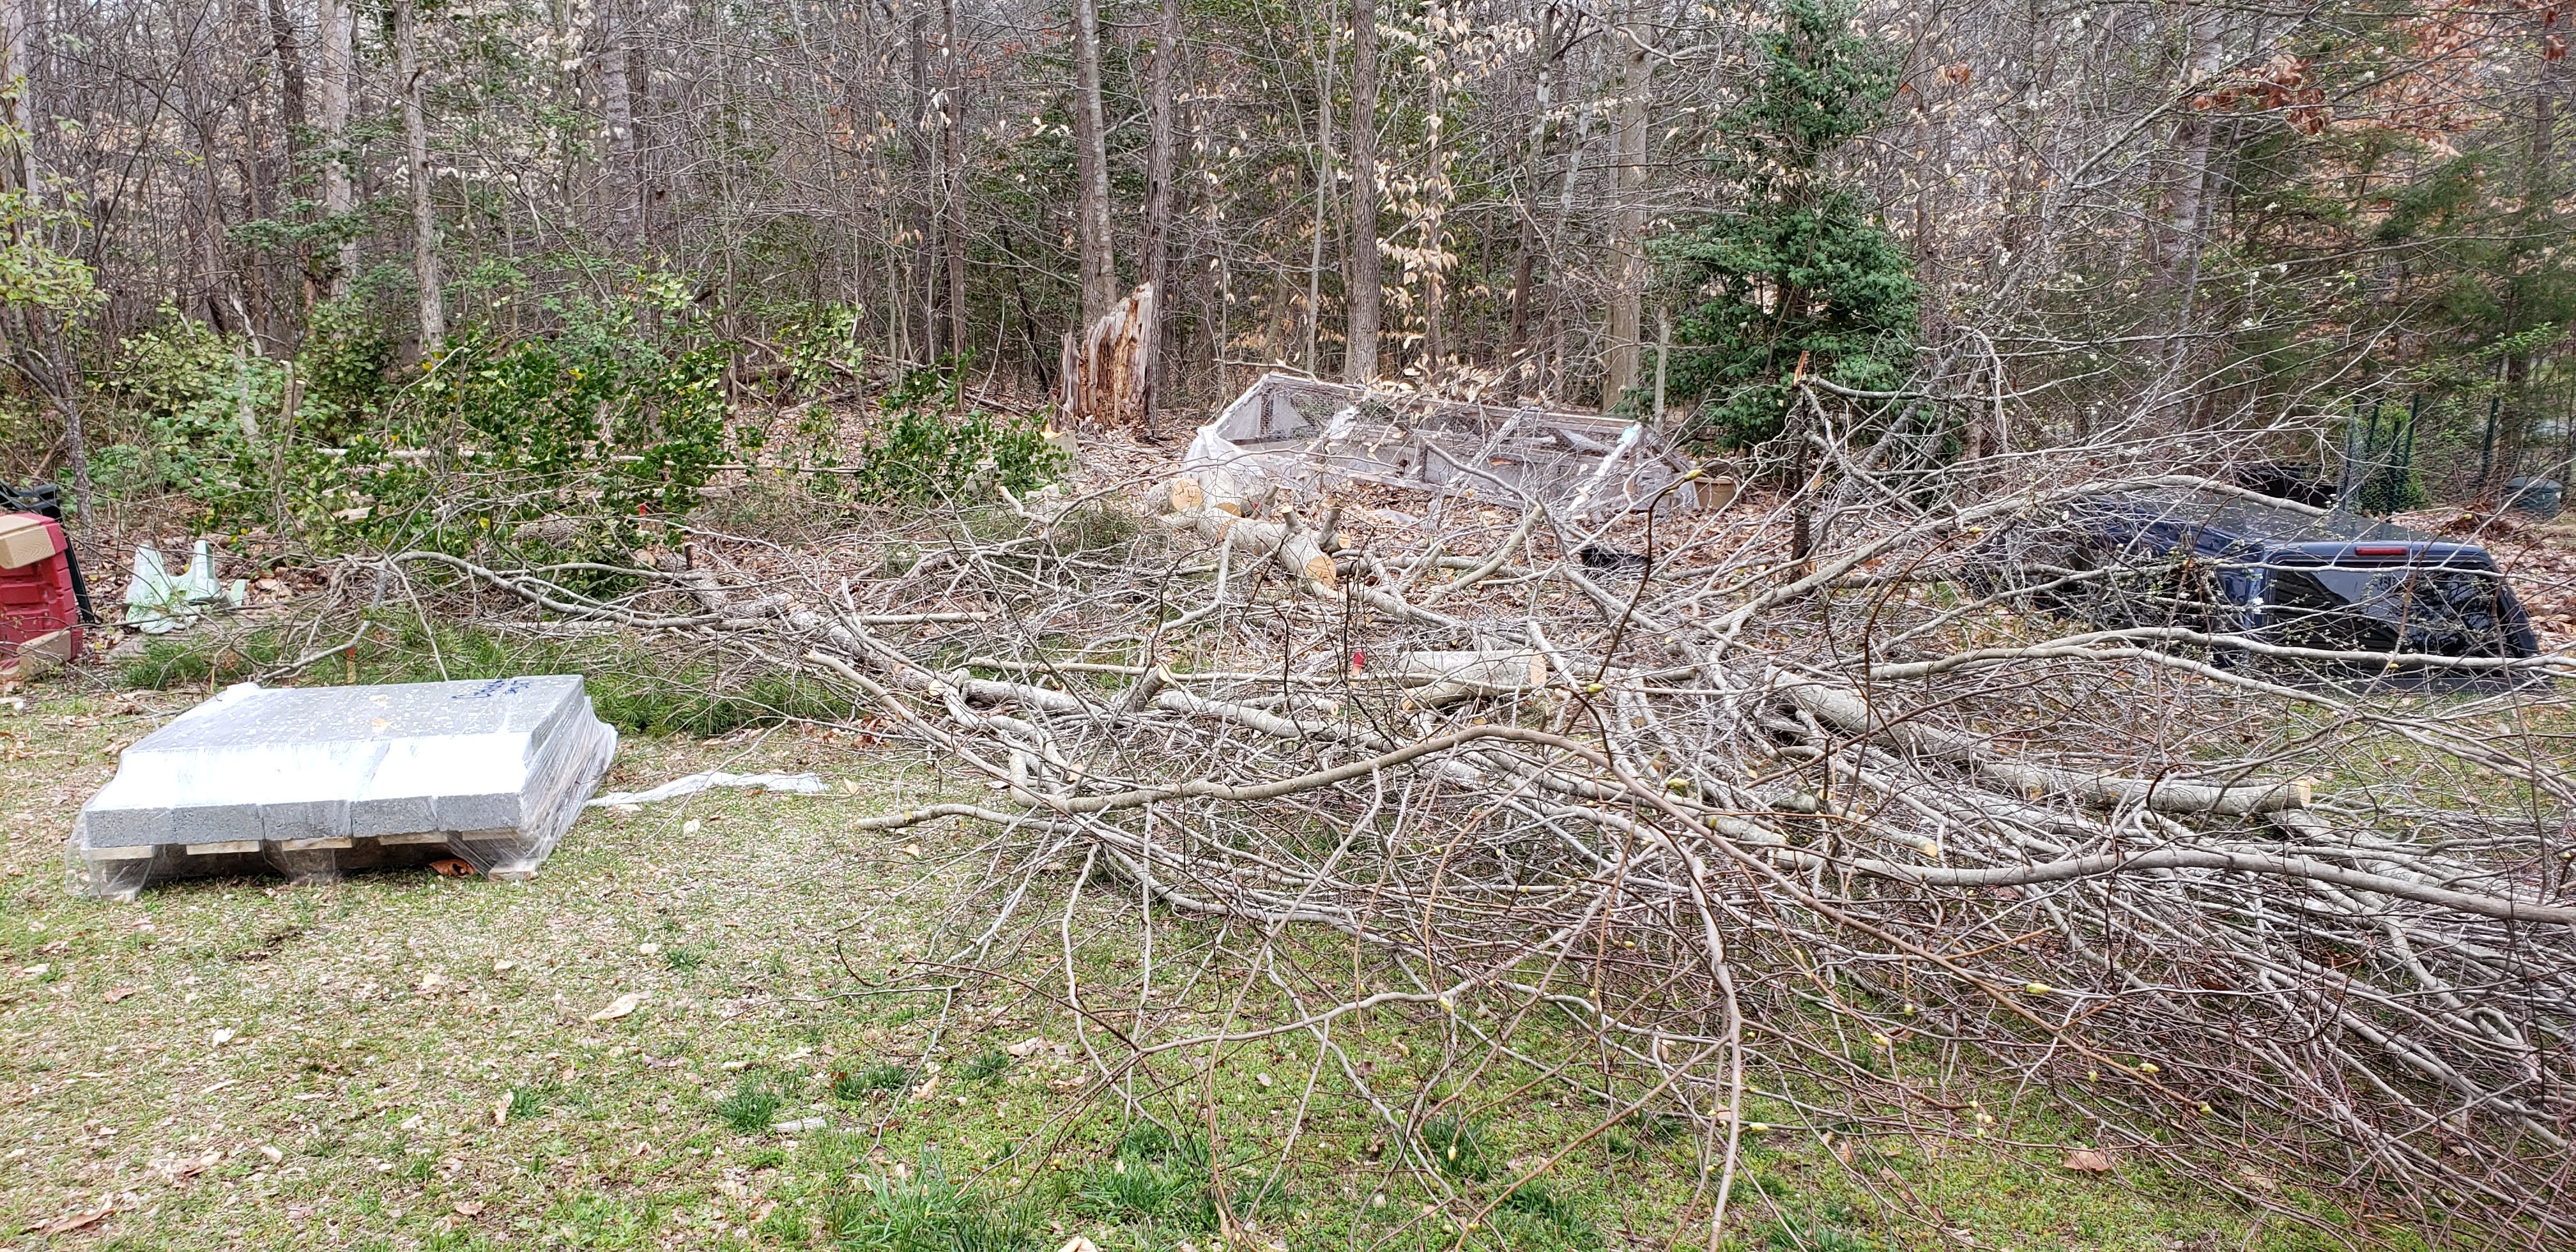
| The building site and a pallet of solid concrete blocks for the foundation. |
 |
| Clearing the site to prep for the concrete blocks. Mostly the debris is beech, but my cherry tree took a beating, too. |
 |
| Another view of the "broken eggs".... |
 |
| The rough layout of the concrete blocks. They will need to be leveled by digging them in. |
 |
| Another view of the blocks showing the need for leveling. |
 |
| First cut at leveling. |
 |
| Another view, shows that the site slopes from left to right and from back to front. |
 |
| Just laying 2x4's on the blocks to check for actual level. |
 |
| Close up. |
 |
Using a straight edge to bridge the gap so I can check for level from one row to another.
|
 |
Level close up...I'll take it!
|
 |
Off by a little, spread over 12'. Getting it close to level front to back and then side to side proved very challenging and took several lengthy attempts.
|
 |
One shed kit w/floor kit, some assembly required.
|
 |
The instructions required putting a shingle on each block, prior to building the floor supports.
|
 |
4"x6"x12' beams
|
 |
Floor kit built per included instructions..... Why the discrepancy between my layout of 4x6 beams and the floor kit? Because what's included on the website is different from what they ship in the kit. The instructions tell you this after you unwrap the kit contents!
|
 |
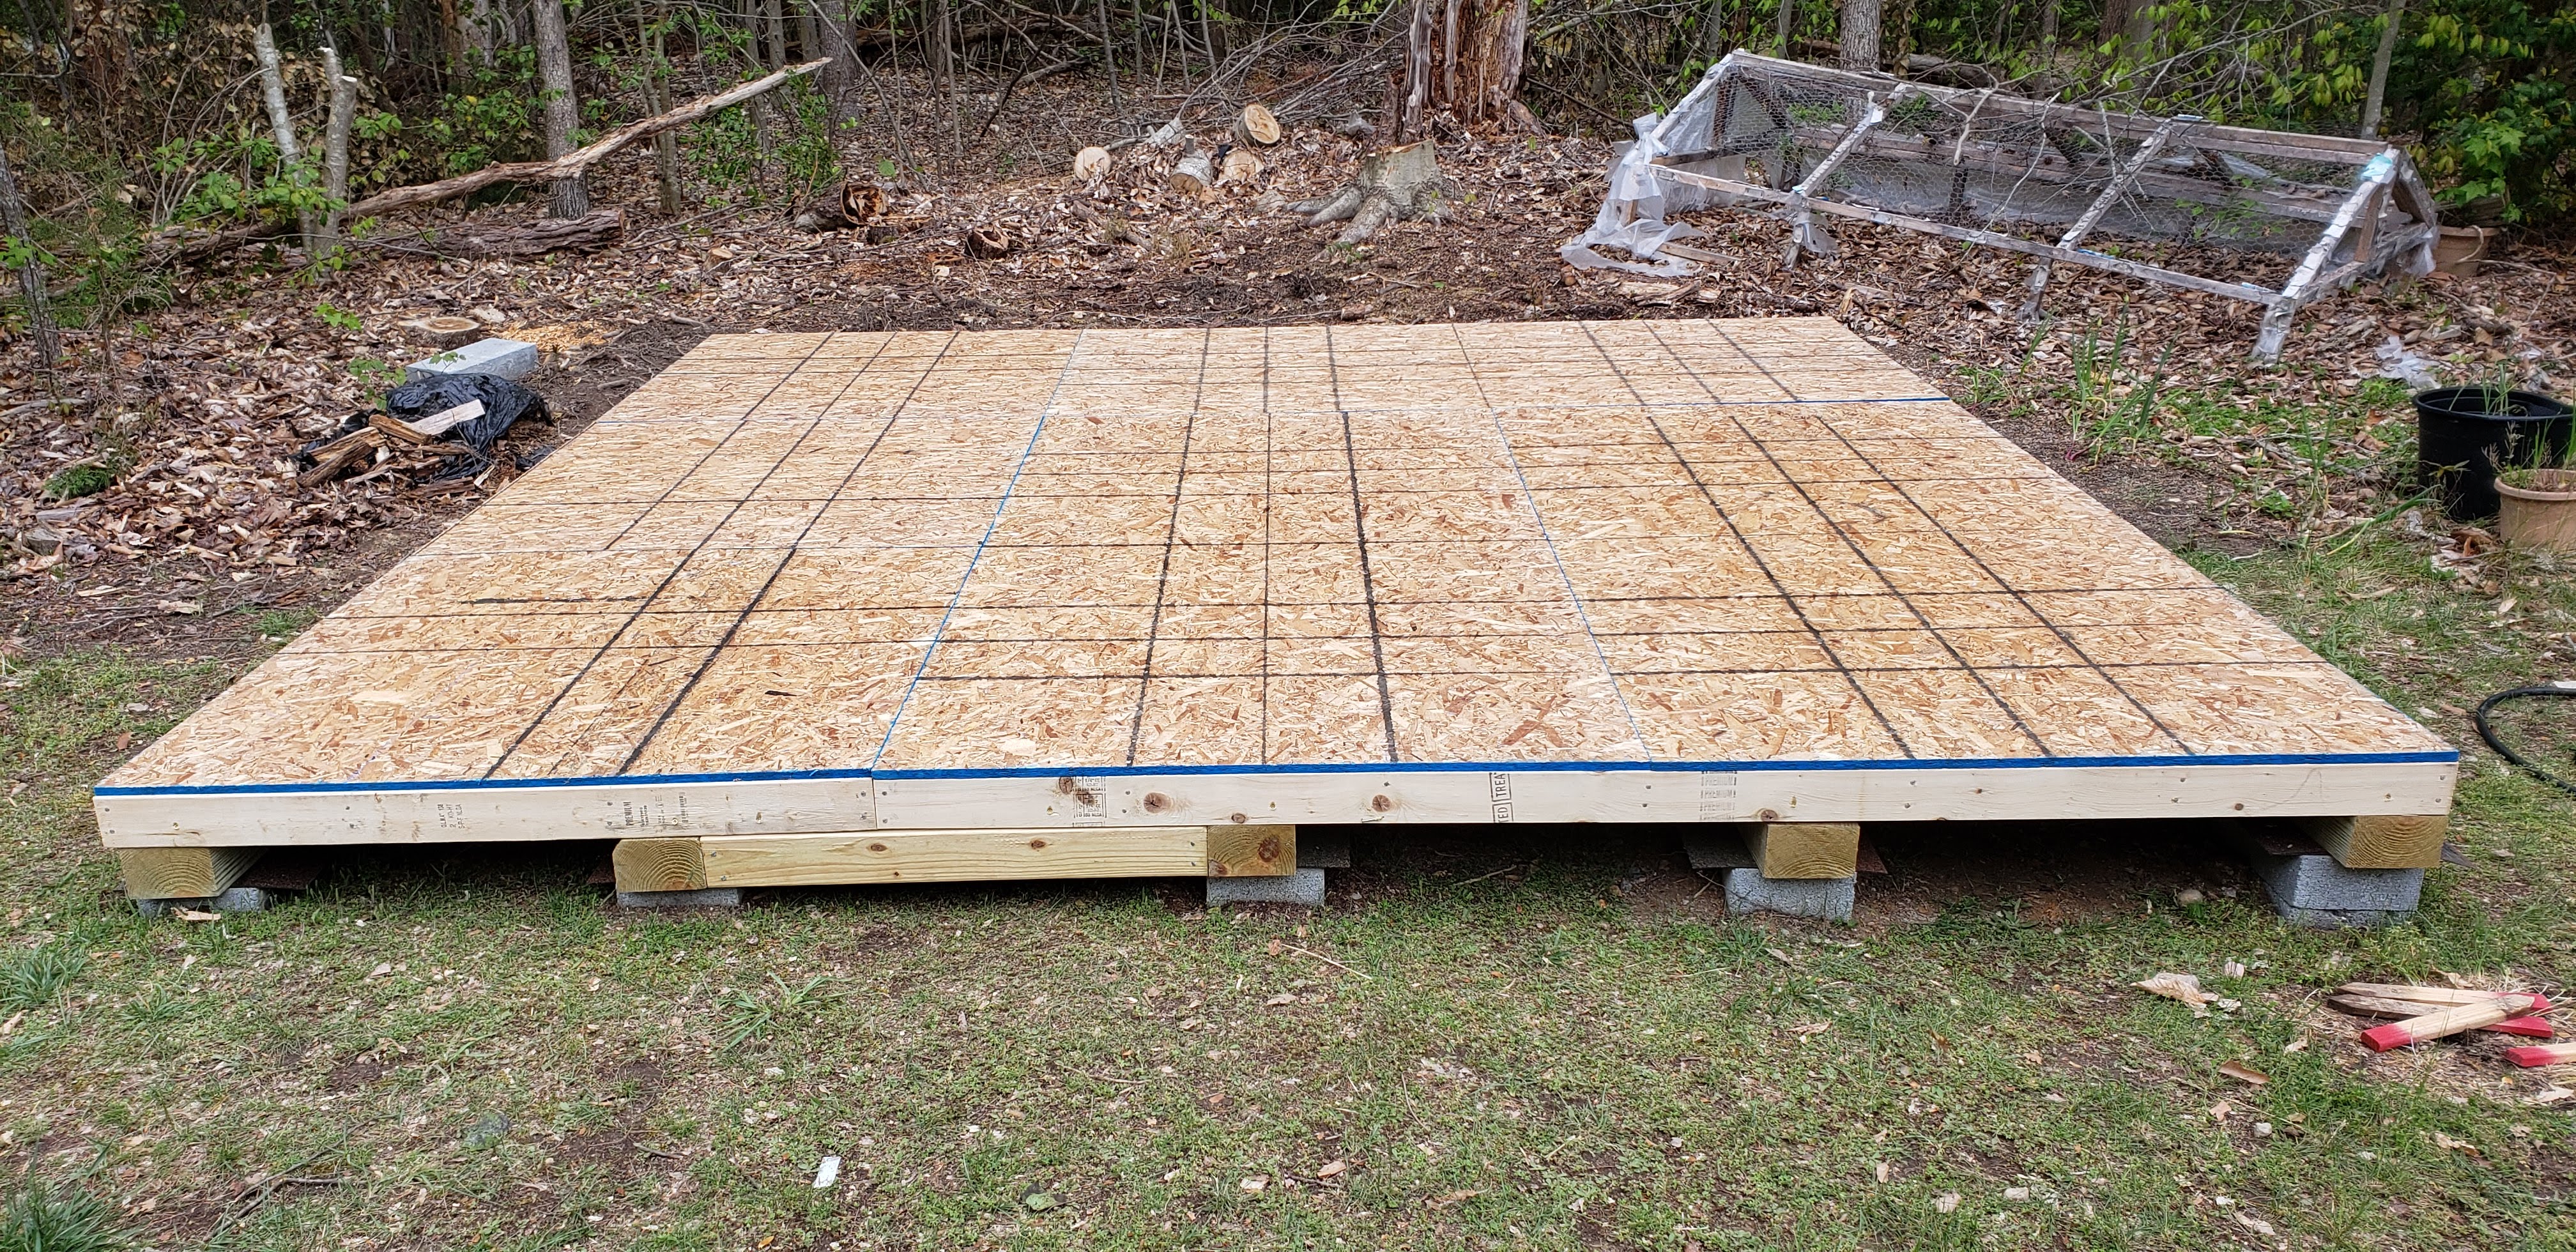
Shed floor added to the floor kit per instructions....
|
 |
Checking for level.
|
 |
| Off just a little left to right at front of shed...I'll take that. |
 |
Floor decking removed! I thought about it for a week and hated the design that came with the shed. In this pic you can see that I've clamped two of the boards together to deal with warping. Then I was able to completely bond these together. Better, but not good enough....
|
 |
In an attempt to marry up my blocks and beams with the floor kit that came with the shed, I added 2x4's under the frame. This bridges the gaps between the beams and floor kit frame. In retrospect, I should have simply scrapped the floor frame, despite paying for it and just built my own. Hindsight is always 20-20. The floor decking was then reapplied over the frame.
|
 |
Walls framed, awaiting exterior sheathing.
|
 |
Framing and sheathing the front wall. My framing nailer is visible in the pic. It was a life saver! Make no mistake, it is heavy and takes a toll on the user, but it did make things go faster.
|
 |
The old man getting some help from my youngest. I wouldn't have finished without his help.
|
 |
Teamwork!
|
 |
That day started off cool, but boy did it end hot. It was a long day, but we got all of the walls framed and sheathed.
|
 |
| Here, you can see our construction process. We built the frames first, then we took the frame that would be erected last and added the sheathing to that. That frame was the front wall. Next, we did the frame that would go up third (the right wall) and built it on top of the front wall frame, adding the sheathing to it. Next was the frame that would go up second (the left wall), placing it on top of the pile and sheathing it. Finally, we added the wall that would be erected first (the back wall) to the pile and sheathed it. |
 |
That's a pile of pre-constructed walls! Time for a break.
|
 |
Here you can see more of the process. The back wall and left wall have been erected. The pile now has the right wall and front wall.
|
 |
A peek inside the front door opening after erecting all four walls and added the rafters, which I had built the day before, according to the included instructions...mostly.
|
 |
A view of the shed after erecting the walls and installing the rafters.
|
 |
Roof sheathing added and a large tarp stapled down...took an entire day to do the roof sheathing and they were calling for rain. Came in handy as the weather guessers guessed right.
|
 |
Starting the roofing process. Tar paper down, drip edge installed first course of shingles on the way.
|
 |
We did what we could from the ground, taking our time to make sure that we were properly aligned.
|
 |
A quick break for a sandwich and cold drink. It was so hot that day!
|
 |
Neither of us wanted to get on the roof.... Time to call in a handyman to finish the high work. Hey, been keeping it real the whole time. I hate heights!
|
 |
Some of the tar paper was torn off in some wind, before the handyman could get us into his schedule...not a hard fix.
|
 |
Handyman has been there and gone. We now have a roof! I also took the opportunity to add the front window. It is officially dried in!
|
 |
A side view showing the shingles.
|
 |
I don't plan to build a permanent ramp into the shed. I'm going to use my old trailer ramps. They should do the trick.
|
 |
Moving stuff in! That riding lawn mower was the main target in all of this. Getting that out of the garage is epic
|
Well Gray Ghost fans, that's the story in pictures. Hoped you liked the change in format for this episode! Even though I started the project in the cold weather, it is screaming hot now! We are a week away from July 4th. When we started, we were all locked down due to the corona virus. It definitely lengthened the build time, as the kit itself was delayed several weeks. On top of that, I tried to limit my trips to the home store to limit my exposure to the virus. Still, we were able to get it done. Well, almost. I still need to paint the shed and then add the trim. That won't stop me, however, from putting it to use!
If you've read my other posts, you know that I'm a fair weather worker. Being that it is so hot now, I'm not sure how much work I'll get done this summer. But fall is right around the corner and it'll be pedal to the metal time. Time to start welding...! Here's to not burning down the house!


