Actually, neither. Maybe. I think?
So, I had some time last weekend and decided it was high time to fire up that 235 cu in beast that's going to be transplanted into the Gray Ghost. As you may recall (The Gray Ghost Goes Tinkle in a bad Sort of Way), I had a water pump issue to deal with some time ago. I got that fixed (Water Pump Turns Into A Can Of Worms) sort of... (As The Water Pump Turns)...but not really (Buttoning Up The Cooling System), finally! After all of those trials and tribulations, I basically ran out of time and good weather. Time passes...the summer heat is finally gone and its time to work on the truck again.
I finally got the old radiator out of the Gray Ghost and decided to give it a try while the engine was on the test stand. Boy am I thankful that I did that!
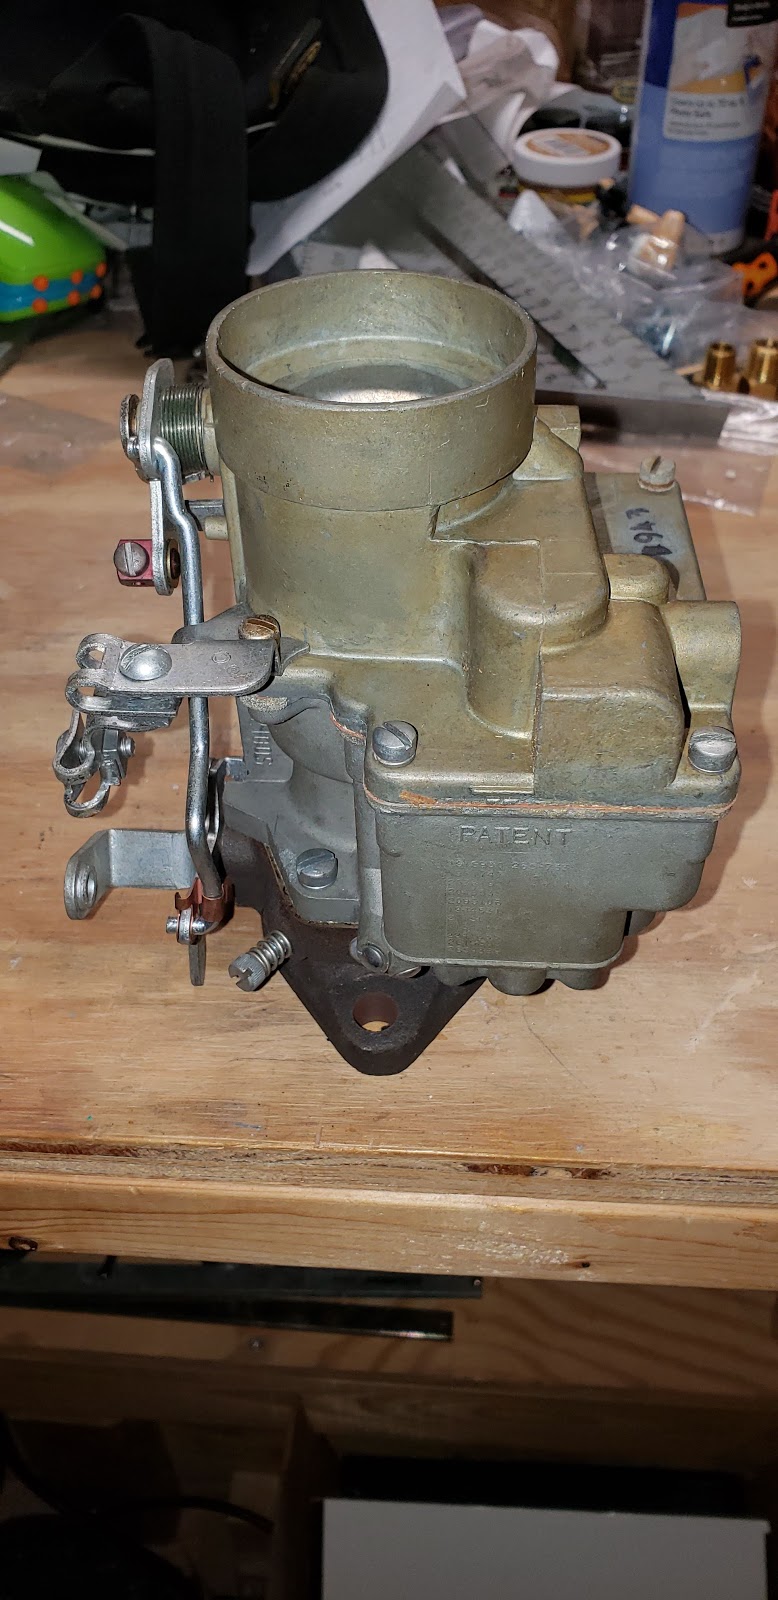
But first, it was time to test a potential upgrade that I've been thinking about adding to the Gray Ghost. To test it, I added it to the engine test stand. That upgrade? An electric fuel pump! I also took the opportunity to re-route the fuel line from the mechanical fuel pump to the carb. When I replaced the old fuel pump, I found that the new one had the fuel outlet in a different position. So, I had to re-route the lines back then. It worked ok, but was too close to the return water pump hose. When I replaced the water pump, it got worse. So, I moved the glass bowl fuel filter, re-did the lines. I also made the upgrade to the test stand and plumbed in an electric fuel pump and fuel filter. (Full disclosure: I did not think this up myself! I followed the suggestions of one of my fellow truck forum members). On the test stand, it looked like this:


So, I hooked up the battery and flipped the fuel pump switch...and it started pumping gas! Now, I can get fuel from the tank to the carb with little drain on the battery. In the past, I had to crank the engine to make the mechanical pump do it and it could literally drain the battery! I think that this upgrade is a keeper! I'll replicate it on the actual truck in the near future!
With the carb bowl full of gas, it was pretty easy to get the old engine to fire once again. But Holy Cow did it shake and shimmy! It took me a couple of minutes to figure it out and it was pretty disappointing when I did.... First, a little reminder of how great it looked when the water pump replacement was finished:

New water pump and new fan. Like so many repops, the fan was not without issues when I got it. Specifically, when they punched the hole that went over the pulley, there was excess material left over and the fan wouldn't fit. So, some quick, judicious grinding and I thought things were done. It looked like this:

(showing excess material)

(another view of excess material)

(material ground away)

(backside of fan repainted)
Well, either I made the fan become unbalanced with my grinding/painting or it came that way from the factory. Either way, it had to go! Once the fan was off of the water pump pulley, the engine ran as smooth as ever. Things were looking up! Not so much.... Did I mention that I finally got the old radiator out of the Gray Ghost? Yup, and installed it on the engine on the test stand. Why not test it, too? It looked like this:

Well, about the time that I was feeling pretty good about things, I noticed that the old radiator was leaking. I found four different spots where it was leaking. Sigh. Time to wrap things up in the garage and head to the computer to buy a new radiator. Oh well, that's why we test.
In the meantime, I managed to get the stomp starter linkage off of the old engine. It was pretty gnarly! I didn't take a specific picture of it in the old truck, nor did I take any showing how gnarly it was. But I did take a pic while it was soaking in the Super Clean (I love that stuff!). It showed the original color of the linkage:

BLUE?! Chevy truck engines were supposed to be gray! Why is my linkage blue? It does match the color of the old engine in the truck, but we already knew that was not the original engine. The problem is that the starter linkage is the right linkage for my truck. Maybe it got painted to match? Who knows. In the pic, you can also see just how much crud was on the linkage. Following my normal process, I cleaned it in the Super Clean, got the rust off with the Evap-O-Rust, did a quick sanding with the Dremel wheel, primed and painted. After all of that, I mounted it onto the bell housing to see how it looked. Frankly, I was impressed:


In the side shot, you can see a good view of the starter linkage. That is the original spring and odd shaped washer/spring attachment point! New ground strap where it will eventually go and rear motor mount bolts in their place. In the top pic, you can see the stomp button. I had removed that a couple of months ago and restored it then. Clearly, I did not go with matching paint. I really like the way it looks, though and am glad I went with the satin black.
Last but not least, I did manage to get the shift linkage pivot point. I found someone online that was willing to sell me the rod, without the bellhousing. He even sandblasted it for me! When I got it, it looked like this:

The gnurled end goes into the bellhousing. The ring at the other end holds the C clip.

(showing where it fits into the bellhousing)

(primed)

(Painted that beautiful Chevy Blue)
The shift linkage pivot rod is currently in the basement, so the paint can cure all the way.
So, a bunch of odds and ends, again. My new radiator is due in by the end of the week and I'm off on Friday.... With any luck, it'll come in on time. If it does, I'll flush the cooling system with the old radiator in place. Then, swap out the old radiator for the new one.
That's all for now, but there's sure to be more soon. It is the prime season for working on my truck!
Oh yeah, what about the title? Well, about a week before I got out in the garage to fire up that engine, I removed the valve cover and gave the valve guides a good soaking in Kroil. When the engine was last running, it kind of "chuffed". I'm not sure how to really describe it, but periodically, it would puff out a bit of smoke and make a sound. So, in an effort to loosen anything that was stuck, I hit it with the Kroil and let it sit for a week. Then, when I fired it up, all that Kroil had to burn off! Kinda smokey for a while. The smoke combined with the normal exhaust, which I think has some steam in it (head gasket leak?!?) to make the smokey water or watery smoke. One issue at a time, is about all that I can handle! Stay tuned!!