1953 chevy truck ad

1953 chevy truck ad

Saturday, May 30, 2015

Dr. Strangelove: or How I Learned to Stop Worrying and Love the Crud

Working on a 62 year old truck, that blew an engine sometime in it's prior life, had it replaced, then sat in a field for over 20 years, will be a challenge sometimes.  The level of "crud" that has built up is amazing.  So how do I know the engine blew at some point?  First, the serial number on the block indicates it is a Chevy 235 cu in inline 6 that was cast and assembled in 1957.  So my 1953 Chevy truck came to me with a 1957 235 engine installed, instead of the 1953 216 cu in inline 6 that the factory gave it.  Second, the entire underside of the truck is covered in oil, grease, mud (mud that is made from dirt and oil, not water) and the remnants of the plants that grew up around it while it was sitting in the field.  You might think that so much oily crud would be a bad thing.  In a certain perspective it is a pain in the butt to clean.  But for preserving the metal in the truck, it was a Godsend!

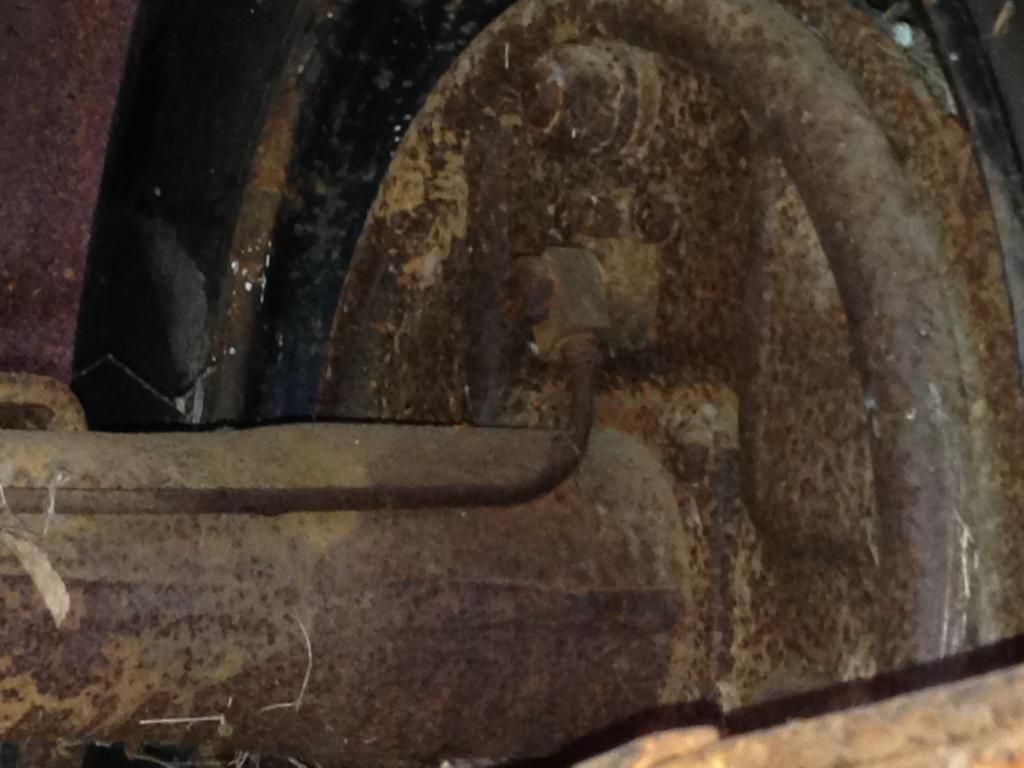
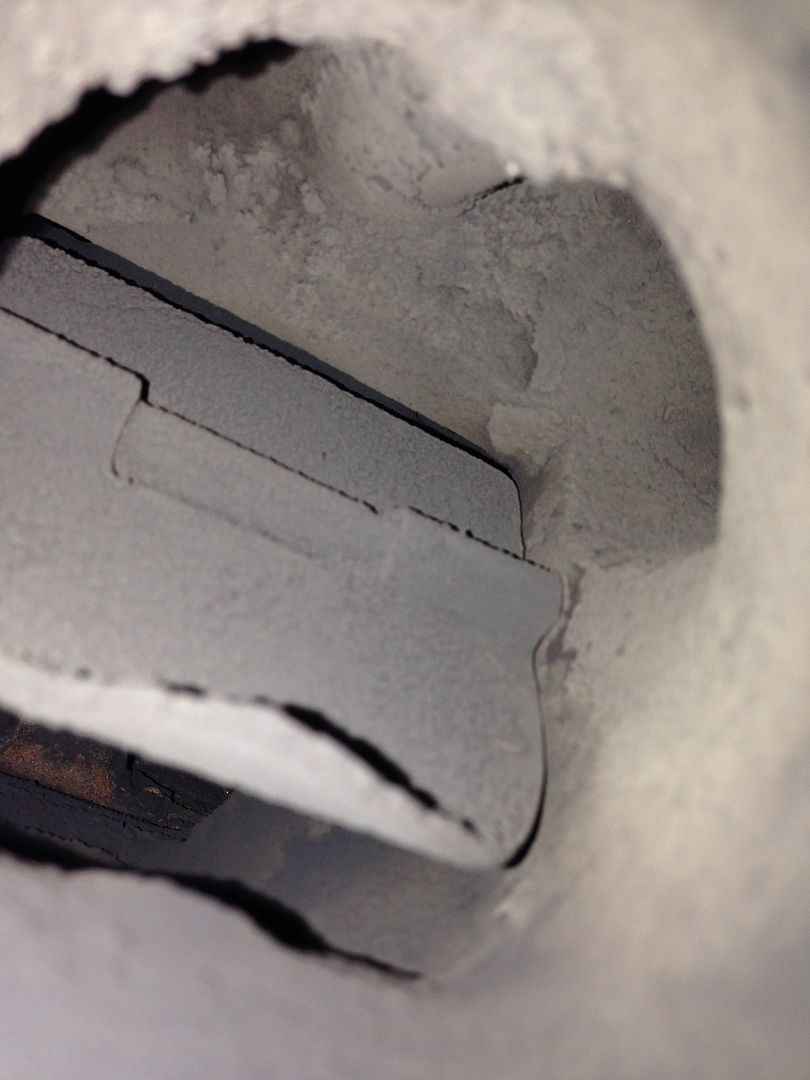
While removing the brake line that comes from the master cylinder to the junction block located on the frame rail, I had to first remove over a 1/2" thick layer of the crud to get to the screws that held it in place.  Here is a pic showing half of the crossmember cleaned of the crud:


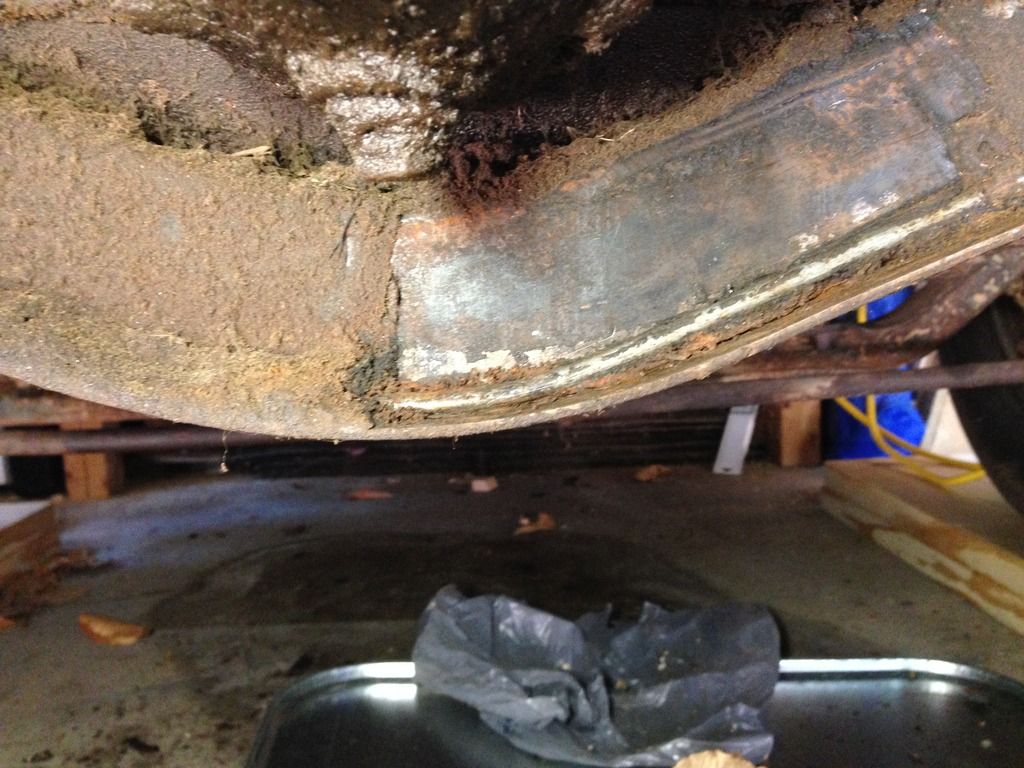
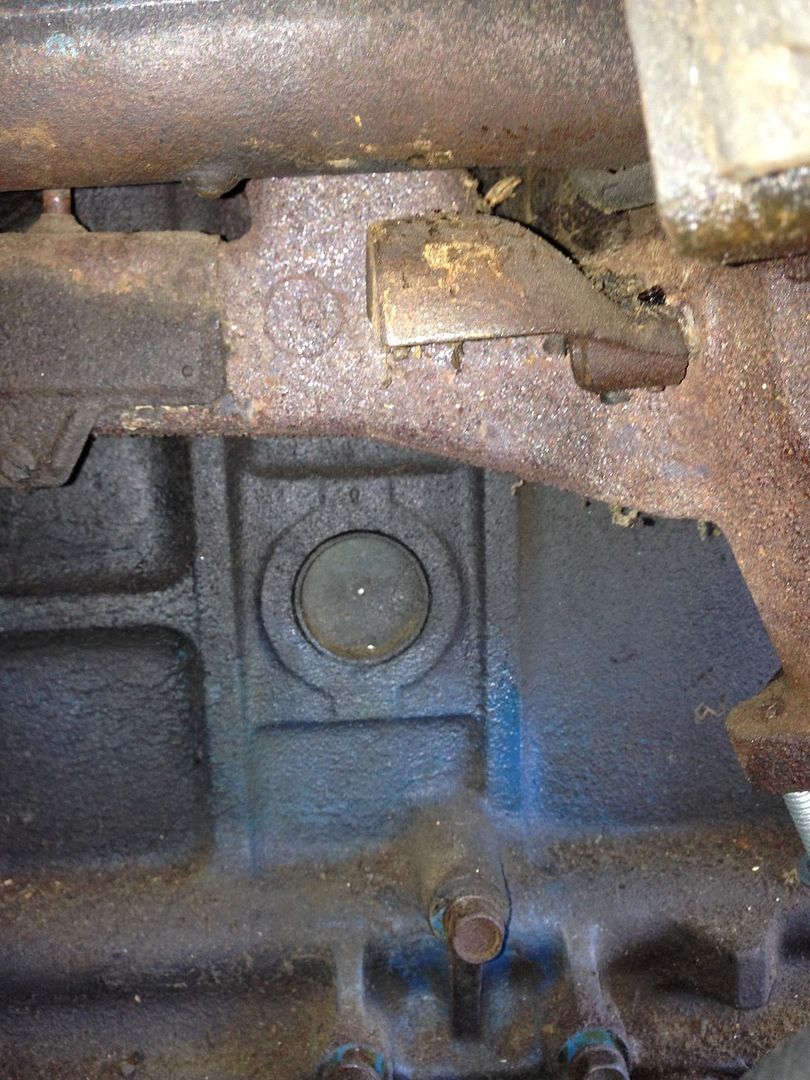
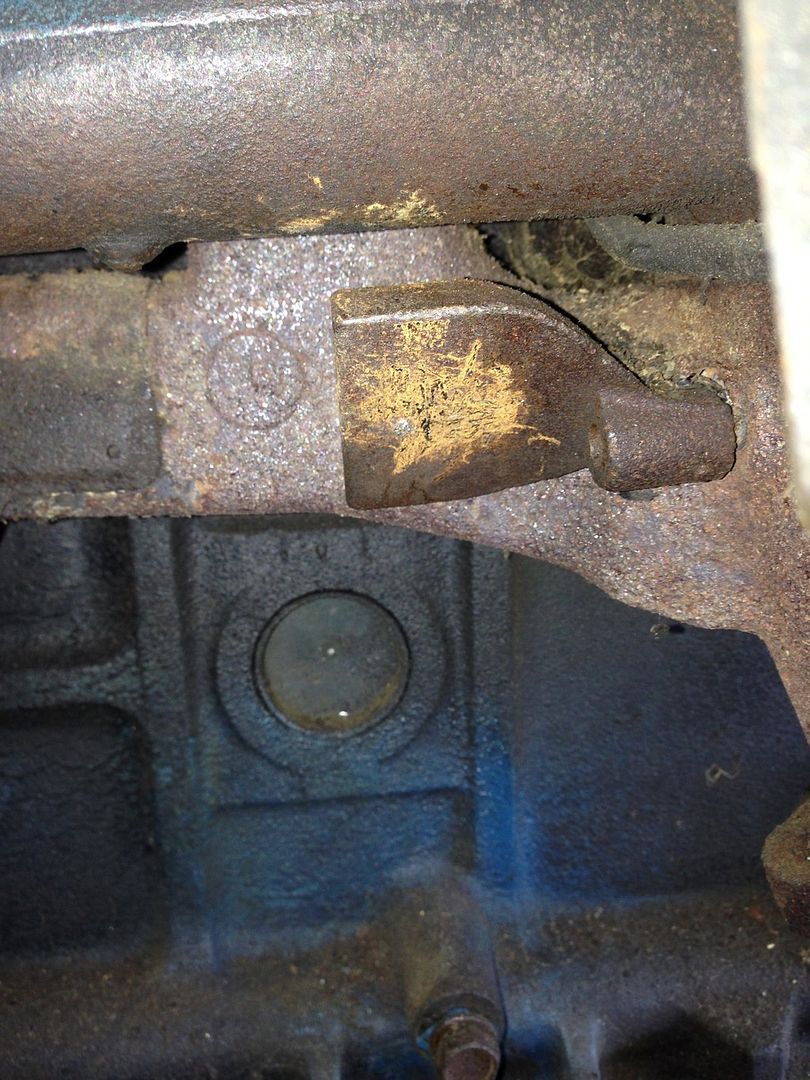
You can see the crossmember with the brake line formed to the shape of the crossmember.  If you look closely in the upper right of the pic, you can see the metal tab and screw that hold the brake line to the crossmember.  There is a second tab and screw on the left side.  In the top of the pic, you can see the transmission drain plug.  The shine is that layer of oil that I was talking about.

On the bright side, the metal underneath the crud is completely rust free.  Too bad the whole frame wasn't covered!

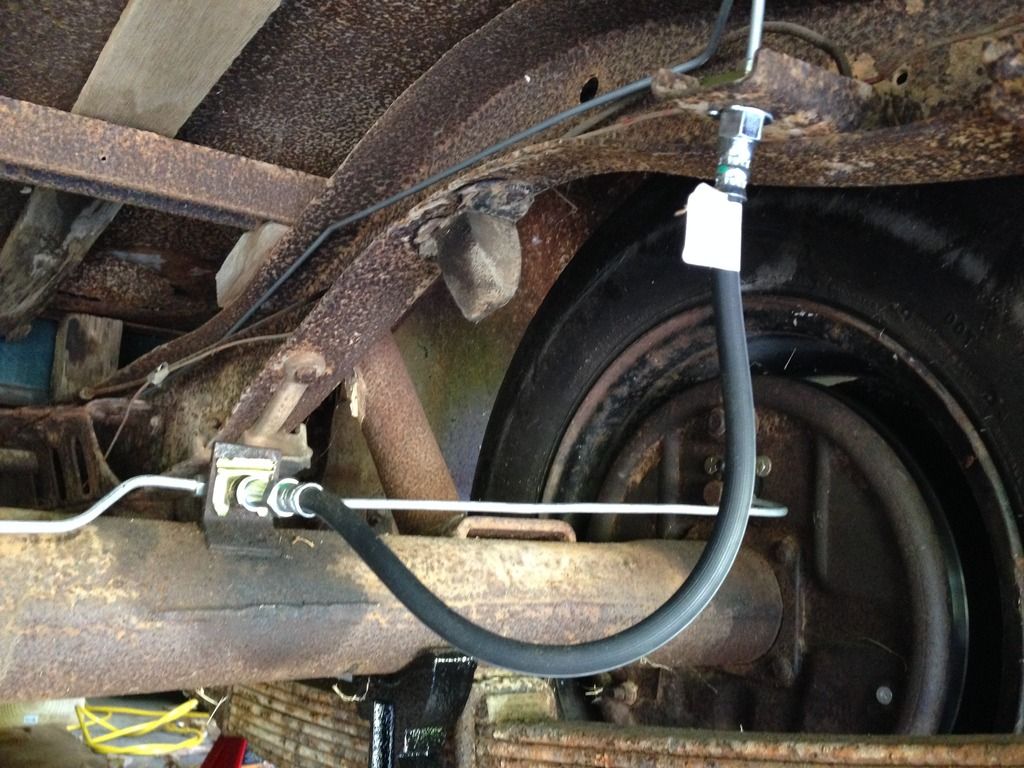
I was able to cut the brake lines at the junction block and get the nut/lock washer undone, so that the junction block is now free.  It's been cleaned and is ready to reinstall on the truck.  The crossmember has also been completely cleaned.  The next step is to get the front end onto jack stands so that I can get the wheels off and get access to the rubber brake lines and the last remaining steel brake lines. Once those are off, I can start installing the new steel brake lines, the old junction blocks on the frame rail and the master cylinder and the master cylinder itself.  That will probably have to wait until next weekend.

Also, the parts to rebuild the front brake assemblies are on order and are due to arrive by the end of next week.  This order is similar to the one from Christmas, as it contains new springs, star adjusters and wheel cylinder attaching bars.  To round out the refurb, I'll have to go to NAPA and get the brake shoes and new drums.

All in all, I'm closing in on the end of the brake rebuild...or at least I have a plan.

Saturday, May 16, 2015

Brake Line Installation Begins Today

Today I started installing the brake lines.  This is a complete replacement of the brake lines.  The only parts that are being reused are the junction blocks and banjo bolts.  I am replacing the copper washers that go on either side of the junction blocks, though.  I started in the rear of the truck and am working my way forward.  I'm to the junction block that separates the front and rear wheels.  I haven't removed that brake line yet, so that is where I stopped.  Here are some before and after pics.

Right rear before replacement:


Right rear after replacement:


Differential with brake line before replacement:


Differential with brake line after replacement:


Left rear wheel before replacement:


Left rear wheel after replacement:


You can see that the banjo bolt has not been attached to the left rear wheel yet.  Somehow, I managed to lose the copper washers that I need to reattach the banjo bolt and junction block to the wheel cylinder.  So I'll run by the auto parts store and get some more.  They'll need to be annealed before I use them, but that only takes a few minutes to do.  In this pic, you can see that the replacement brake lines come from the manufacturer with rubber covers installed on all of the fittings.  This is good, because you are sure that nothing has gotten into the brake lines that might clog them up.  The color or the cover also identifies the size of the fitting.  The gray ones are 3/8" in diameter.  There is a brown covered one in the kit, too.  That attaches to the master cylinder and is slightly larger than the rest, I just don't remember how large it is right now.  You'll also note that the wheel cylinder came with a plug, for the same purpose.  Quite an improvement!

Friday, May 15, 2015

Exhaust Manifold Studs Replaced Today

Another small step on the road to installing the running engine into the truck was taken today.  I went to NAPA and got the new exhaust manifold studs today.  They were an exact fit, although the website said that they were for a later model year.  I took the measurements of the old studs 3/8" diameter x 16 pitch threads and that matched up to what the website specs were, so I bought them.  They looked like this:


The installed studs look like this:


While the exhaust was off of the manifold, I decided to take a picture of the inside of the manifold to show the heat riser.  The heat riser is a metal flap that rotates open when the engine is cold. This allows hot exhaust gases to warm the intake manifold and warm up the fuel/air mix before it goes to the cylinders.  I've read that this is to help ensure better fuel atomization and therefore, better ignition and smoother running when the engine is cold or when it is cold outside.  The riser flap in the open position looks like this:


The pic is a bit blurry, but you can see that the port on the right is blocked by the metal flap.  This redirects the exhaust gases upward towards the intake manifold.  Once it gets to the top, it makes a u-turn around the flap and goes down the exhaust manifold and out the exhaust pipes.

Once the engine warms up, the flap rotates closed, blocking off the gases from the intake manifold. The heat riser in the closed position looks like this:


You can see in this picture that the flap has rotated and the exhaust gases can now pass directly to the exhaust pipes, without first going up to the intake manifold.

On the outside of the engine, you can tell if the heat riser flap is opened or closed by the position of the counterweight.

The counterweight is in the open position in this picture:


The counterweight is in the closed position in this picture:


The rotation of the counterweight is clearly visible when the two pictures are compared.

I had really wanted to test fit the exhaust pipe that I had removed from the truck last weekend, but when I got it out, I found out that it wouldn't fit around the frame of the test stand.  So, sadly, I will not get to test out the old pipe and glass pack (or resonator, not really sure what it is) that came off the old truck until I actually get the engines swapped.  I fully plan on using the old pipe, though, as it is a super heavy gauge metal and even though it has surface rust on the outside, it is still plenty thick without any rust through.  So, after figuring out that the old pipe wouldn't fit on the engine while it was on the stand, I fit the old exhaust that was on it on the test stand back onto the engine.  It looks like this:


Nice shiny studs with gnarly old pipes.  I did apply some of the NAPA anti-seize compound to the studs before I installed them.  The bottle says it is good up to 1600F.  I don't know how hot the manifold will get.  I hope that the compound doesn't bake the studs in place!  These studs are designed much nicer than the old ones. The ends are stamped to fit a 1/4" socket wrench.  So when it is time to remove them, hopefully I can remove them easily.  Not like removing the original ones, where I needed to add a jam nut to the original nut so that I could apply enough force to break them free.  Time will tell....

Sunday, May 10, 2015

Who Wants A Flaming Rat's Nest?

Today was a milestone...I was able to get the exhaust system off of the engine that is installed in the old truck and it's still in one piece.  I was hopeful that I could get it off in one piece so that I could reuse it when I transplant the running engine into the truck.  I plan on temporarily attaching it to the engine on the test stand, the next time I run that engine, to see how it sounds.  I do think it would be kinda funny to shoot an old flaming rat's nest out of the tailpipe when I hook it up, but I'm more concerned with how it will sound.  The old exhaust system is a single pipe with what looks like an old glass pack attached.  It is too rusty on the outside to see any markings, but the metal is such a heavy gauge, that there is no rust through.  It is a very solid pipe!

Also today, I was able to remove the studs that attach the exhaust pipe to the exhaust manifold on the running engine.  That wasn't an easy task either, but I managed to get them both out without breaking the studs off or mangling the threads in the manifold.  So I'll replace the studs, get a new gasket for the pipe and I should be off and running for the test of the old pipe.  I can't wait!  I'll definitely shoot some video when I run it with the old pipe attached.

That's all for now.

PS, The pipe that was in the old truck put up a pretty good fight.  I tried to finesse it out by using tons of penetrating oil, but to no avail.  When I got the socket wrench onto the first stud, it seemed to be turning.  Turns out, it was shearing off.  So one stud broken, on to the next one. That one would not budge, period.  So after climbing under the truck and into the engine bay, more times than I care to mention, I finally broke down and got out the Dremel with a cut off wheel. Not one of the little ones, but one of their newer design beefy ones.  I'm pretty sure that was some kind of hardened steel, because I went through a cut off wheel and a grinding wheel before I was able to break the nut in half and have the pipe fall away free.  All told, it took me 4 hours to break the pipe free and get the studs out.  Lots of work, for what may seem like only a little progress. But in my mind, a huge leap forward, as I've been wanting to do this job and thinking about this job for months.  Getting it done clears the way for actually doing the engine swap in the future. It's not the only job to get me ready for the swap, but it was an important one and one I can check off my list.

I'm not sure that I believe in spirits interacting with us mortals, but if they do, I'm pretty sure the previous owner of this truck is ticked off at me for working on it.  Anything and everything (and I do mean everything) that could have gone wrong today did.  It's like the old man (or woman) doesn't want anyone else to drive the truck.  This time, I won.  It took brute force and a couple of abrasive wheels for the Dremel and then a deadblow hammer and mondo screwdriver, but that pipe came out! Score one for the living!  I really wish he'd work with me and not against me.  Who knows, maybe he'll come around when he sees I really like the truck and respect it for what it is....