
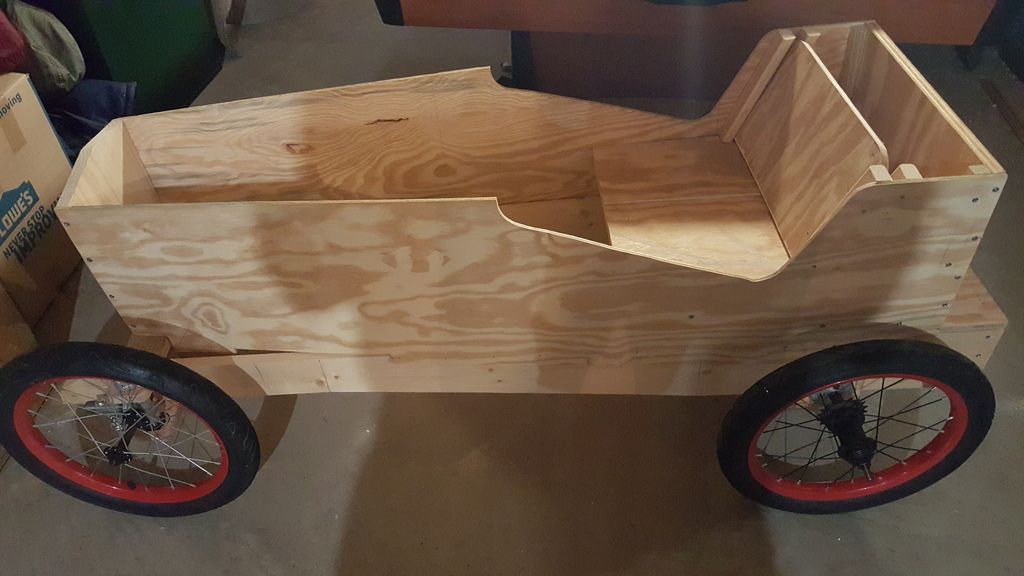
You can see the seat back can be removed, as it sits in between 2 pieces of wood on each side of the car body. The seat bottom is glued and screwed to the frame. I used the seat back as a guide and created a cushion back that was 1/4" smaller from side to side and about an inch taller than the seat back. That way the seat back could still slide down the guides and the seat cushion would be taller than the seat back and would keep the riders back from hitting the wooden seat back. I bought foam cushions and vinyl (fake leather looking) material from Joann Fabrics last weekend. I decided to use T nuts inside of the cushion as a way to connect the cushion to the seat back, so it wouldn't slide around. The seat cushion back with T nuts installed, foam and vinyl looked like this:
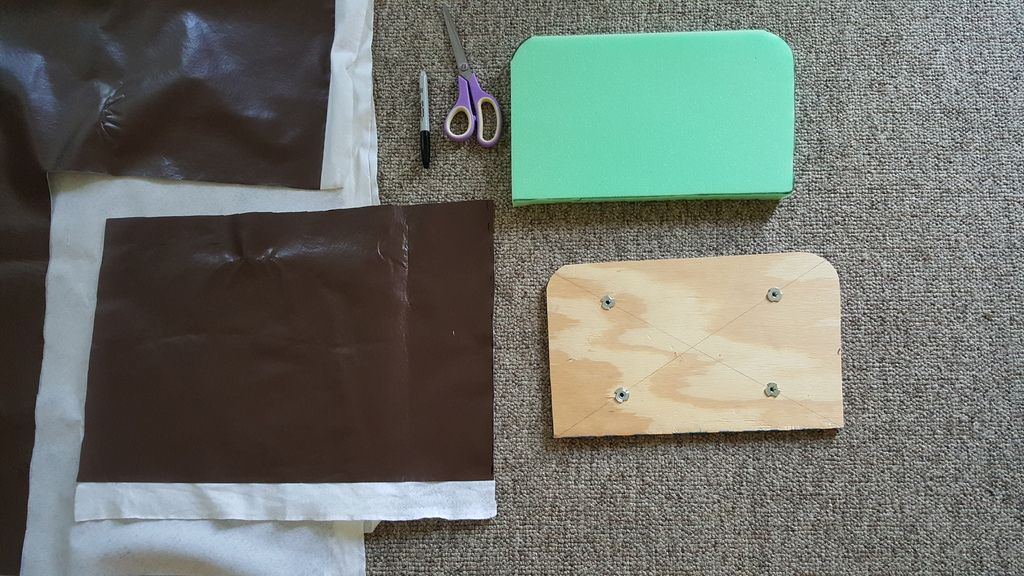
I used the wood as a template and marked the foam with the Sharpie and just cut it out with plain old scissors.
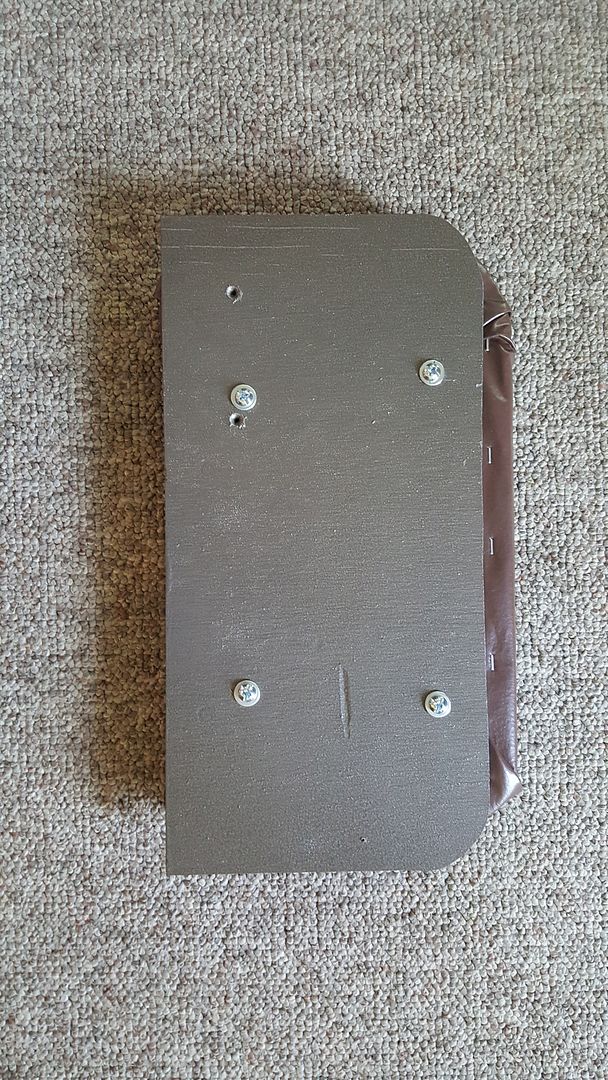
I decided that the inside of the car would be painted the same inside color as my 53 Chevy truck. So I painted the seat back and when it was dry, attached the cushion to the seat back. It looked like this:
Here you can see that the seat back is wider than the cushion, but the cushion is taller than the frame. You may note the holes in the seat back. This piece of wood was initially part of the 4'x8' sheet of plywood that we used for our Christmas tree train layout. The 2 holes were where train tracks were connected. We later decided to pare down the board to a 4'x4' board and this half of the plywood sheet was excess. So, in keeping with my goal of reusing as much wood as possible, this found its way into the pedal car. You can also see the machine screws that attach the seat back to the cushion by way of the embedded T nuts. A test fit of the cushion shows that it fit pretty well, although I did have some issues getting the vinyl to bend around the corner radii on the top of the cushion. But I knew that this would be an issue, so I wasn't too upset. The test fit looked like this:
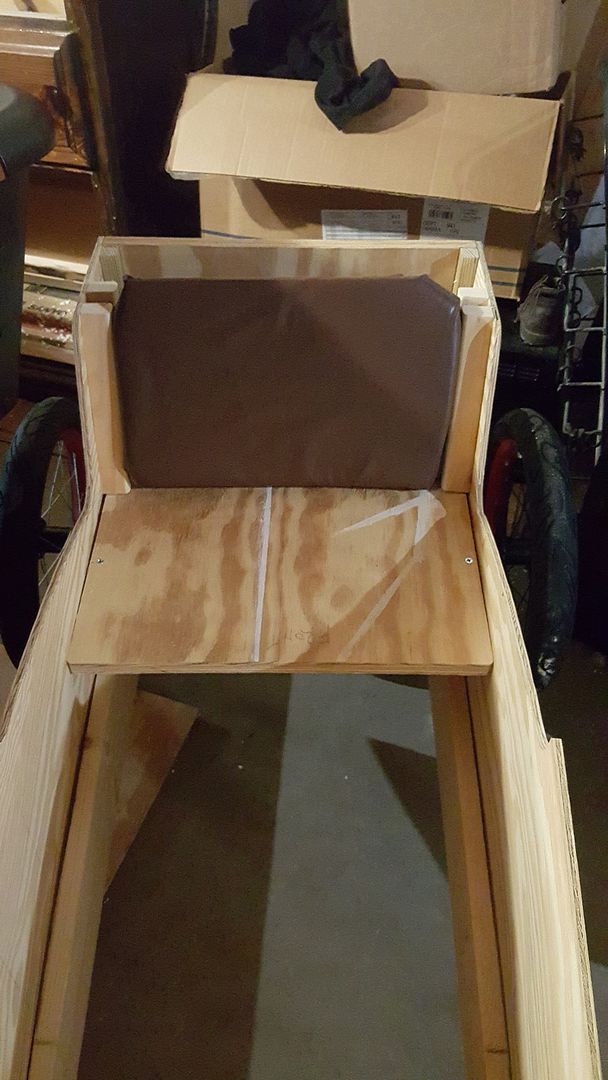
From here, I took measurements of the seat bottom and transferred them to a 1/4" sheet of plywood and then cut it out. I used it as a template for the foam and followed the same process for the seat bottom cushion. I also embedded T nuts in the seat bottom cushion, so it won't slide off when someone is riding. Once added to the pedal car it looked like this:
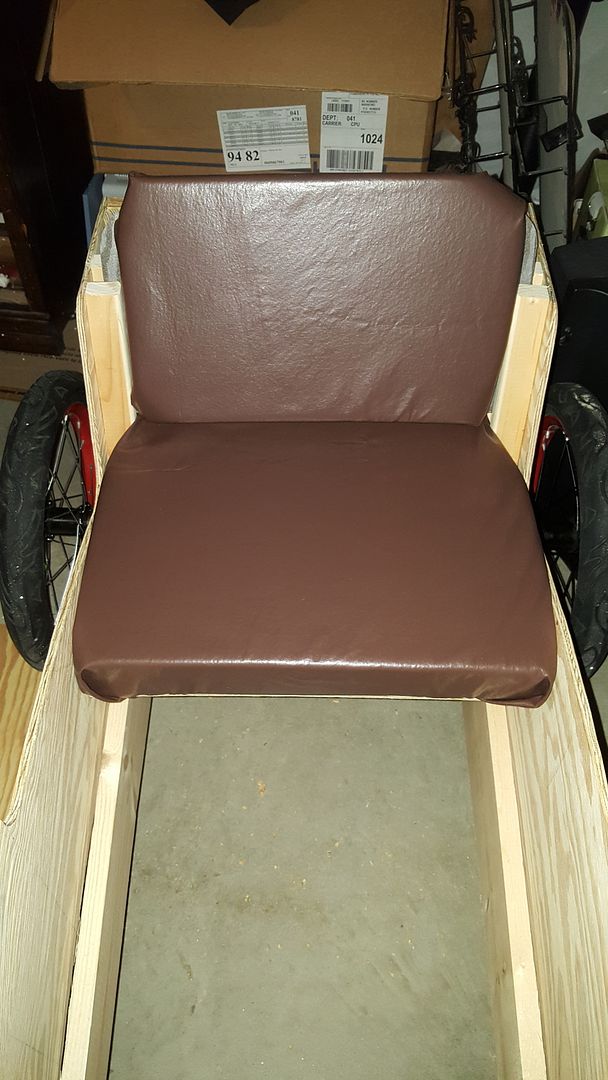
All in all, not too shabby. While I was out buying the sealcoat, I also bought the materials to make the steering column. I'll try to work on that tomorrow.
No comments:
Post a Comment
Let me know what you think. Comments, suggestions, tips or questions. I'll try to post a response as quickly as possible.