
Well, here we are at the end of yet another summer. Life has kept me busy at my usual pace. That, of course, means that I only got a little on the Gray Ghost during the hot summer months. To be honest, when the heat kicked in, it was too much for me to handle. So doing other things was ok. At the moment, I'm working on a woodworking project. That has kept me busy for a while (I work slowly on those, too). Now we're getting rain from the outer rain bands of hurricane Florence. No big deal for us, thankfully, but it keeps me from the woodworking and doing anything really big on the truck. I did, however, manage to get a small project done. Here's the story:
When originally built, the truck had both a manual choke and throttle. The dash had knobs for both and they look like this:

The choke knob is on top and the throttle knob is on bottom. When I repainted the dash I did not remove the old knobs. So...they got painted over! Not to worry, they will be replaced! Also at that time, I was thinking about using a newer carb with an automatic choke. Fast forward some and I've gone back to the thought of using the original style carb and keeping the manual choke and throttle. In that regard, I managed to find a very reasonably priced replacement carb from Carter. It is the 2100S and is a drop on replacement. It looks like this:
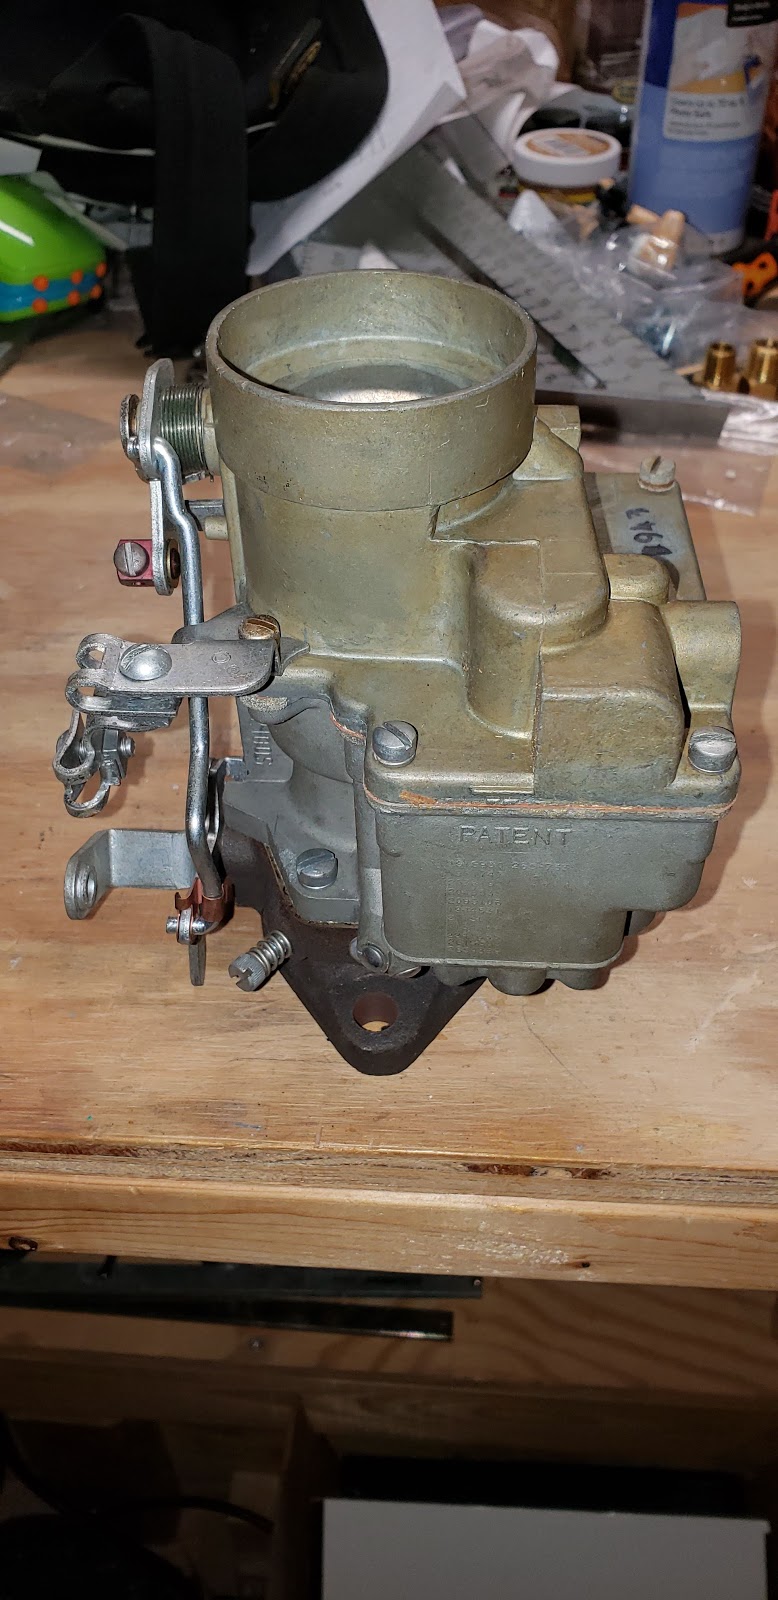
It is the same style as the original Rochester brand, but is supposed to be better performing. The brackets for the choke and throttle cables are clearly visible on the left side of the carb. Using this carb allows me to reuse the original "pancake" style air cleaner. The air cleaner is one of the very first things that I restored. A quick synopsis, through photos follows:


Quite a transformation from when I got it to where it was when I got done. Way back then, I decided that I wasn't going to try to hide the blemishes (pitting) on the air cleaner housing. To me, they are survivor badges of honor. In the last pic, you can see that I actually have two of them. The second one I got in the junkyard! That is the one that I'll be using. In the first photo, you can tell that something is sticking out from the bottom of the original air cleaner. It is a small piece of copper tubing that was braised on to the housing around a small hole that was cut into the housing. My guess about the purpose of the tube is PCV. Just after my truck was built, Chevy started incorporating PCV into its vehicles. The PCV system was better for the engines than the old road draft tube, so some people bought the kits and retrofitted them into their trucks. I'm thinking that a previous owner of the air filter had done that and that sometime afterward, that air cleaner ended up on my truck. For now, I don't want that tube potentially interfering with the operation of the truck.
The original air filter material was an oil wetted copper mesh. That mesh sat between two steel pieces of mesh that held the copper in place. From the last pic, you can see that the opening is not very tall and you can see the steel mesh (no copper). Because the opening wasn't very tall, the screw that held the lid in place was not very long. The modern replacement paper air filters are taller than the mesh and that meant that the screw was about 3/8" too short! So, to make it all work together, I had to cut off the old screw and then drill out the welded on piece to accept a #10-32 x 2" screw. I could have used a #10-24 x 2" screw, but wanted to use a wing nut on top and those were 32 tpi so that's what type of screw I used.
Drilling it out was straightforward and so was installing the screw. To ensure that the screw never falls into the carb, I used a nylon ring lock nut on top of the bracket. After that, it was just assembling it all together. The pics look like this:


Assembled onto the carb, it looks like this:

In case you were wondering, this is how it attaches to the carb:

The inner ring is a compressible sleeve that slides over the throat of the carb. There is a screw and nut that are attached to a metal band around the sleeve. Tightening the screw tightens the band and friction does the rest.
That's all for now. Not much, I know, but hopefully the coming weeks will see more progress. Thanks for reading. Comments are always welcome, either here or in response to the Facebook notification.
No comments:
Post a Comment
Let me know what you think. Comments, suggestions, tips or questions. I'll try to post a response as quickly as possible.