
Hello Gray Ghost Fans!
As I told you in my last post, I'm retired! So that means more time to be in the garage! Making good on that strategy, I did spend some quality time out there this past week. My goal, get the front end (chassis, steering linkages, etc) degreased so that I can work on removing the floor pans. Why is this important? Because everything up there is caked in grease and consequently, I get a good coating of it on me every time that I climb into the engine bay. It was time. So off I went, putty knife and dental picks in hand. What awaited me? Here's a pic to show you what i was up against:
 |
| Steering gear assembly and pitman arm |
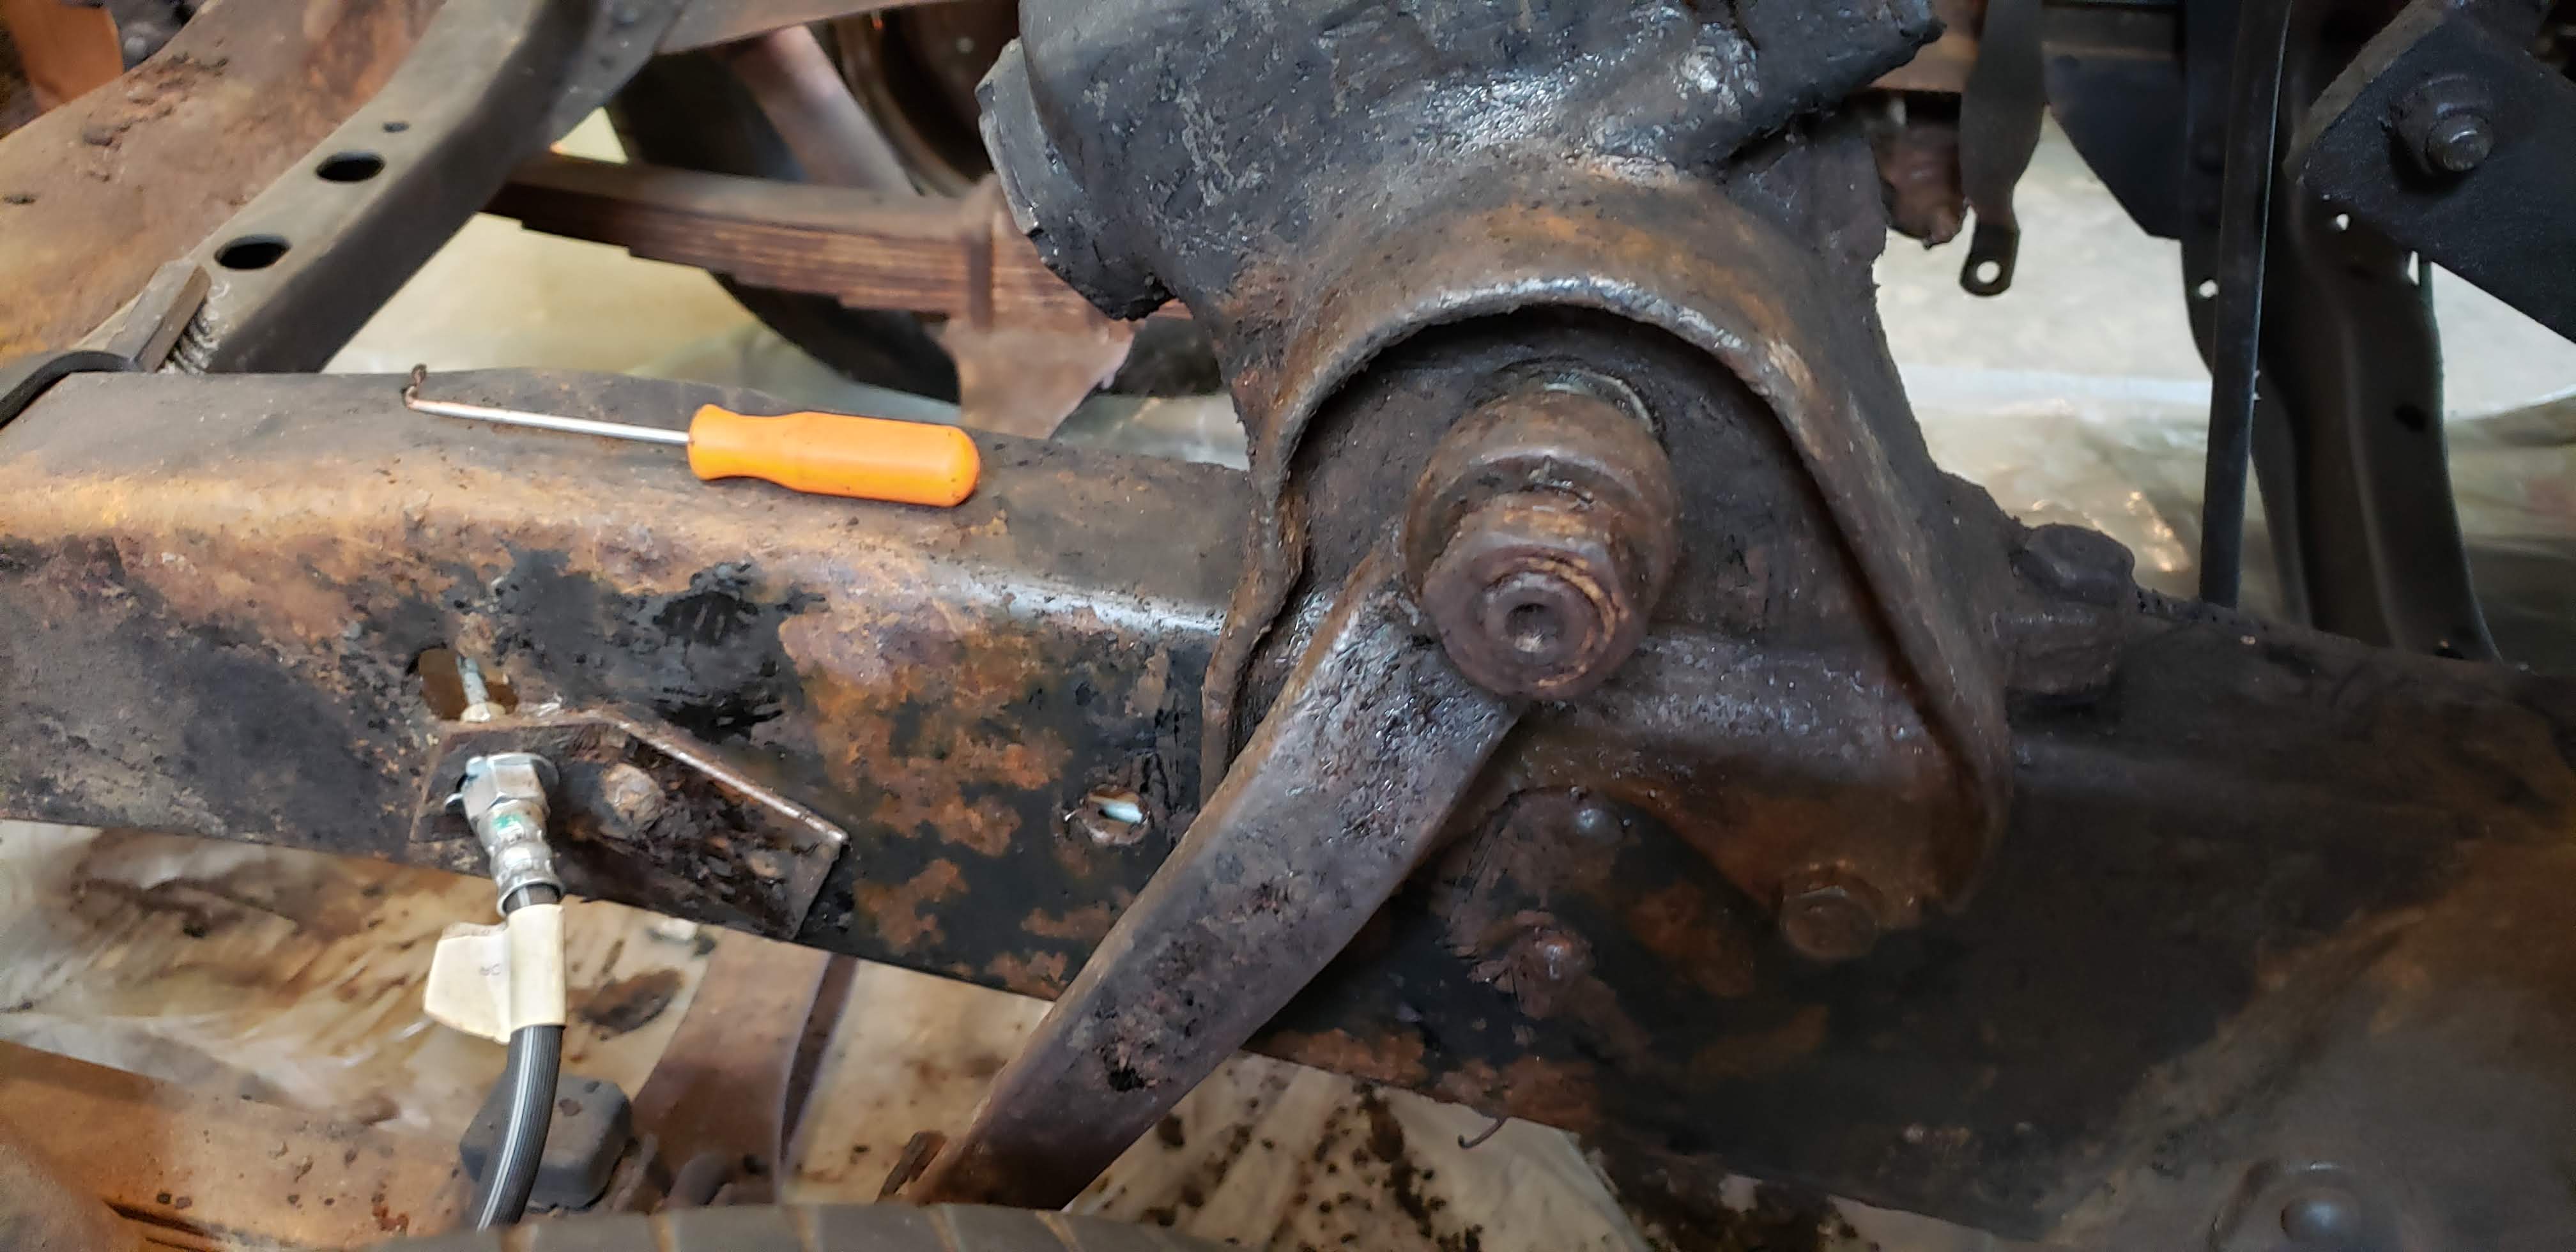
 |
| Passenger side front shackle |
Even for Gray Ghost standards, these are pretty gnarly! If you look closely at the picture of the shackle, you can make out the bottom grease zerk. What other hidden treasures could there be? The factory assembly manual has a clue for us:
 |
| FAM Sect. 3 Sheet 4.00 |
In addition to the zerk on the bottom, there is also one on the top...time to get cleaning! After about 15 minutes of digging with the pick and putty knife the top zerk comes into view:
 |
| Top zerk starting to show |
This pic really gives you an idea of how much grease and crud was really built up. There definitely was old grease and mud in this lump, but I don't think it was all old grease. Just like other areas of the truck, it had tons of old oil mixed in. It further reinforces my thought that this truck was used on dirt roads that were oiled to keep dust down. That would explain the layers of oil/mud with pockets of grease...but back to the main attraction, stabbing at that lump of crud.
After another half hour or more here's where I got:
 |
| Front shackle freed from the lump |
What's really interesting to me, is that there are traces of green paint on the shackle! I assumed that the factory painted them black, like the other suspension parts. But you can clearly see the same green paint that the cab and fenders were painted. Not important, but still interesting. Here's the other side:
 |
| Passenger side front shackle inside frame view |
Now, I know what you're thinking. Good job, now you can move on to the cab floor project! Not so fast.... Why not so fast? This guy:
 |
| Cork washer bits |
Referring back to the FAM, you may note that the diagram clearly shows a cork washer that acts as a grease seal. As you can see in the above pic, mine are shot. Ugg. That means I'm in for either a shackle rebuild or replacement. That also explains the pockets of old grease. Those seals weren't working during one (or more) of the times that someone greased the truck. Follow where the pick is pointing to see where the the cork washer should be:
 |
| Pick pointer to missing cork washer location |
This is on the wrong side of the shackle, given what the FAM shows, but where I actually removed the chunks of washer shown in the pic above. Maybe there is a washer on both sides? The FAM is unclear, so I'll have to ask the truck forum or look at replacement shackles to see how many washers they come with.
Oh well, I'm retired, I've got the time. So that's the next step in the process, after finishing up the degreasing. You see, I've only shown you the front shackle and steering gear assembly. Of course, there are rear shackles that are just as gross as the front ones. They'll need to be done before I move on to the rebuild or replacement. As for that steering gear assembly, it now looks like this:
 |
| Steering gear assembly first pass for cleaning |
You can see that at a macro level, the crud is gone. However, at a lower level (I won't call it micro) it still has a ton of gunk on it. The little picks can only get so much of the crud off, given the texture of the cast iron part. That's ok, the chemical degreaser will work just fine, when I get around to using it.
That's all for now, fans. Plenty more of this kind of work left to do, so I'll get on it. Once I know whether to rebuild or replace and get that done, I'll make another post. Thanks for reading!
bp
No comments:
Post a Comment
Let me know what you think. Comments, suggestions, tips or questions. I'll try to post a response as quickly as possible.