
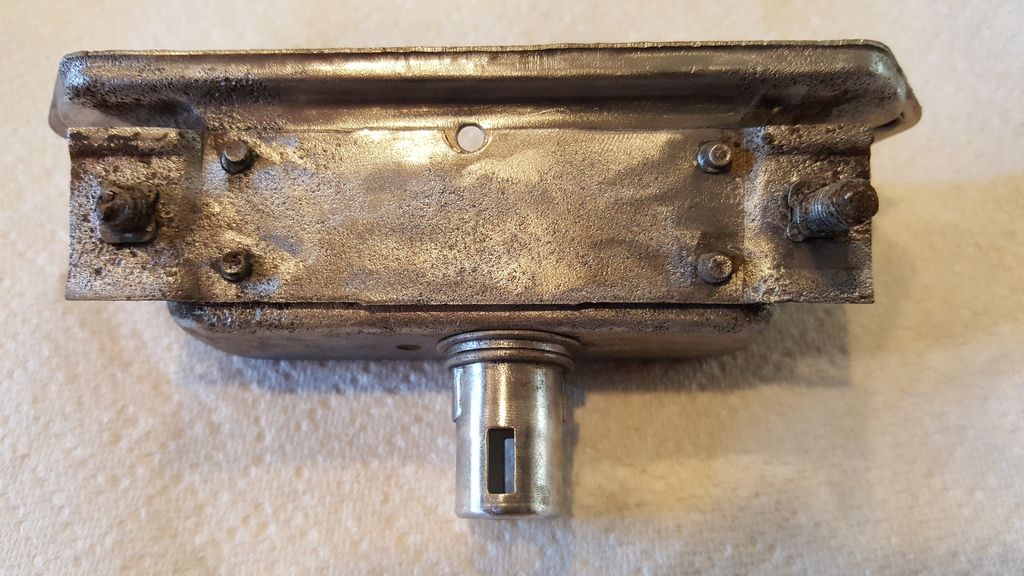
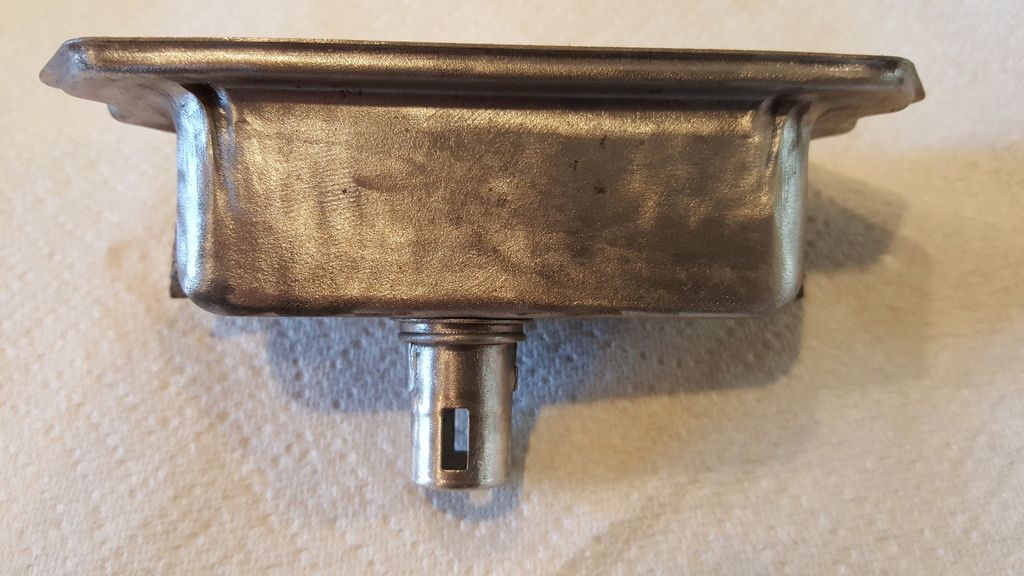
Plus a couple shots from different angles after a quick polishing with the Dremel:
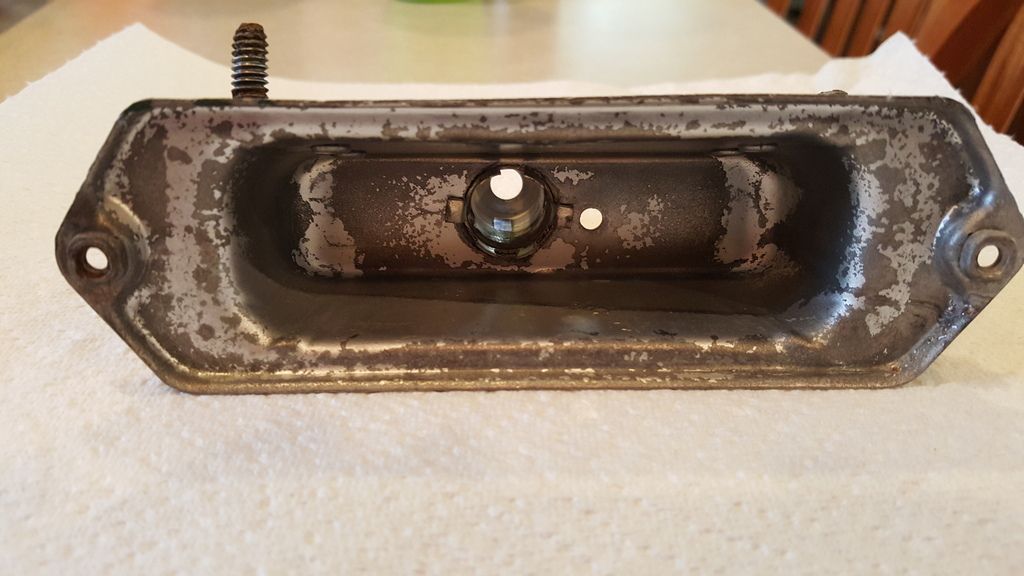
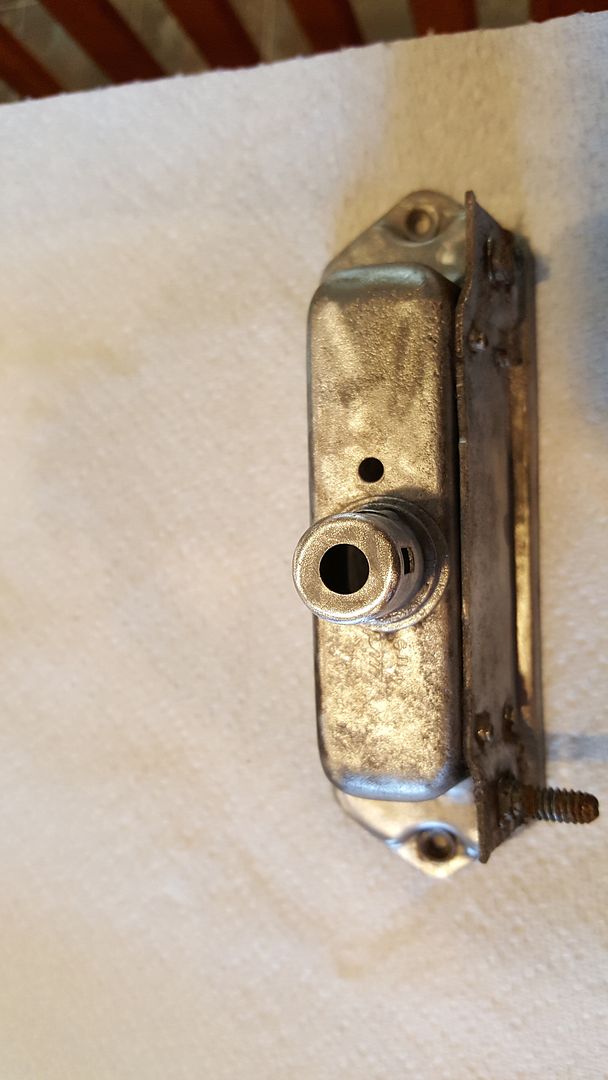
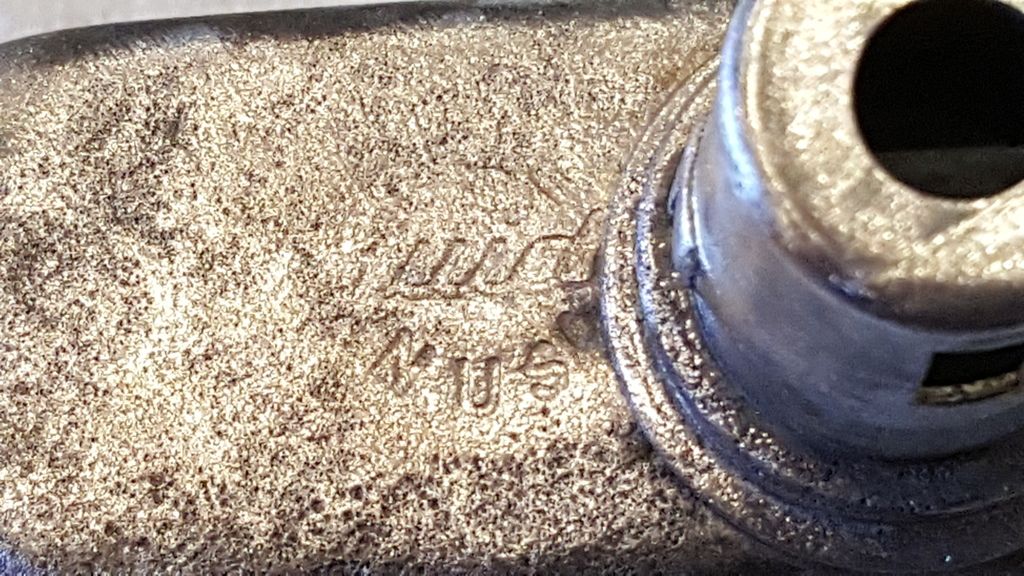
On this shot, you can make out the "Guide" maker's mark and part of the "Made in USA". But, you can also see just how pitted the metal is from the corrosion. The pitting doesn't go all the way through and will not be seen, since it is on the back of the housing. So I think it is salvageable from that perspective. I am thinking, however, that I will drill out the rivets that hold the bracket with the bad bolts and remove the bracket. Removing the bracket will allow me to fully clean underneath it and install new bolts. Then I can reattach the bracket to the housing, probably with pop rivets.
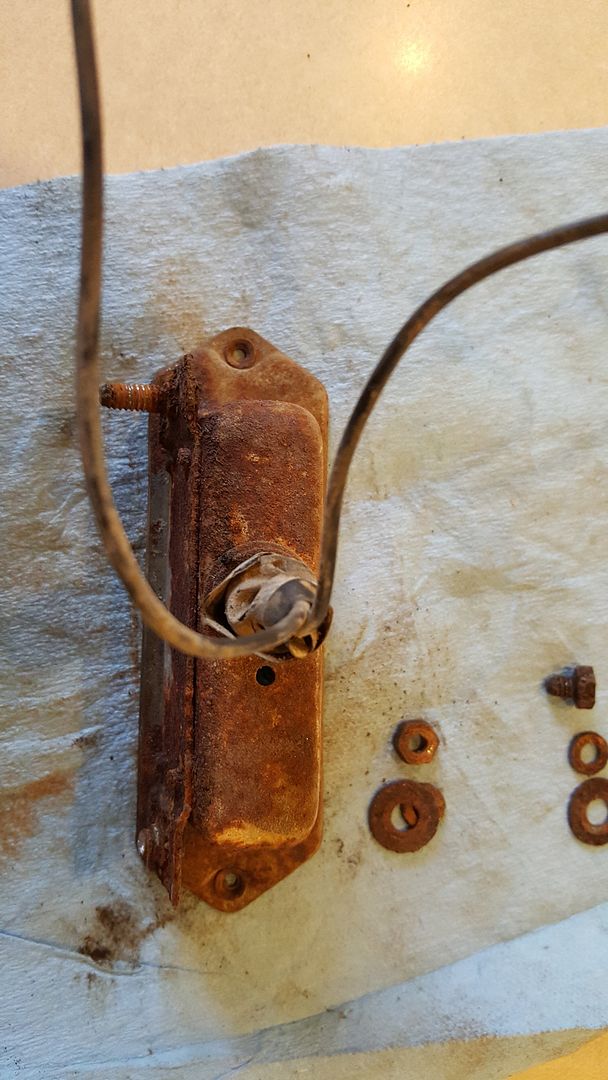
When I remove the bracket and do that part of the housing restoration, I'll post on that plus the painting and rebuilding of the unit. Also, I plan to do the passenger side light, too.
In the final "analysis", the Evap-O-Rust did a great job cutting through the rust. It wasn't able to get down into the pits, but I think it would have if I had left it in the solution for a couple of days longer. You may be able to see the difference between the straight out of the solution look and the look after polishing. When the metal comes out of the tank, it has a dull gray look to it. I used the Dremel and a high number (light grit) wheel and polished the gray off. It would now be ready for primer, if I wasn't going to remove the bracket and replace the bolts. If I do that soon, I should be able to avoid surface rusting. If some does show up, then I'll polish it again and then prime. See you then....
No comments:
Post a Comment
Let me know what you think. Comments, suggestions, tips or questions. I'll try to post a response as quickly as possible.