
Well, it's the next day and time for me to wrap up the water pump installation. What's left you ask? Well, plenty. Starting with the RTV, the instructions tell you to only hand tighten the bolts and let the RTV cure for an hour. I let it go overnight. Frankly, I was so tired after yesterday, that I crashed on the couch after I got cleaned up. So this morning, a couple of quick turns of the wrench and everything was as it should be.
Next, it was off to the flaps to get supplies. Of course, the set of hex sockets that I already had did not have the one size that I needed to tighten the plug in the extra hole in the water pump. I also needed some heater hose. Although I'm not ready to hook up the heater, I need to get some hose on those outlets. If I don't, then as soon as the pump starts working, they'll spew coolant. So, looping a section of hose from one outlet to the other solves the problem for now. I measured the hose barb and headed off to the store. Supplies in hand and back home I go.
Flanging down the plug was simple and quick. On to the hose. I measured the hose barbs before I left and found out that one of them was larger than the other, but only by 1/8". No problem. I bought hose to fit the smaller diameter barb, thinking that I didn't want to use the larger diameter hose and have a leak. I'd just force it on...it's only 1/8", right? Well, not so much. So...back to the auto parts store.
Remember the odd swirly thing from yesterday's post? It looked like this:

In the thermostat housing

On the workbench, top view

On the workbench, side view
So after a discussion on the truck forum and a little research, turns out that this is a heater core flow restrictor. Apparently, some of the old heater cores could not handle the extra pressure when the engine was revved. Meaning higher engine RPM's drove the water pump to higher RPM's. The added coolant pressure could blow them out. So, people sometimes added them to prevent the heater core blow outs. While not necessary for the heater core in my truck, I thought I might make a compromise since I had to address the hose barb that didn't fit my new hose. What I did was to get a new hose barb that fit the opening in the water pump, but had a smaller inner diameter. The thought is smaller inner diameter, lower coolant pressure going to the heater. We'll see. Here are two shots of the old and new hose barbs that show the differences:

Bottoms

Tops
The difference in inner diameter is 1/8". The outer diameter is identical and is 3/4". The hose connection point is the same as the other original barb and fits a 5/8" hose. So, after all the fuss, it got installed and looked like this:

Now there was nothing left to do except add that hose! Finally done, it looks like this:
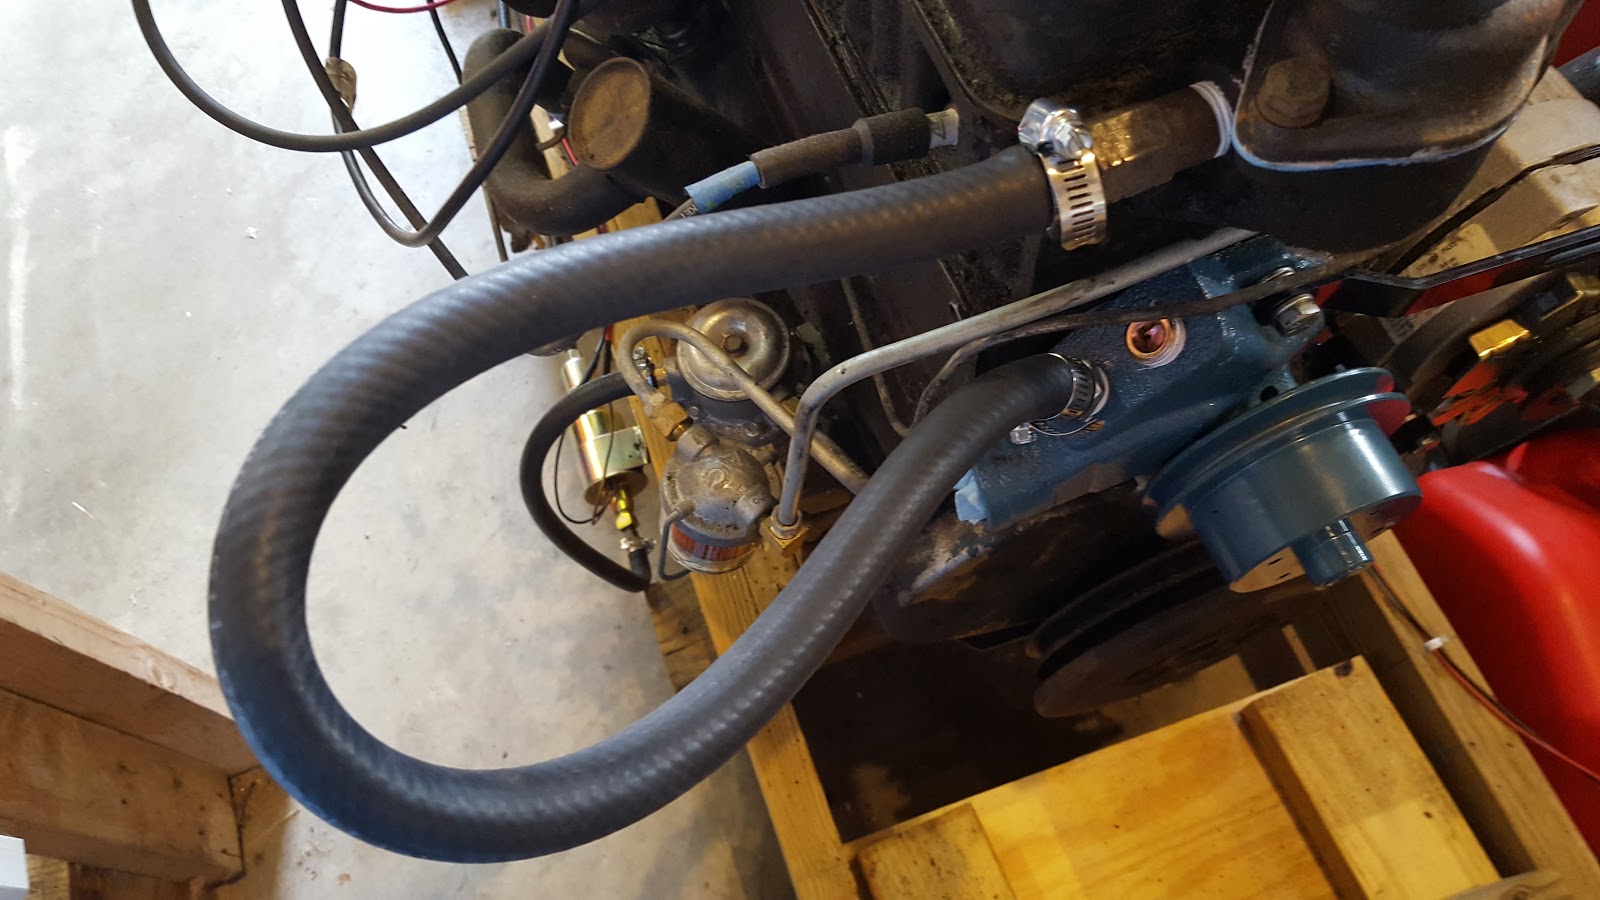
All that fuss so that I could add a simple loop of hose and avoid a flood on the garage floor. However, it was not all just for that. Once the engine is in the truck, I'll be able to restore the existing heater. Once that is done, its a simple matter of running two separate hoses, one from the pump to the heater and one from the heater to the coolant return point on the thermostat housing.
Now, I can drain the coolant from the engine that is in the truck. Once that is done, I'll move the radiator over to the engine on the test stand and make those connections. Then I can fire up the engine on the stand and test out that new water pump and the old radiator. Hopefully, I can reuse the old radiator.... So, that's my game plan for the next time in the garage.
No comments:
Post a Comment
Let me know what you think. Comments, suggestions, tips or questions. I'll try to post a response as quickly as possible.