
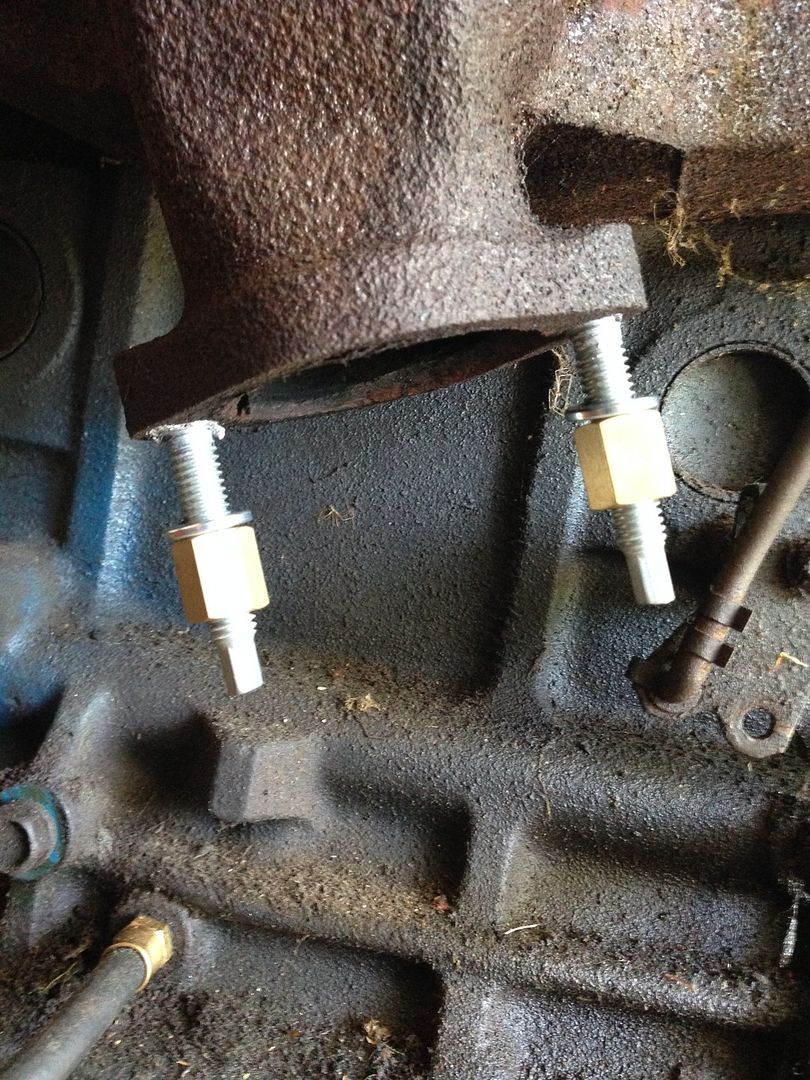
The installed studs look like this:
While the exhaust was off of the manifold, I decided to take a picture of the inside of the manifold to show the heat riser. The heat riser is a metal flap that rotates open when the engine is cold. This allows hot exhaust gases to warm the intake manifold and warm up the fuel/air mix before it goes to the cylinders. I've read that this is to help ensure better fuel atomization and therefore, better ignition and smoother running when the engine is cold or when it is cold outside. The riser flap in the open position looks like this:
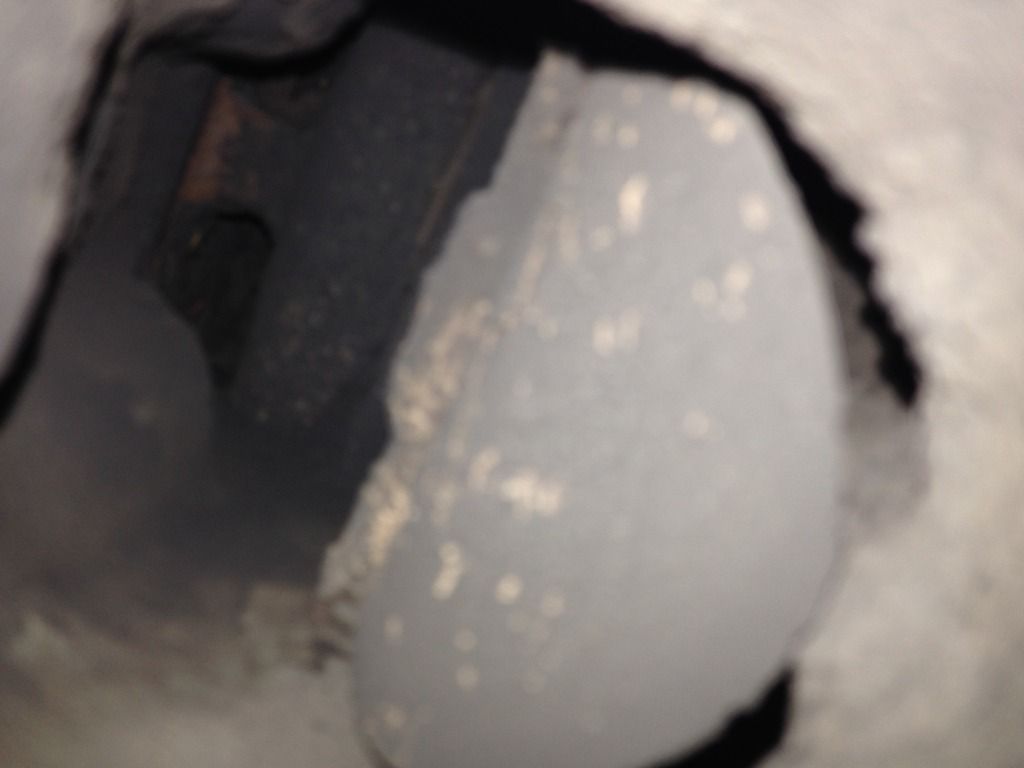
The pic is a bit blurry, but you can see that the port on the right is blocked by the metal flap. This redirects the exhaust gases upward towards the intake manifold. Once it gets to the top, it makes a u-turn around the flap and goes down the exhaust manifold and out the exhaust pipes.
Once the engine warms up, the flap rotates closed, blocking off the gases from the intake manifold. The heat riser in the closed position looks like this:
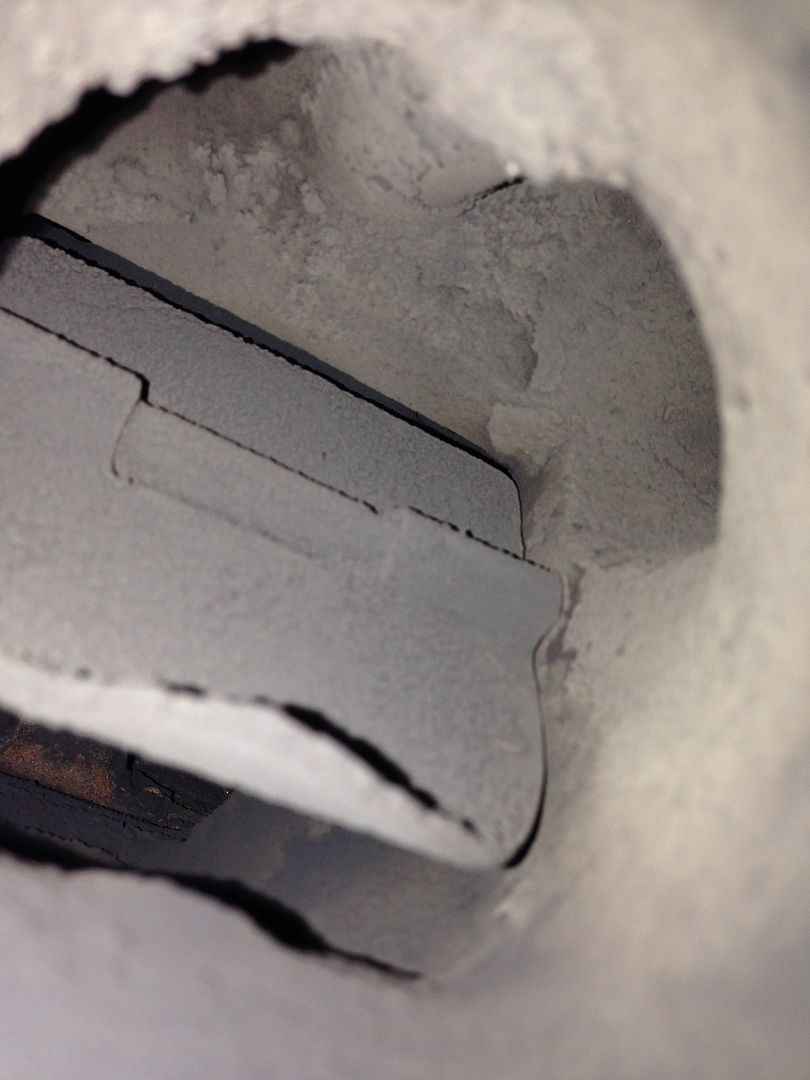
You can see in this picture that the flap has rotated and the exhaust gases can now pass directly to the exhaust pipes, without first going up to the intake manifold.
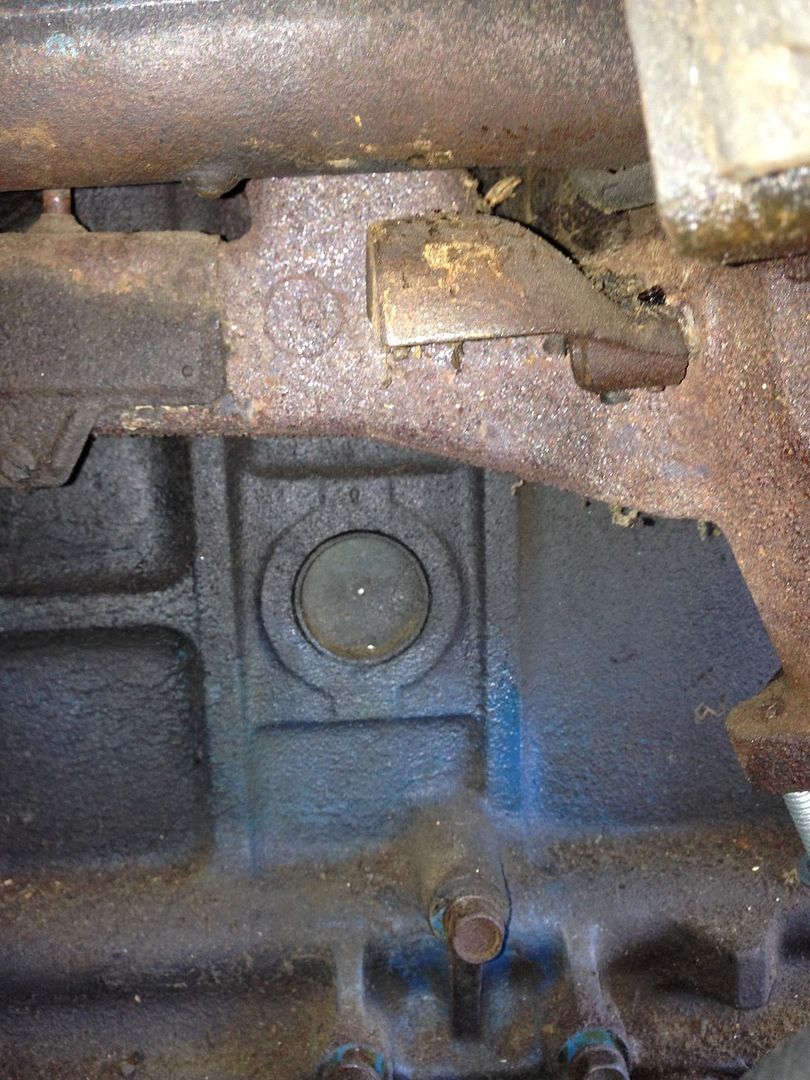
On the outside of the engine, you can tell if the heat riser flap is opened or closed by the position of the counterweight.
The counterweight is in the open position in this picture:
The counterweight is in the closed position in this picture:
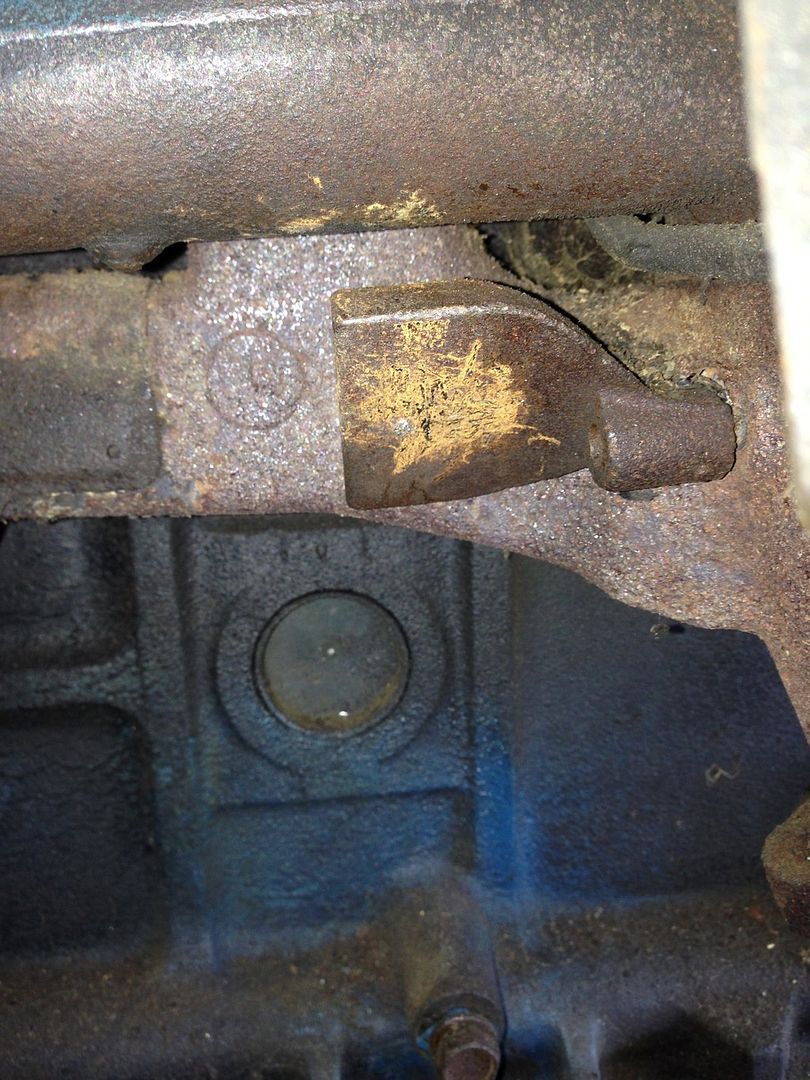
The rotation of the counterweight is clearly visible when the two pictures are compared.
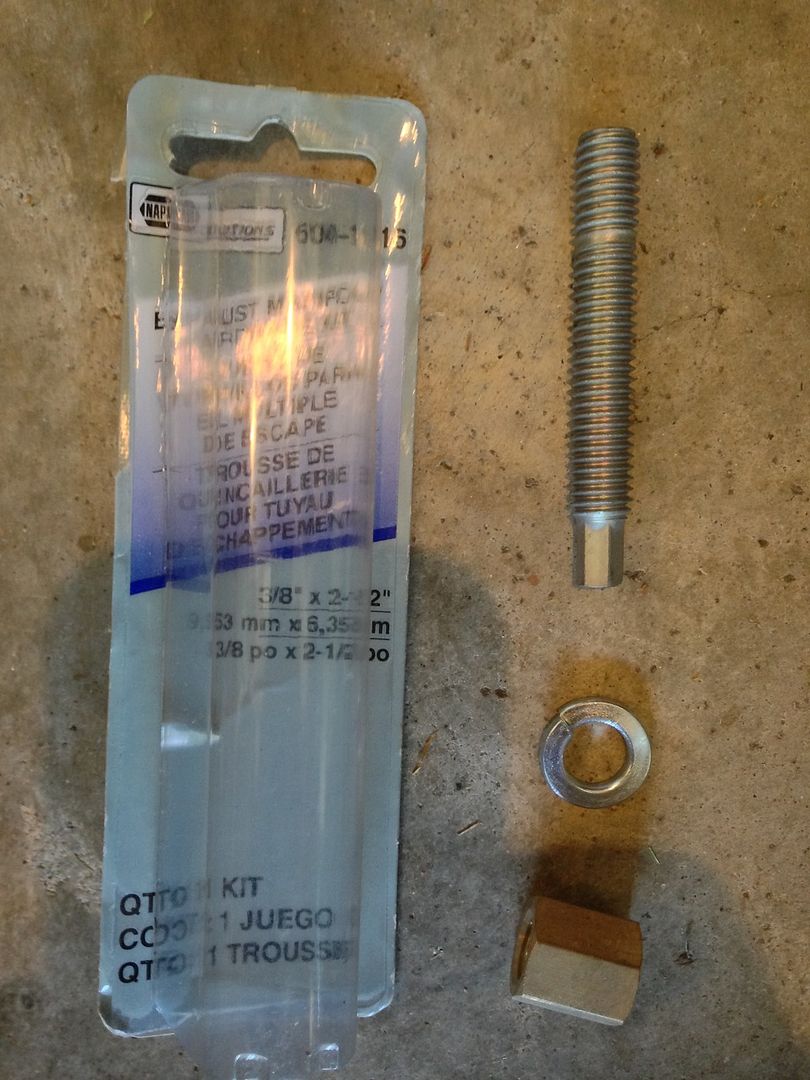
I had really wanted to test fit the exhaust pipe that I had removed from the truck last weekend, but when I got it out, I found out that it wouldn't fit around the frame of the test stand. So, sadly, I will not get to test out the old pipe and glass pack (or resonator, not really sure what it is) that came off the old truck until I actually get the engines swapped. I fully plan on using the old pipe, though, as it is a super heavy gauge metal and even though it has surface rust on the outside, it is still plenty thick without any rust through. So, after figuring out that the old pipe wouldn't fit on the engine while it was on the stand, I fit the old exhaust that was on it on the test stand back onto the engine. It looks like this:

Nice shiny studs with gnarly old pipes. I did apply some of the NAPA anti-seize compound to the studs before I installed them. The bottle says it is good up to 1600F. I don't know how hot the manifold will get. I hope that the compound doesn't bake the studs in place! These studs are designed much nicer than the old ones. The ends are stamped to fit a 1/4" socket wrench. So when it is time to remove them, hopefully I can remove them easily. Not like removing the original ones, where I needed to add a jam nut to the original nut so that I could apply enough force to break them free. Time will tell....
No comments:
Post a Comment
Let me know what you think. Comments, suggestions, tips or questions. I'll try to post a response as quickly as possible.