As I mentioned in my last post, I wanted to do the rewiring / restoration of the remaining backup light (the Guide Lamp Company B-31) this weekend. Before I got to the light, I had an idea of making a bracket similar to ones that I had seen on eBay for these backup lights. They looked pretty straightforward, essentially just an L shaped piece of flat steel with a smaller flat steel piece that went on the opposite side of the bumper bracket. They were held together with small bolts and nuts. Like I said seemed pretty straightforward. But the reality was not so much. I got the flat stock, made the measurements and made my first bend. So far so good. But when I got it to the truck, I realized that the geometry of the bumper brackets (not right angles to the bumper) would require something that would pivot. I had seen those, too, on eBay, but didn't want to spend the money to get them. Guess what...I'll be getting them. After making a valiant attempt at making my original idea work, I had to give up. Wasn't going to happen. So I'll be saving my money to buy the brackets online. In the meantime, I went back to the B-31.
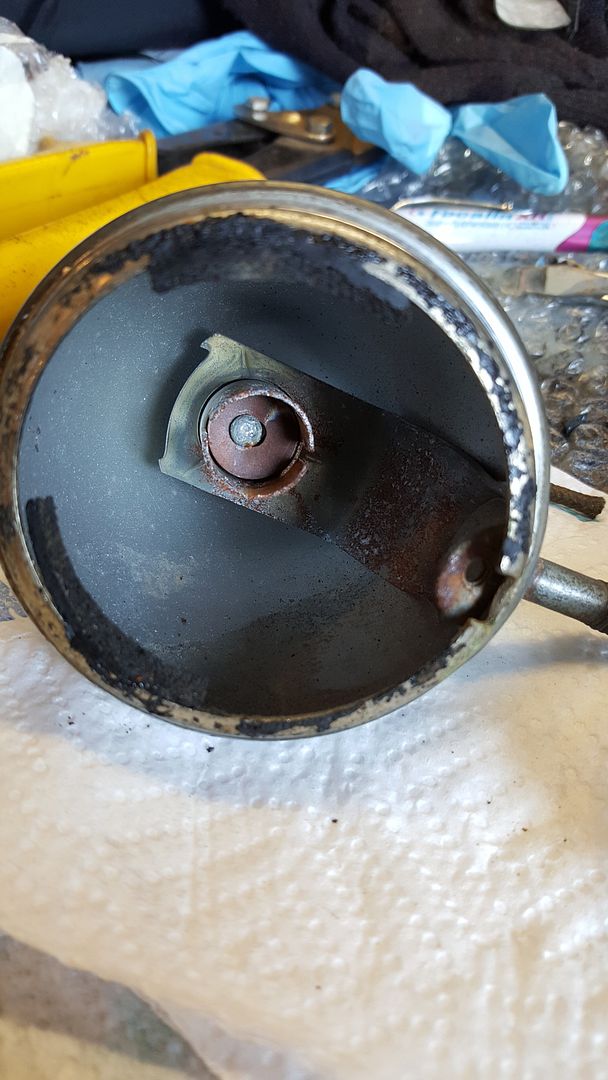
Disassembly was easy and the major parts looked like this when apart:
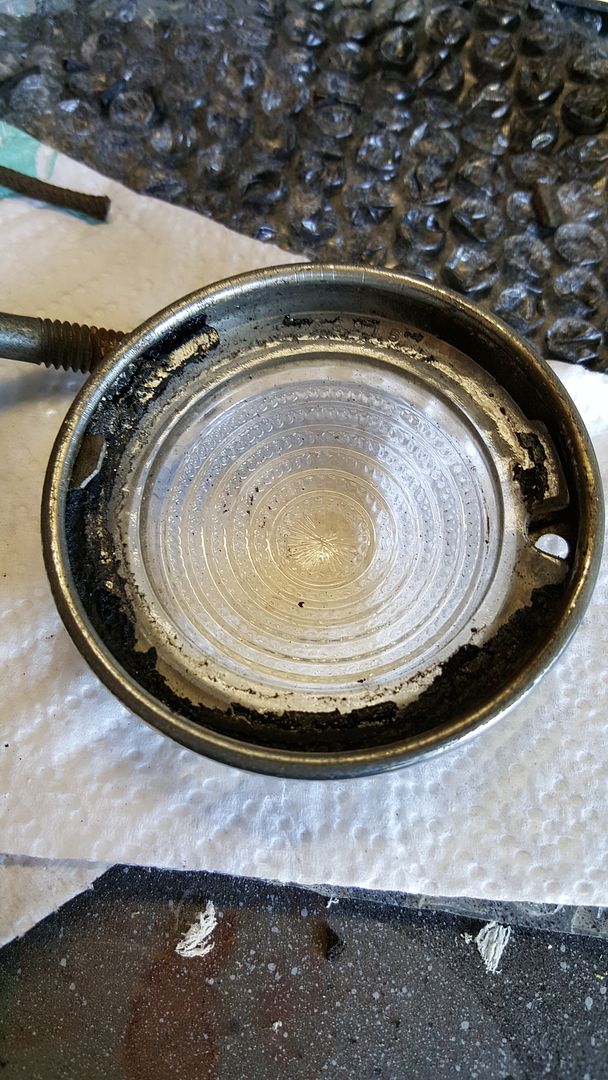
and this:
The black gunk in both pics are the remnants of the original gasket. Not sure what they made it out of, but it came out in big hunks. What remained came out with Formula 409 on a paper towel and some wiping.
You'll notice some rusting on the bulb housing, just like in the previous light. The difference here, is that this light still has the original carriage bolt attached and it is press fit into the housing. So it wasn't going to go anywhere. That meant that I would have to remove the rust with the bulb housing still attached to the light housing or body. That made things difficult. After I was done, I was pretty happy with the rust removal, but decided that I would not paint the bulb housing like I did on the previous light. I really didn't want to go through the masking of the interior of the housing and trying to shoot spray paint down the small opening of the light housing onto the bulb housing. I guess that I could have done it, but likely with some mess to clean up.
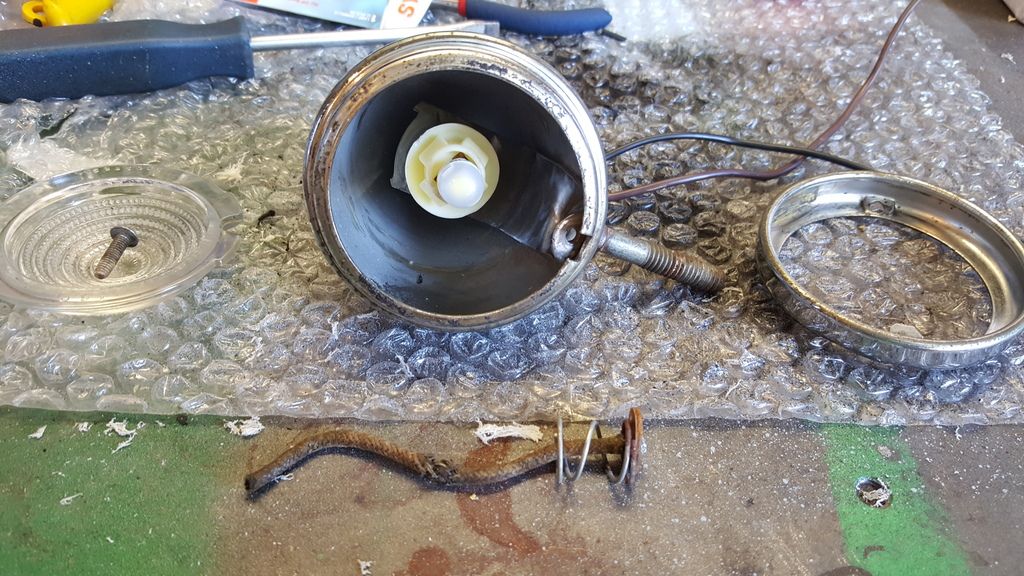
Anyway, after that decision, all that was left was to trim down the bulb holder so that it fit and run the wires. The trimming was just like the last one, so no problems there. However, because the bulb holder was still attached to the light housing, I had to fish the wires through the bottom of the bulb holder and over to the light housing exit. At first, I wanted to keep the original grommet in place, but the hole is small and using another piece of wire for fishing meant that I was going to try to get 3 pieces of wire through a grommet meant for 1 wire. Wasn't going to work. So out came the grommet and fortunately, it came out in one piece and was kind of pliable. After that, fishing the light socket wires was straightforward. Especially when I used my hooked pick to snag the wires from behind the light bulb holder and bring them to the exit. After the wires were out, I reinstalled the grommet. Here is a shot of the major components after cleaning and with the new socket, wires and LED bulb installed. You can see the old wire harness in the foreground and it is clear why I needed to replace it.
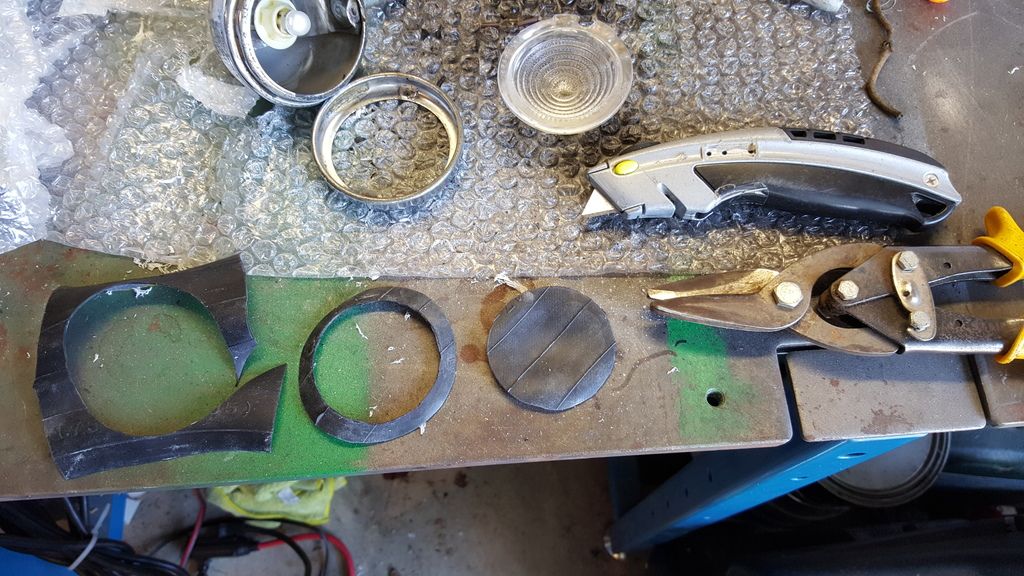
Then it was off to make another gasket. I used the lens cover and the lens as templates for the new gasket. The next pic shows the stages of cutting the gasket and the tools to do so.
Basically the stages are:
1. Cut out a chunk of bicycle inner tube big enough to make the gasket and then cut it down the middle to make a square.
2. Using the glass lens as a template, mark the outer dimension of the gasket and cut out the circle. I used the trimmers to cut out the circle.
3. Then put the circle into the lens cover and put the glass lens into the cover, but put it in backwards. That way you can mark the rubber circle for the inside ring, using the lens cover. I first used the box cutter to trace the outline of the inner circle. Once I had gone around the circle a couple of times, the box cutter broke through in one place. Then I used the trimmers to cut out the remaining parts of the circle.
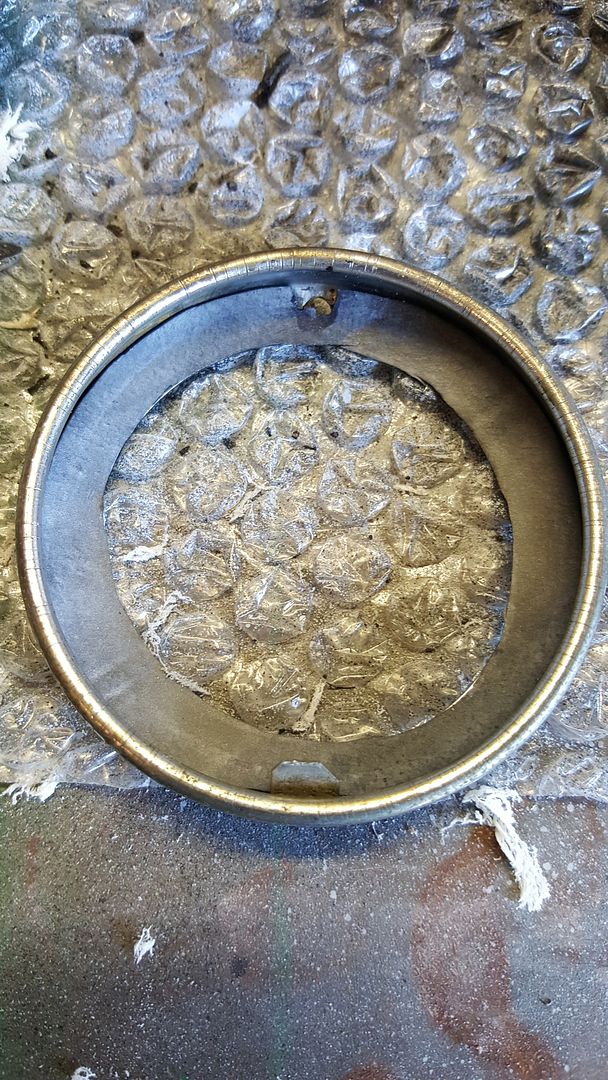
4. Put the gasket back into the lens cover and mark the opening for the drain hole. I used small scissors to cut this out.
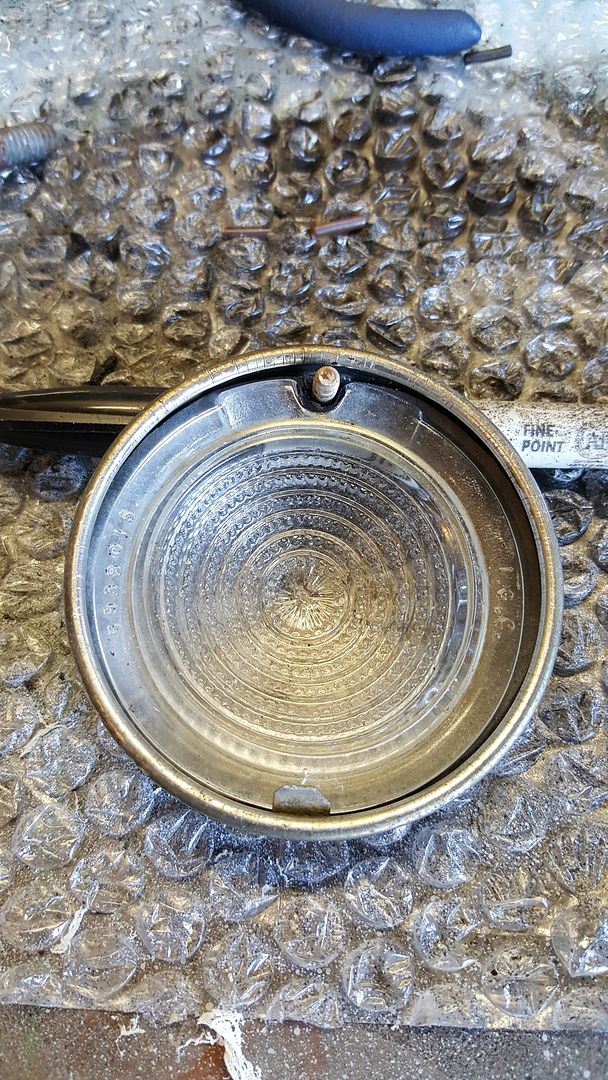
The test fit after all the cutting looked like this:
Here it is with the glass lens installed and the attaching screw through the hole.
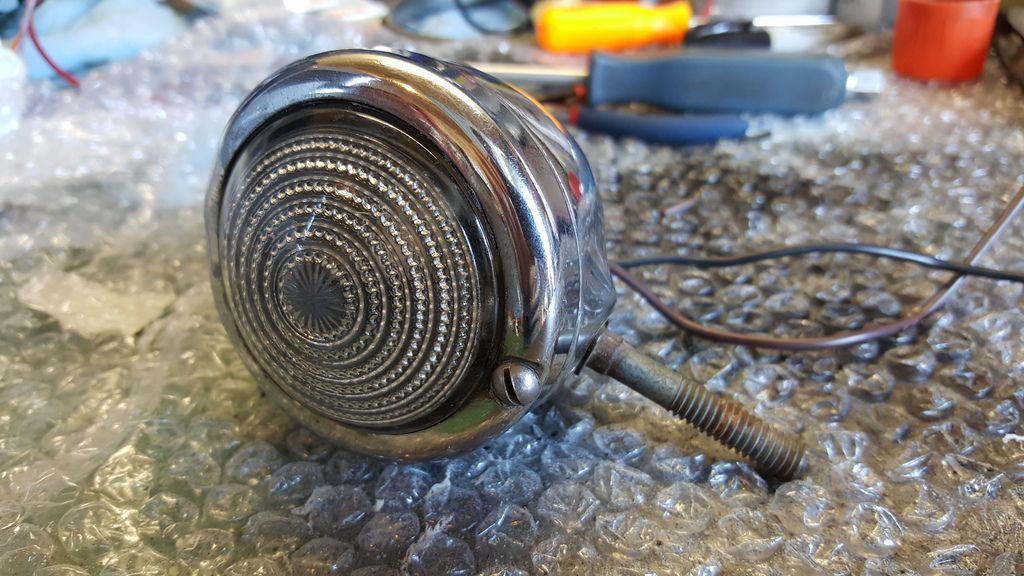
After all of that, it was time to put the lens and cover back onto the light. When reassembled, it looked like this:
You can see that there is some minor corrosion on the original carriage bolt. I'll deal with that later. I did do a test of the light to make sure it works, which it did, but I did not take a pic. Kinda looks like the first one, although you can see the difference in the glass lens. This one has the "beehive" lens and the BLC light has the "bomber" lens. Both look good and unless you are right up on them, you could never tell the difference. Personally, I like the difference.
Stay tuned for the next update. I hope to work on the 3rd brake light next. It is not an ordinary light and I'm excited to do the minor fixup necessary to make it work and hold up to the weather.
OBTW, Happy Thanksgiving, Everyone!

No comments:
Post a Comment
Let me know what you think. Comments, suggestions, tips or questions. I'll try to post a response as quickly as possible.