Yesterday was a very productive day in the garage. It was a long day, but a productive day. I started out determined to use the new brake adjustment tool (officially called a brake spoon) to adjust the brake shoes. Once that was done, I could move back to bleeding the brakes. As you may recall, I got as far in the process of loosening all 4 anchor pin nuts and actually adjusting the brake shoes on 1 wheel. Then I found out that I needed the brake spoon to make the final adjustment. During the week, I went to the FLAPS and got the tool. Yesterday, I got under the truck and found that the tool worked wonderfully well! Armed with this new tool, I set out to do the remaining 3 wheels. It actually went very quickly and I was very happy with the results. Then it was back to bleeding the brakes.
For this effort, I had no helper. It was just me, an empty soda bottle with a hole drilled in the cap and a clear, flexible hose. This turned out to be pretty simple, too. I was very cautious to make sure that I didn't drain the master cylinder and reintroduce air into the brake lines, constantly going from the master cylinder, to the wheel being bled and back again. Each time pumping the brake pedal and then checking to see if fluid or bubbles could be seen. Once I was satisfied that the line was clear, I tightened the bleed valve and was off to the next wheel. The sequence, according to the shop manual, is: left rear, right rear, right front and left front. This takes you from the farthest point from the master cylinder to the closest. Once all 4 wheels had been bled, it was time to fill the master cylinder, put the cap back on and pump the pedal! VOILA! It works! I got steady pedal pressure.
After getting steady pressure, I went back under the truck to check for leaks and found 2 small ones. One leak was at the rear junction block where the hard line is split between left and right wheels. The other was at the master cylinder where the separate hard line joins the junction block to go to the left front wheel. Using the correct line wrench (a flare nut wrench), I flanged down on both offenders and problem solved.
Feeling pretty good about things, I decided to start in on stripping the interior of things that I didn't want ruined when I scrub out the interior. I need to scrub out the interior, because mice had lived in the truck when it was out in the field and the inside smells of mouse pee! So, knowing that I will want to save the gauges, I decided to start there.
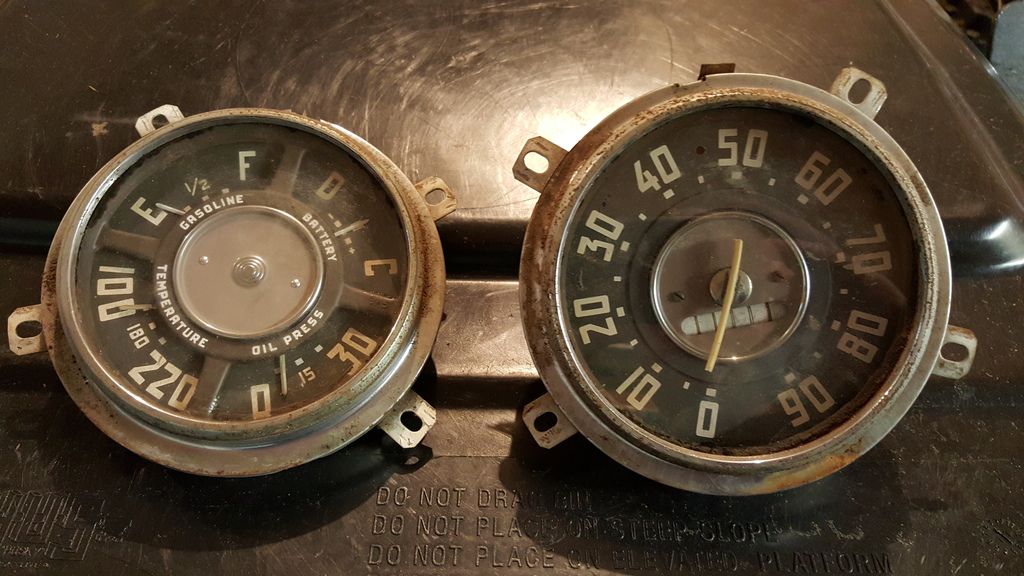
It was very difficult to reach the nuts that hold the speedometer and gauge cluster to the dash, as they are true blind connections. After fiddling with wrenches, sockets, etc, I was finally able to remove both parts to the gauge cluster. The looked like this when out of the truck:
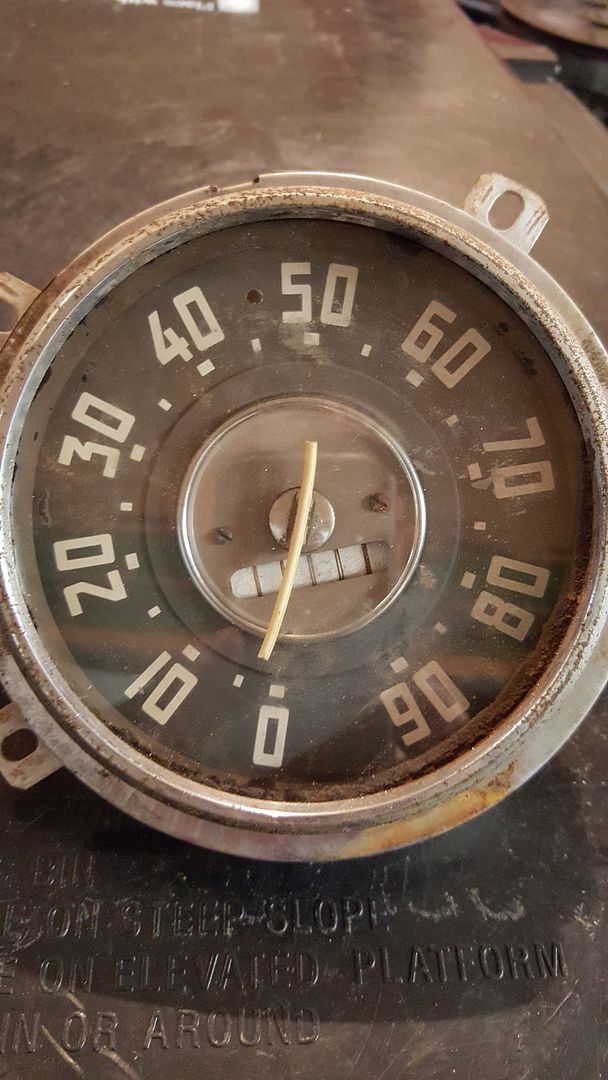
Here's a closeup of the speedometer/odometer:
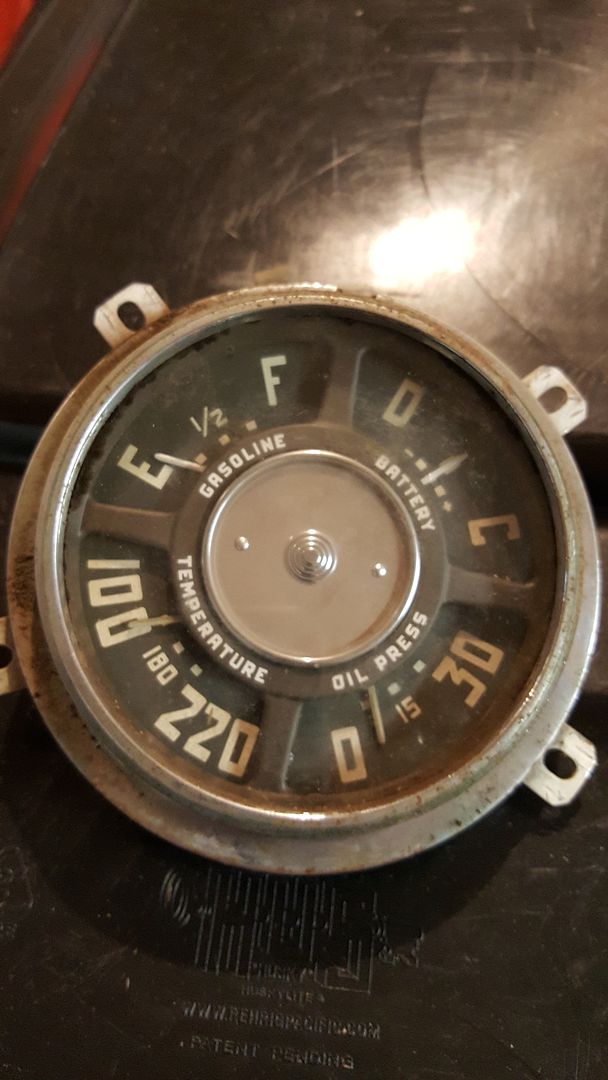
Here's a closeup of the gauge cluster:
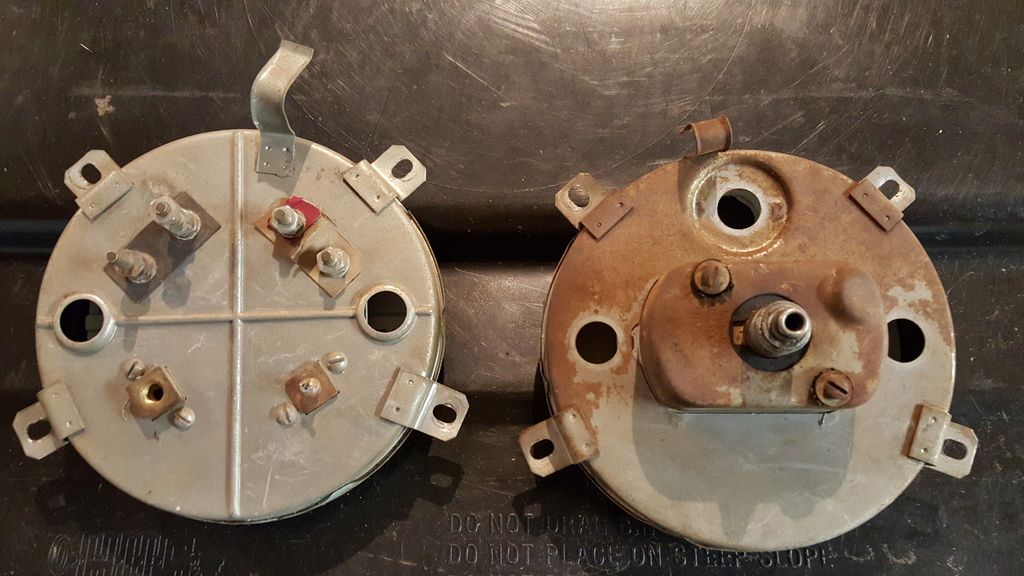
Here's a shot of the backs of the gauges:
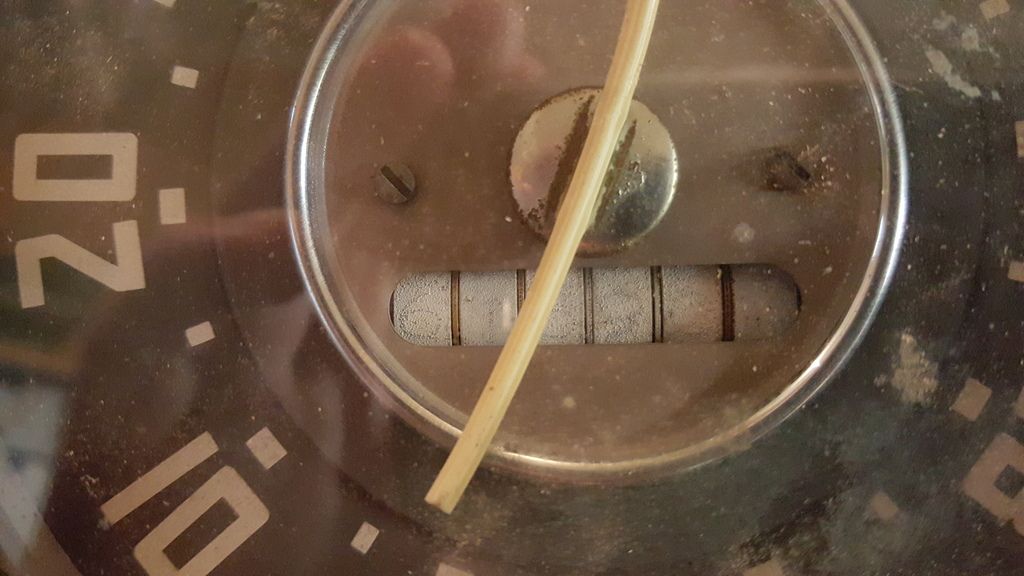
And here is the money shot, an extreme closeup of the odometer where you can actually make out the original miles on the truck (61590.?):
Even enlarging the pic or looking under really bright lights, I could not figure out the tenths of a mile number. I guess I'll have to wait until I drive it and it rolls to the next digit, which won't be faded. Then I'll know.
So now that the gauges are out, I have to remove the seat and frame so that I can get to the gas tank. The tank needs to come out, as that is where a lot of the crud still remains inside the truck. Once those are out, I plan to scrub the interior with bleach/water and then rinse it out. Afterwards, I can refurbish the gas tank and reinstall, then refurbish the seat and frame and then the gauges. Then I can set about removing the old wire harness and installing the new wire harness. Then, it is time to think about getting the old tranny out and transferred to the replacement engine.... But, one step at a time.

No comments:
Post a Comment
Let me know what you think. Comments, suggestions, tips or questions. I'll try to post a response as quickly as possible.