
I had already removed the right rear tire and brake drum to get a look at how bad things were in there:

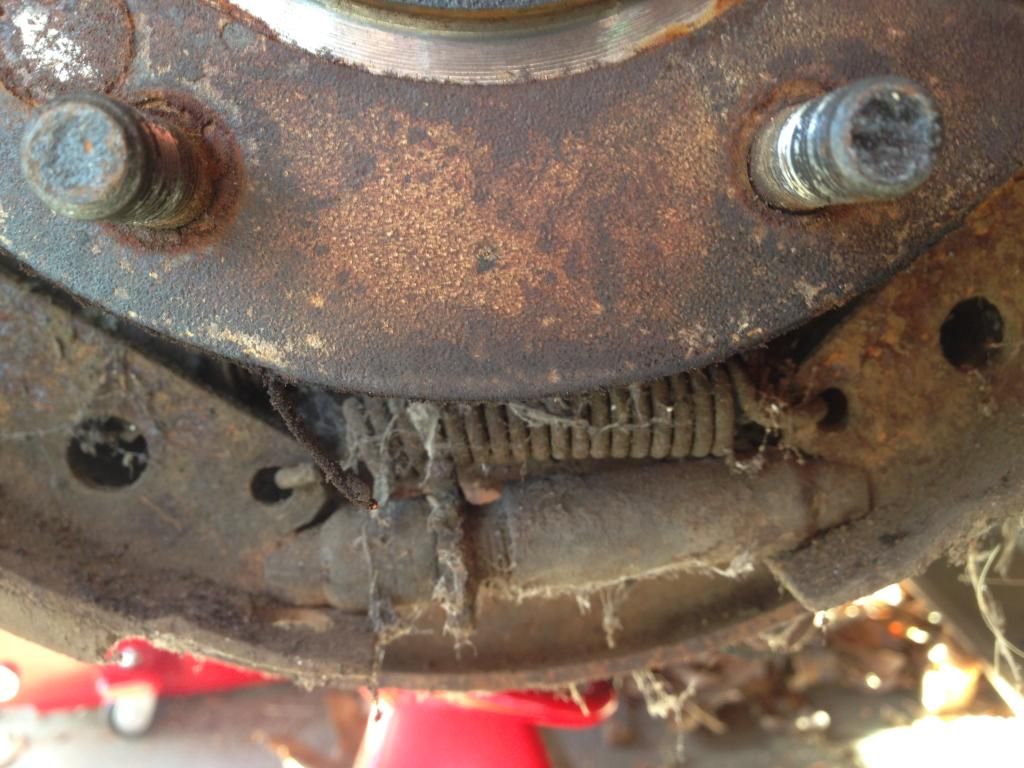
As you can see, things were pretty worn out and rusted. As I mentioned in the previous post, I didn't have all of the components to rebuild inside the brake drum, but I did have new wheel cylinders. So I thought I would get everything else out of the way and then replace them. The above pics will serve as a reminder, when it comes time to rebuild the shoes, springs and adjusters.
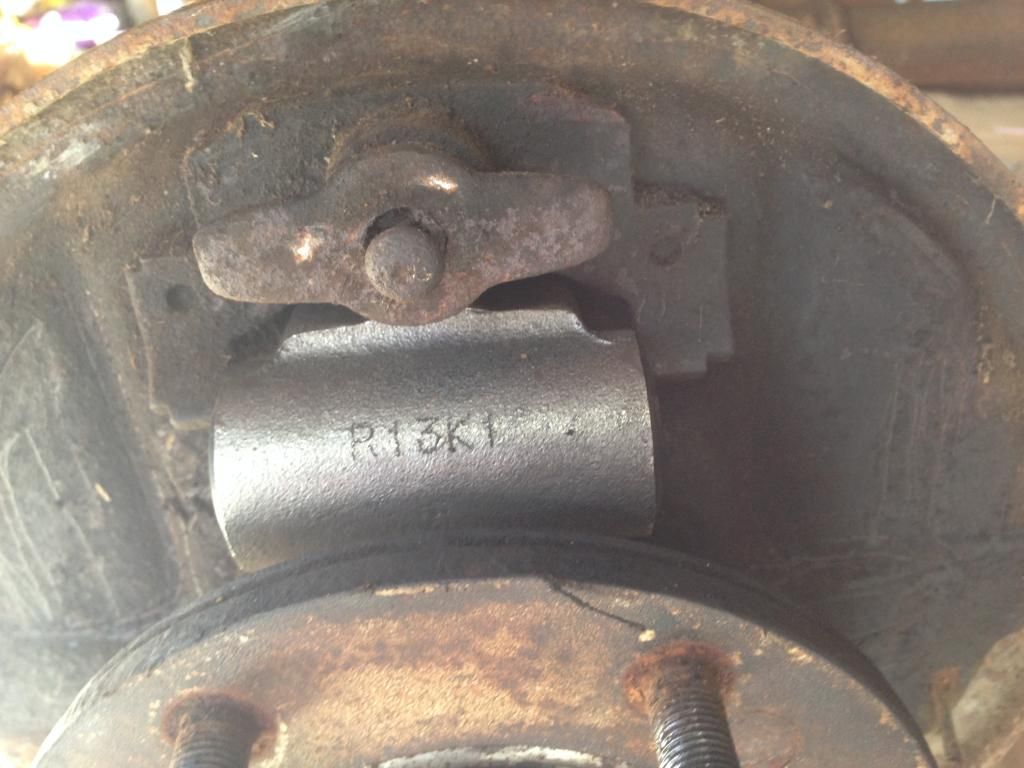
Here you can see all of the shoes, springs, adjusters and e-brake are out of the way and the new wheel cylinder is installed.
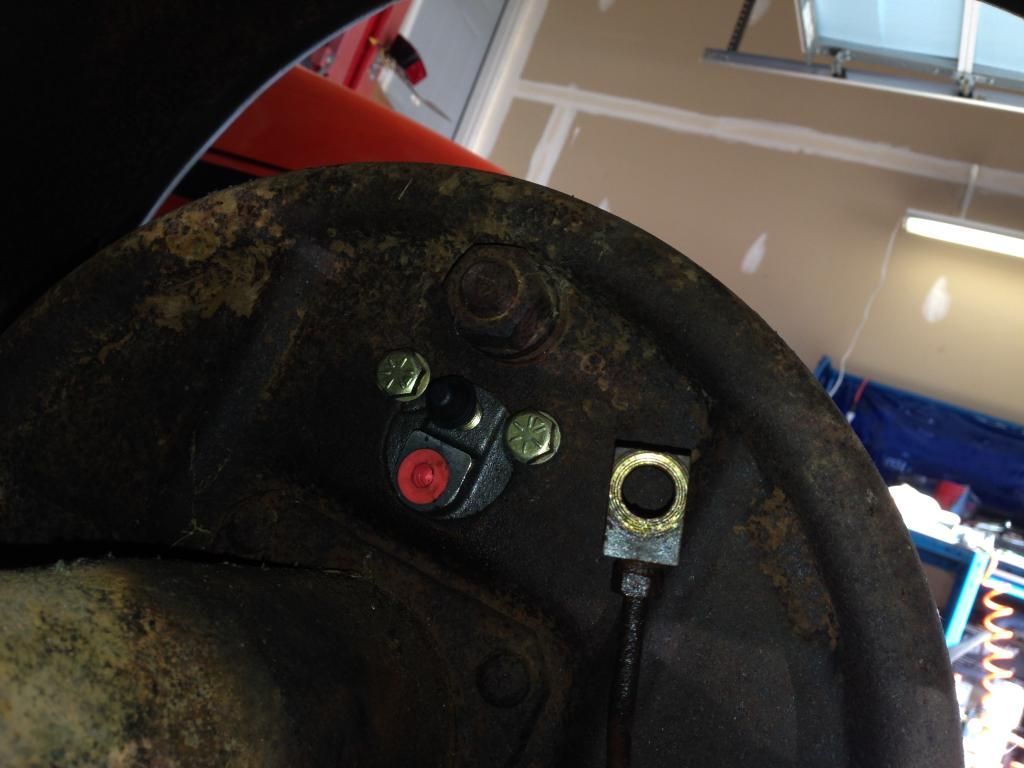
It was interesting to note that on the old wheel cylinders, the brake bleeder screw had been hacked off on both wheel cylinders. The base of the bleed screw was still installed, but the hex part that you use to loosen it was gone. The new wheel cylinders would not fit into the space with the full bleed screw installed. I had to remove the bleed screw, slide the wheel cylinder into place, being careful not to allow any gunk into the inside of the wheel cylinder. Once it was in the space where it would be attached, I was able to install the bleed screw from behind the backing plate. After that, it was just a matter of bolting the wheel cylinder to the backing plate. I decided to use new attaching hardware, too. The bleed screw, brake line attaching point and new attaching hardware are all visible in this picture. The old junction block that attaches the brake line to the wheel cylinder is also visible.
After finishing with the right rear wheel, it was off to the the left rear wheel. That wheel had not been off the truck while I have owned it. After getting the wheel off, it took me close to an hour to break the drum free from the axle! After much banging with a dead blow hammer and a couple shots of Kroil, it popped free with a resounding clang! From there, it was no time to remove the inner workings and replace the wheel cylinder.
Once I was done installing the wheel cylinders into both rear wheels, I wanted to add the brake lines that connect each wheel cylinder. However, when I got the new OE replacement brake lines out of the box and onto the workbench, it became clear that something was wrong. In this picture, you can see that the new fitting is too large to fit into the old junction block.
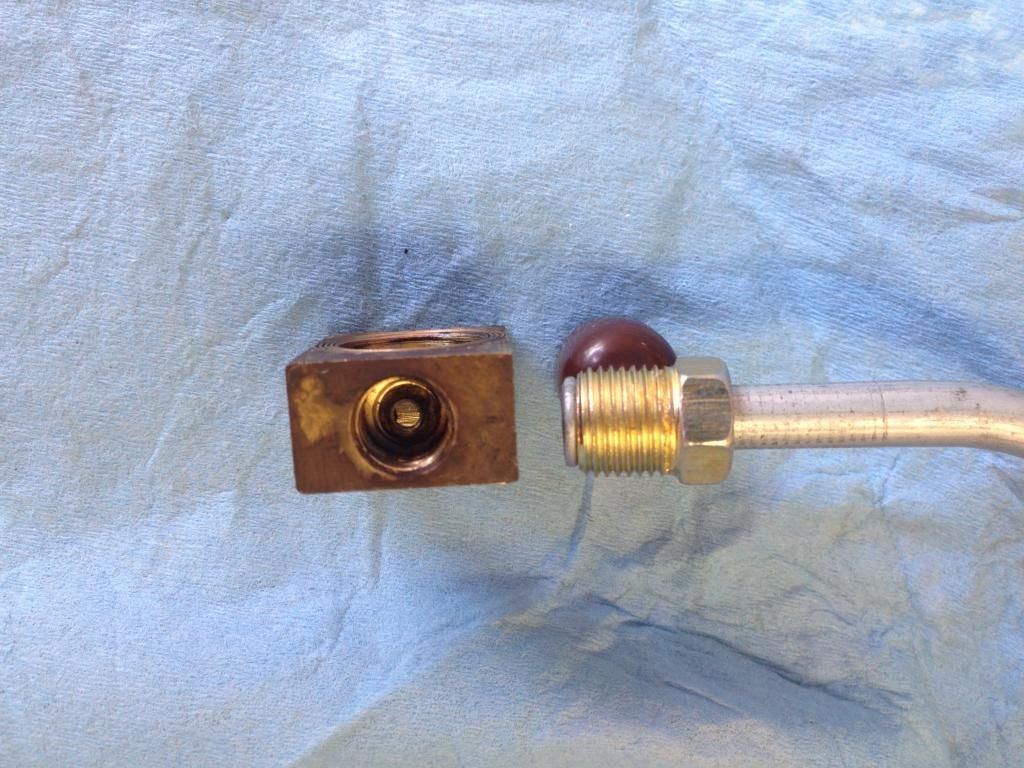
So much for "authentic" and "OE replacement".... Tomorrow, I'm going to call the company (Jim Carter Trucks) and see if there is a remedy. I'll post what they tell me.
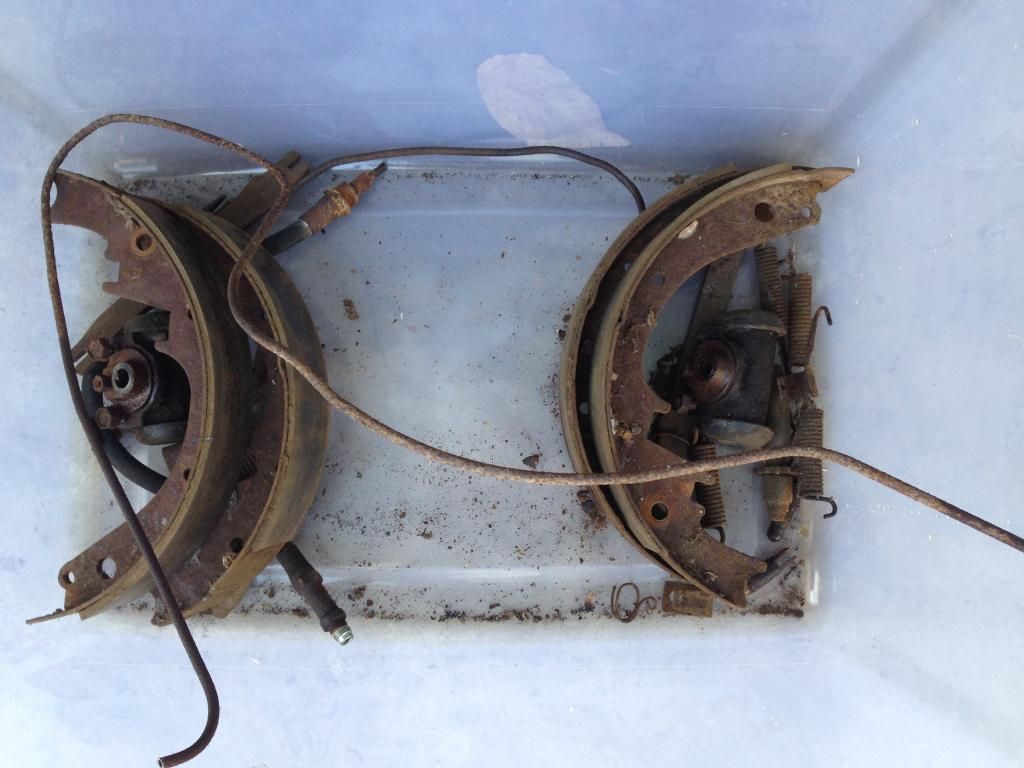
Here's a pile of old, worn out brake parts:
No comments:
Post a Comment
Let me know what you think. Comments, suggestions, tips or questions. I'll try to post a response as quickly as possible.