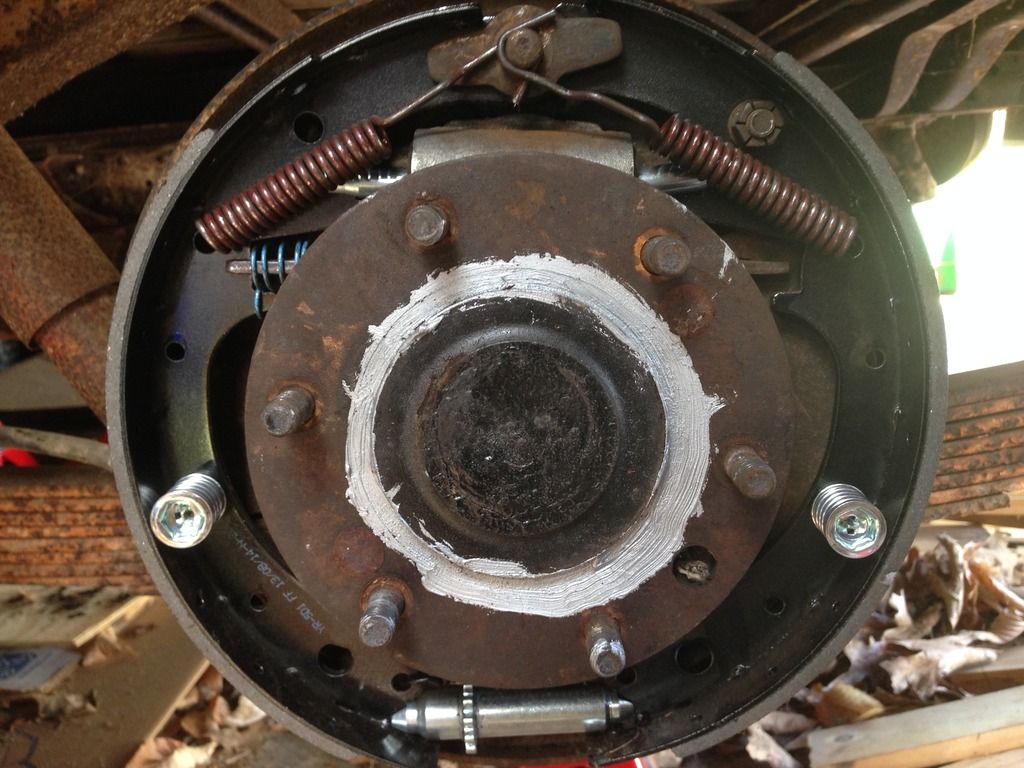
Today I got out in the garage and took off all of the brake shoes, springs, hold downs etc that I put on last weekend, because the shoes were installed backwards. Armed with the knowledge of which way to install the long and short shoes, I got down to business. Here's how the left rear brake assembly looked when I was done:
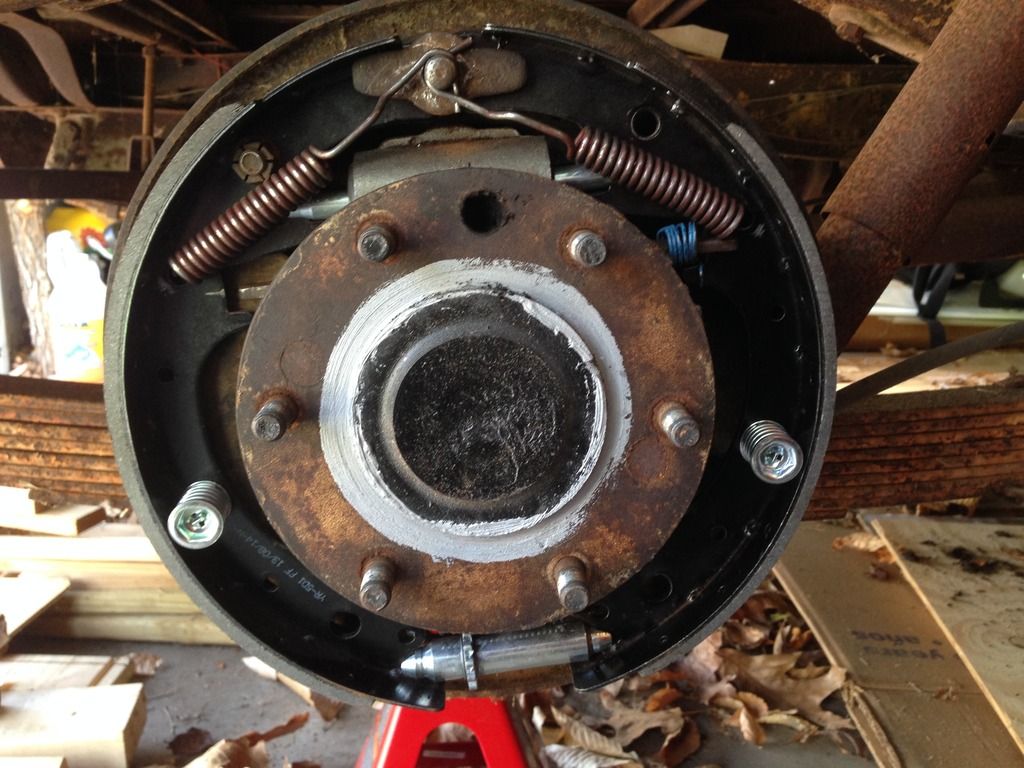
Here's how the right rear looked after correcting my mistake from last weekend:
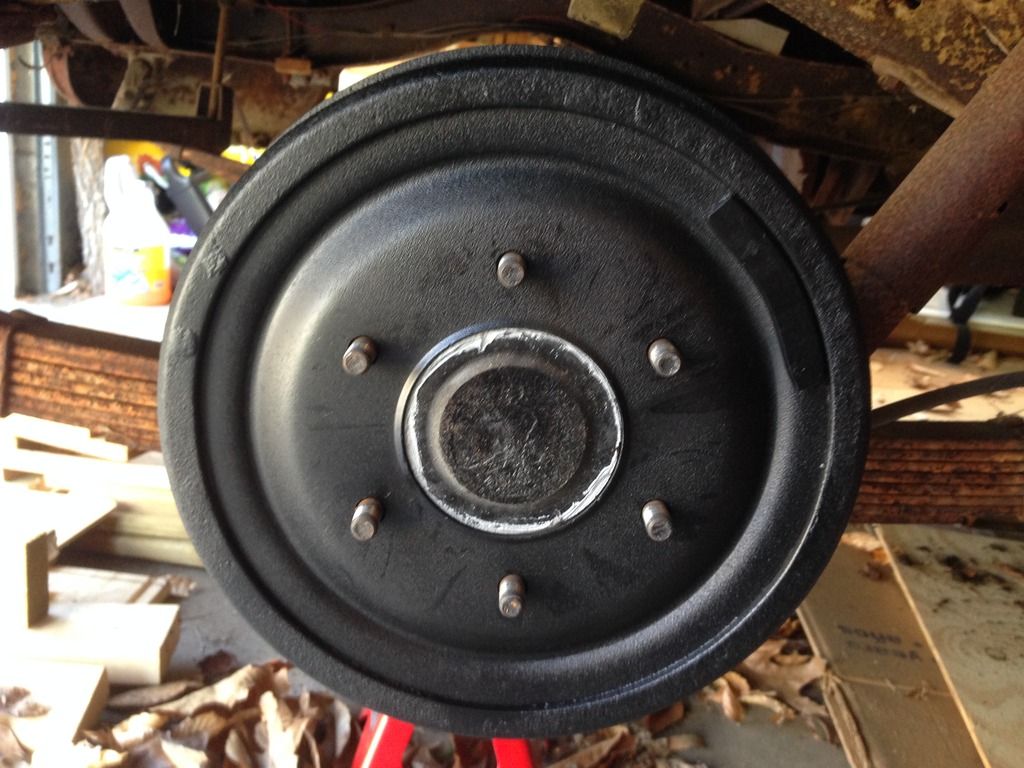
The old drums needed to be turned, so I called around to each of the flaps and found that only Pepboys would turn the old drums. However, they wanted $15.00 to turn each drum! Brand new drums were available from NAPA for $30.00 each, so that's what I ended up doing. Buying new drums and some high temp paint. The results looked like this:
The silver ring around the center of the drum is anti-seize compound.
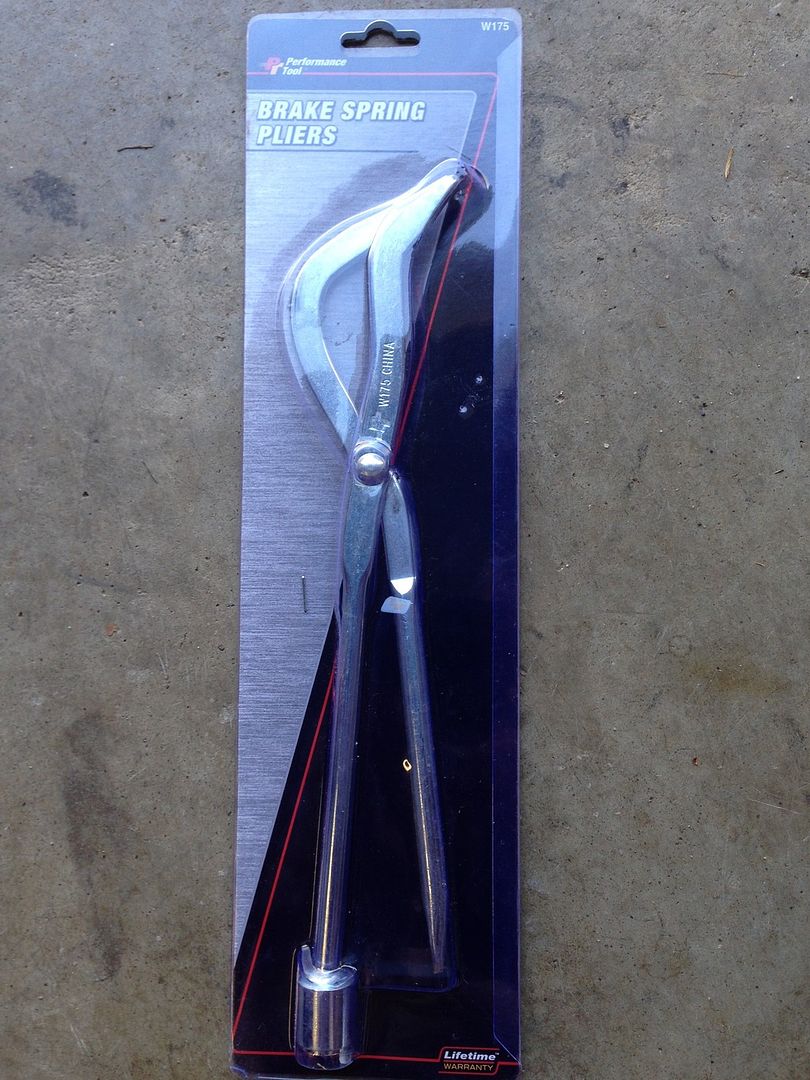
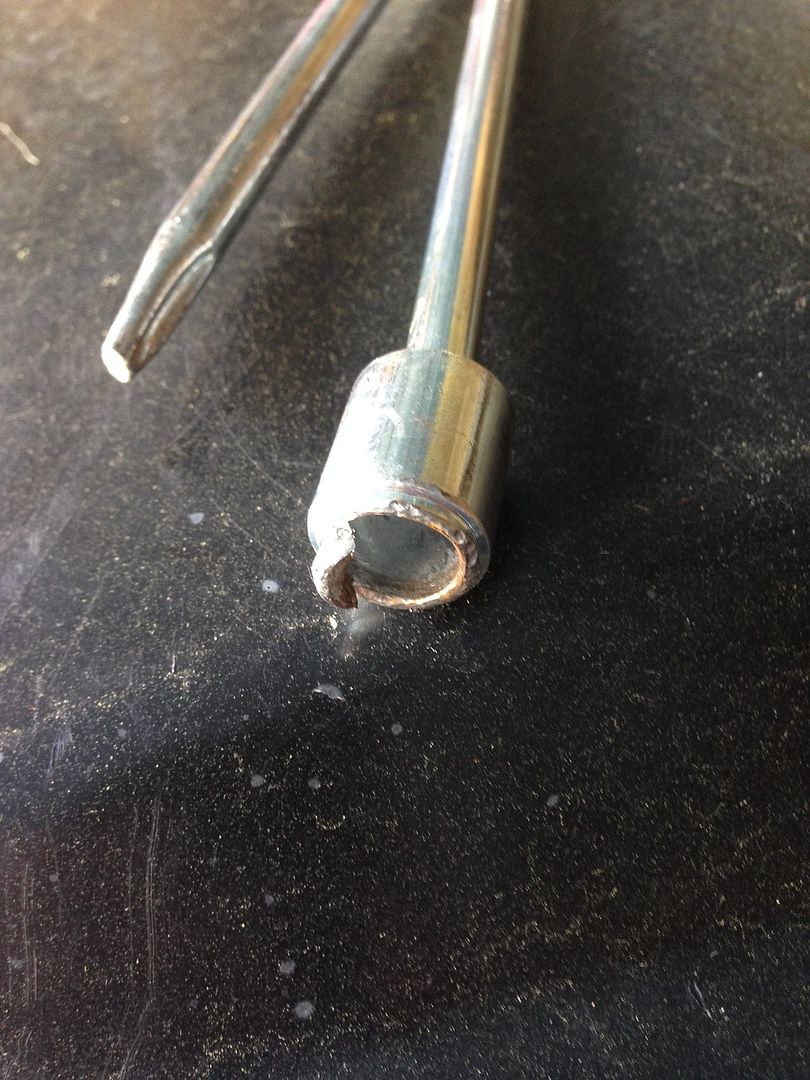
To get the springs off this morning, I used a brake spring tool that I got from Advance Auto. It looked like this:
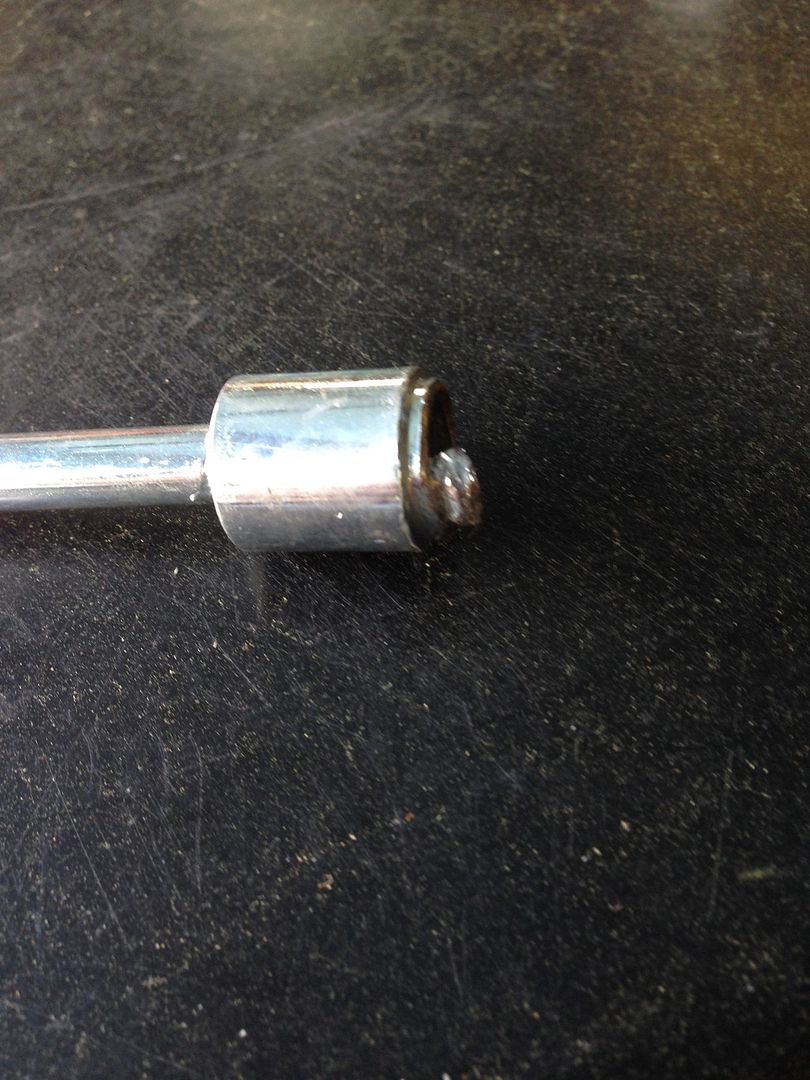
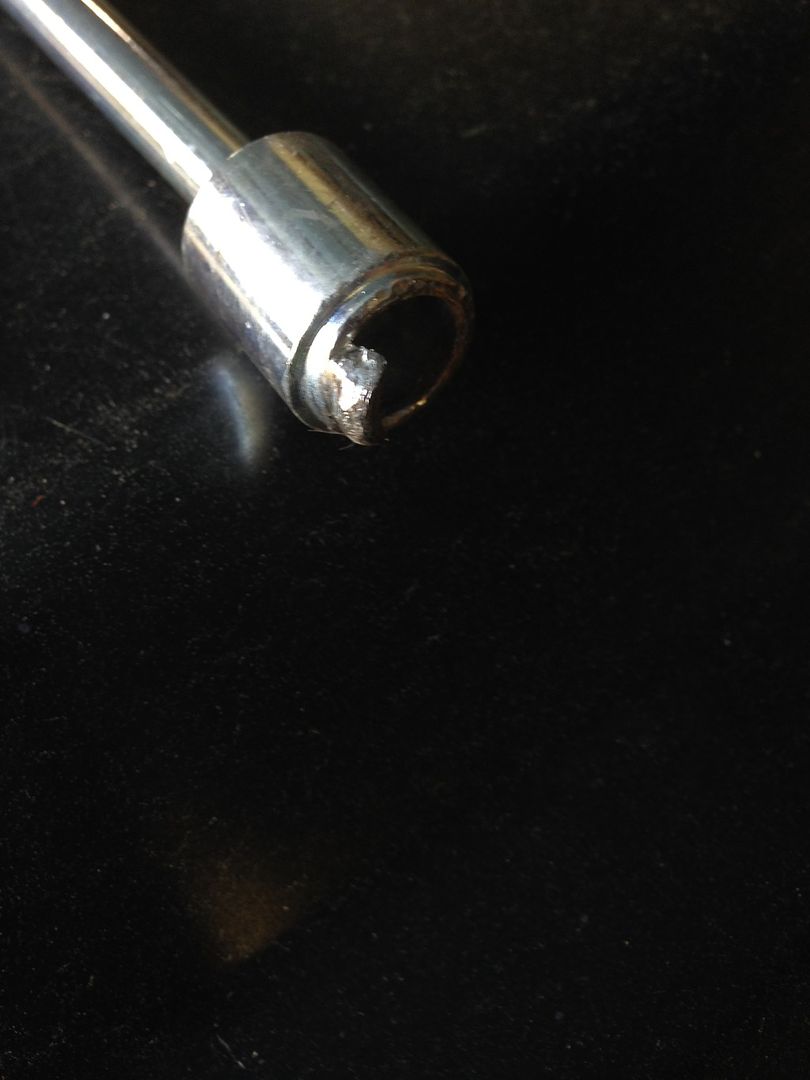
You can see it is the "Performance Tool" number W175. Unfortunately, it didn't hold up well under use this morning. After removing only 2 springs, the nub that hooks onto the spring when you rotate the tool looked like this:
So my advice is to avoid this tool. I really didn't abuse this tool. It was poorly made.
Now, it's time to turn my attention to the master cylinder and brake line installation. While I'm doing that, I'll be saving up for the internals to rebuild the front drum brakes. Basically everything that I just installed on the rear, but this time for the front.

No comments:
Post a Comment
Let me know what you think. Comments, suggestions, tips or questions. I'll try to post a response as quickly as possible.