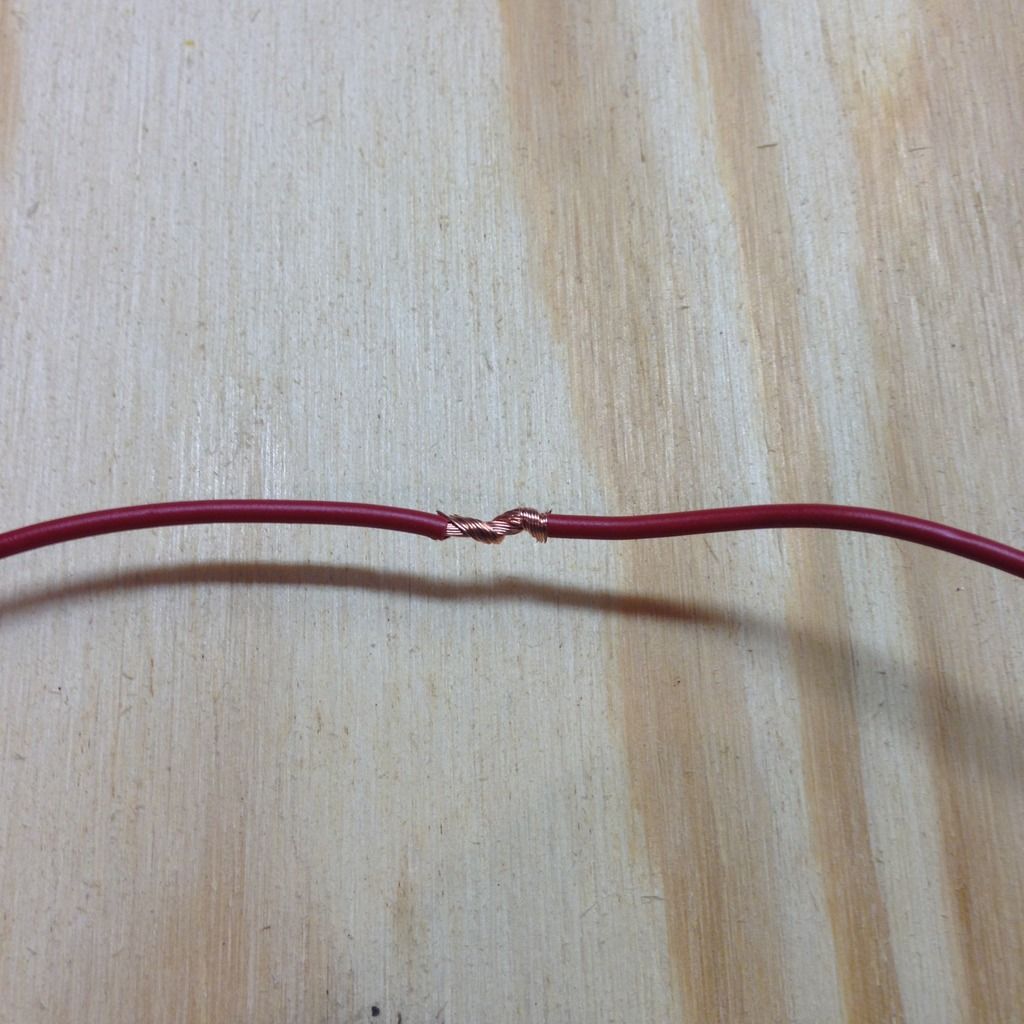
Doctor's orders keep me from physical labor this weekend, so I decided to try something light, while still moving forward on the truck. I knew that I needed to practice soldering before I start in on my new wire harness, so this was the perfect weekend to start practicing. After a little online research and talking to my friend who is an experienced solderer, I set out to practice. I took 2 equal lengths of 16G wire, stripped the ends and physically twisted them together to start an inline splice. It looked like this:
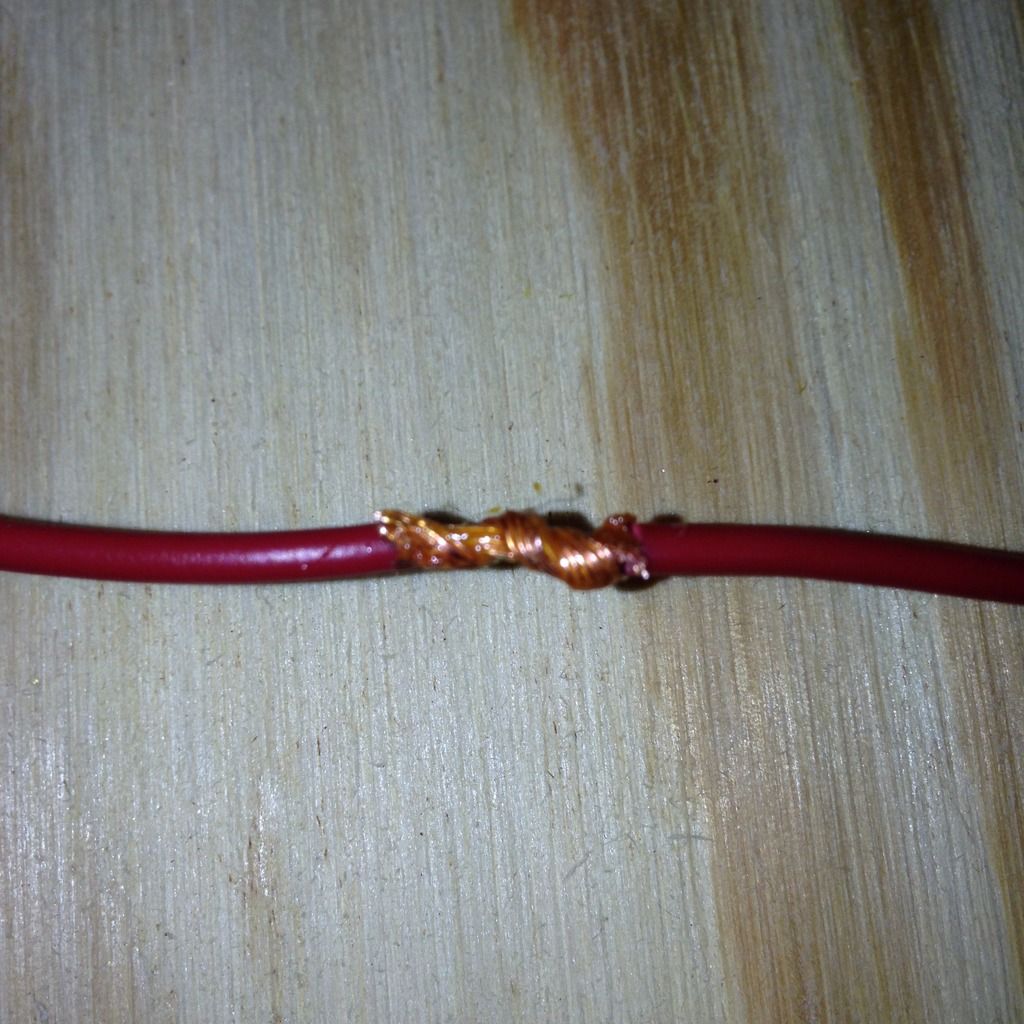
Two things I learned from this part of the practice: 1. I needed a little more stripped wire than I stripped for my practice, 2. It's harder than it looks to get a nice, neat wire twist. However, I decided to just keep going with it instead of trying to make it perfect. The next step was to coat the bare wire with flux. It looked like this:
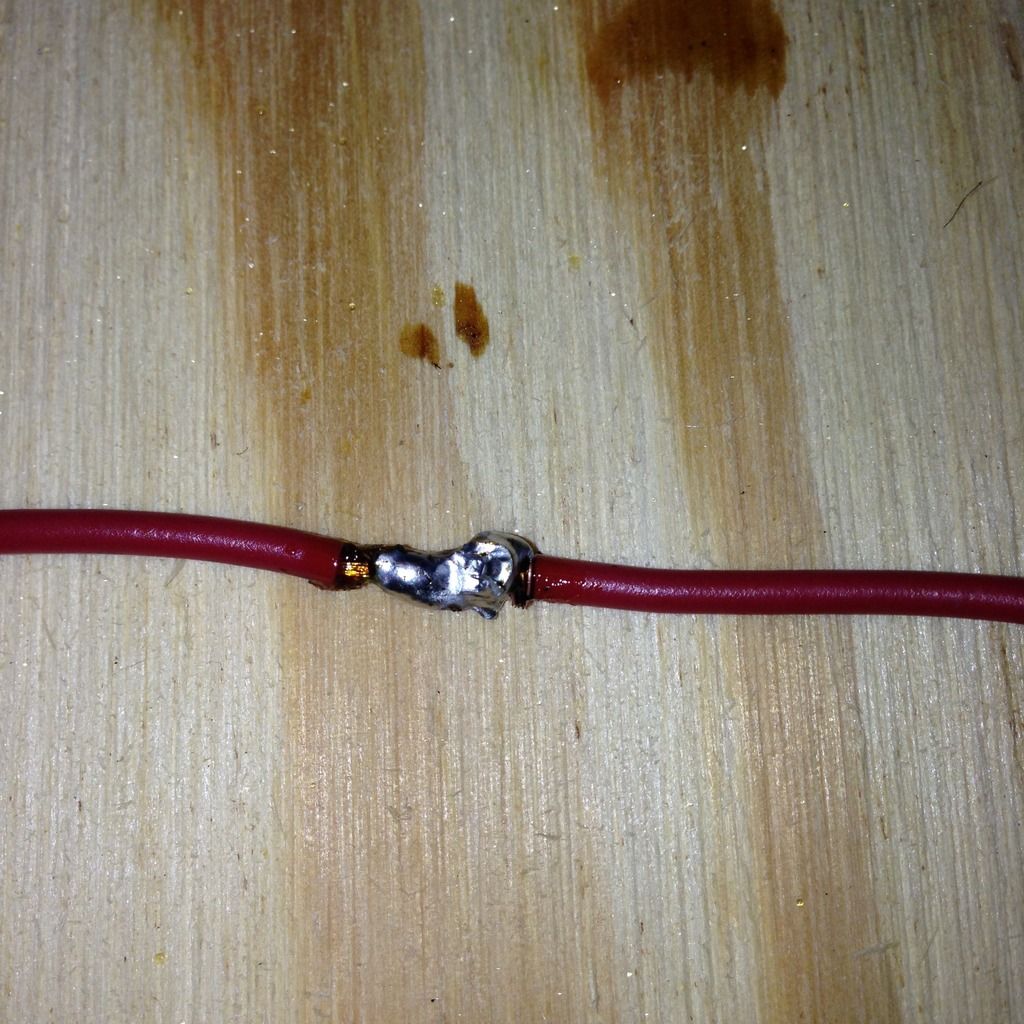
The pic is a little blurry, but you can see the flux is pretty well coating the exposed wires. Next was to actually solder the wires. It looked like this when I was done:
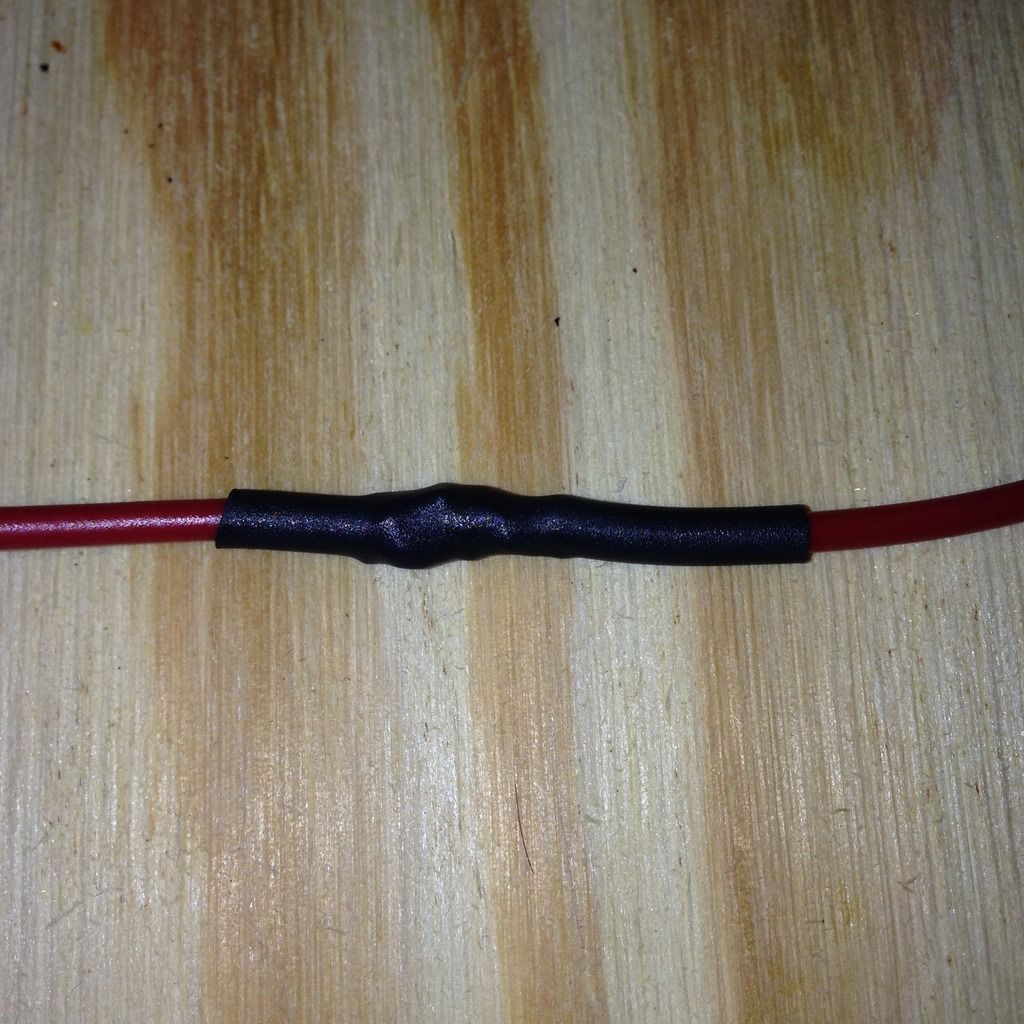
It's not pretty, but the wires are completely soldered. I am a little worried, though. I am trying to do the soldering without overheating the wire insulation. Clearly, I'm not an expert, but the insulation on the wires next to the solder joint look a little overheated to me. Plus there is some extra flux on the wire on the left side. I don't know if any of this is a problem or not. It was my first try and time will tell, which is ok, since I'm not going to be soldering on the wire harness for several months. That gives me more time to practice and get it right. Anyway, still in the spirit of keep moving forward, I got out the shrink wrap tubing. I cut a piece that covered the solder joint and the adjacent wire insulation. It looked like this before heating:
After heating:
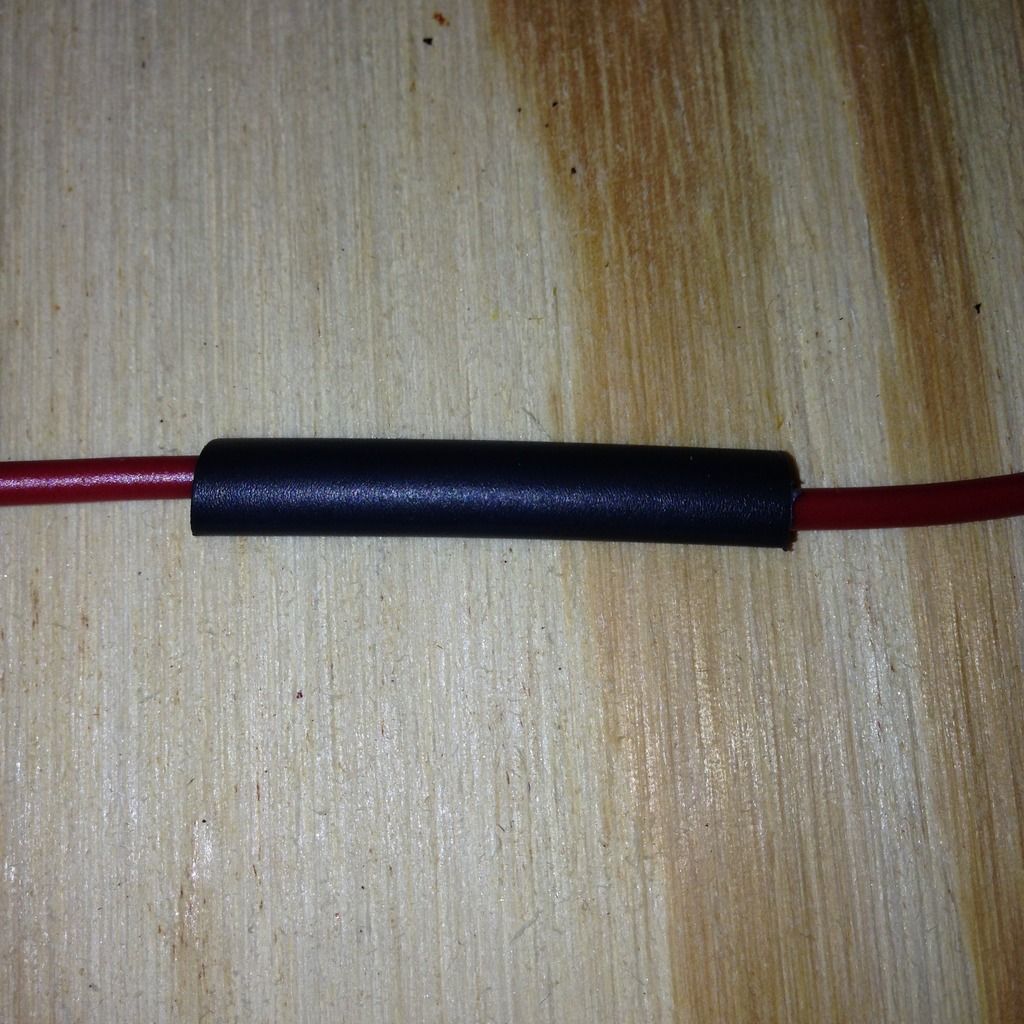
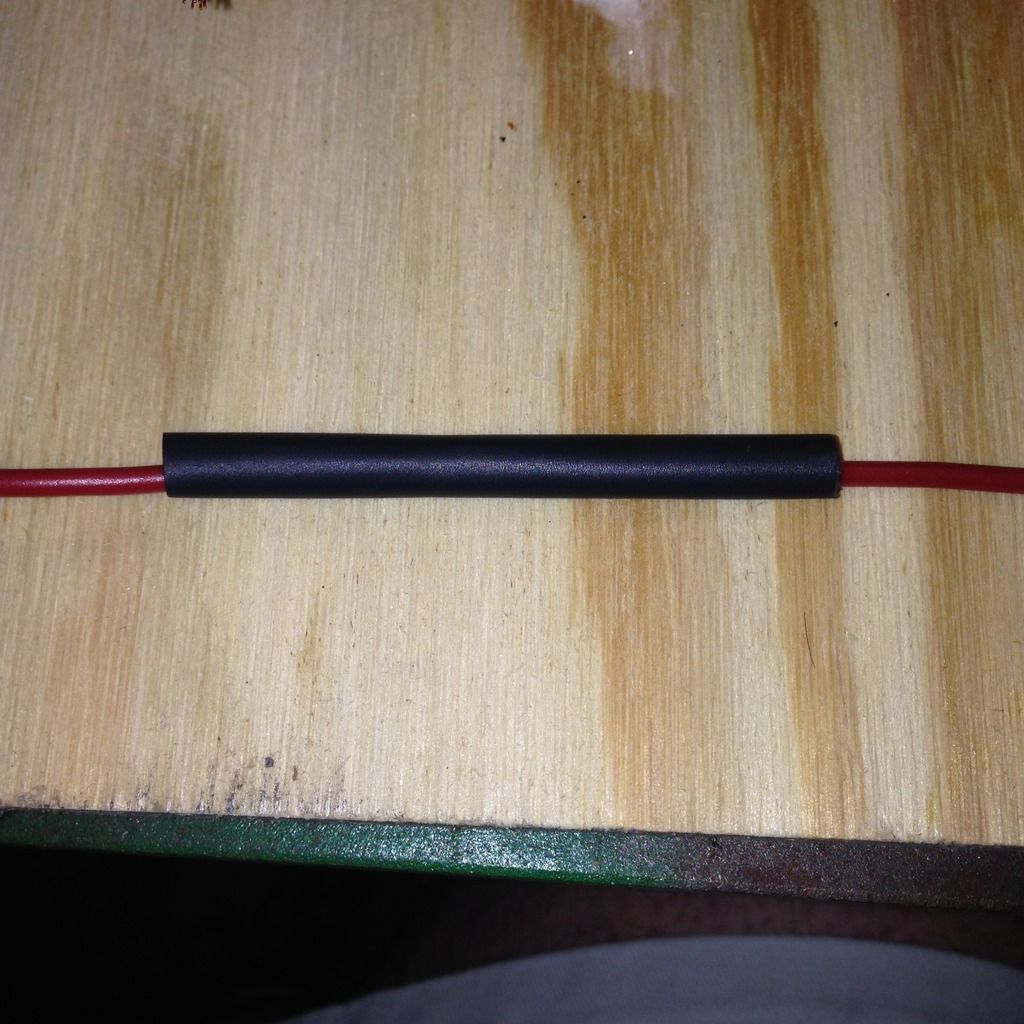
Once again, it looks a little "sweaty" to me, like it's been overheated. However, it did conform, revealing my lumpy solder joint. But it did conform! In an effort to make a water resistant splice, I put a second, longer piece of shrink wrap tubing over the first. It looked like this:
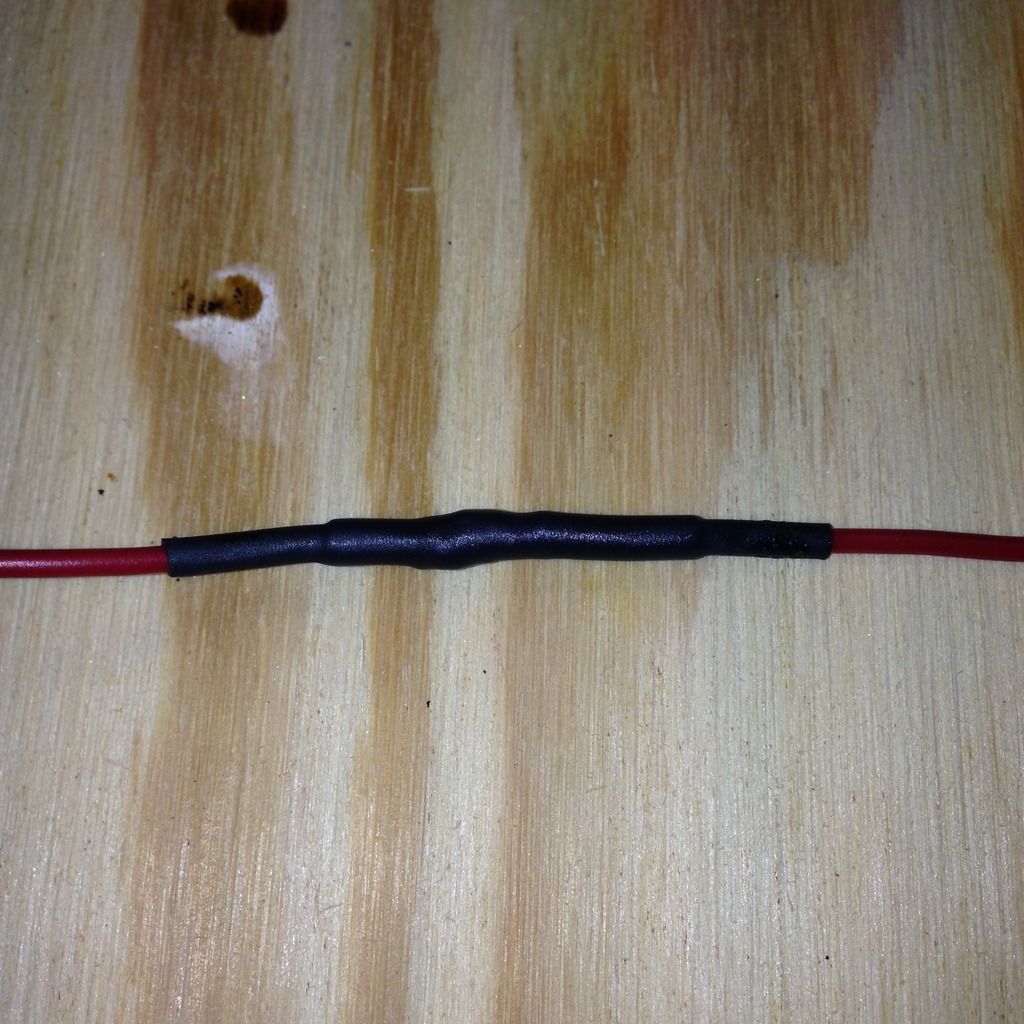
After heating, you can clearly see the underlying shrink wrap tube. It looked like this:
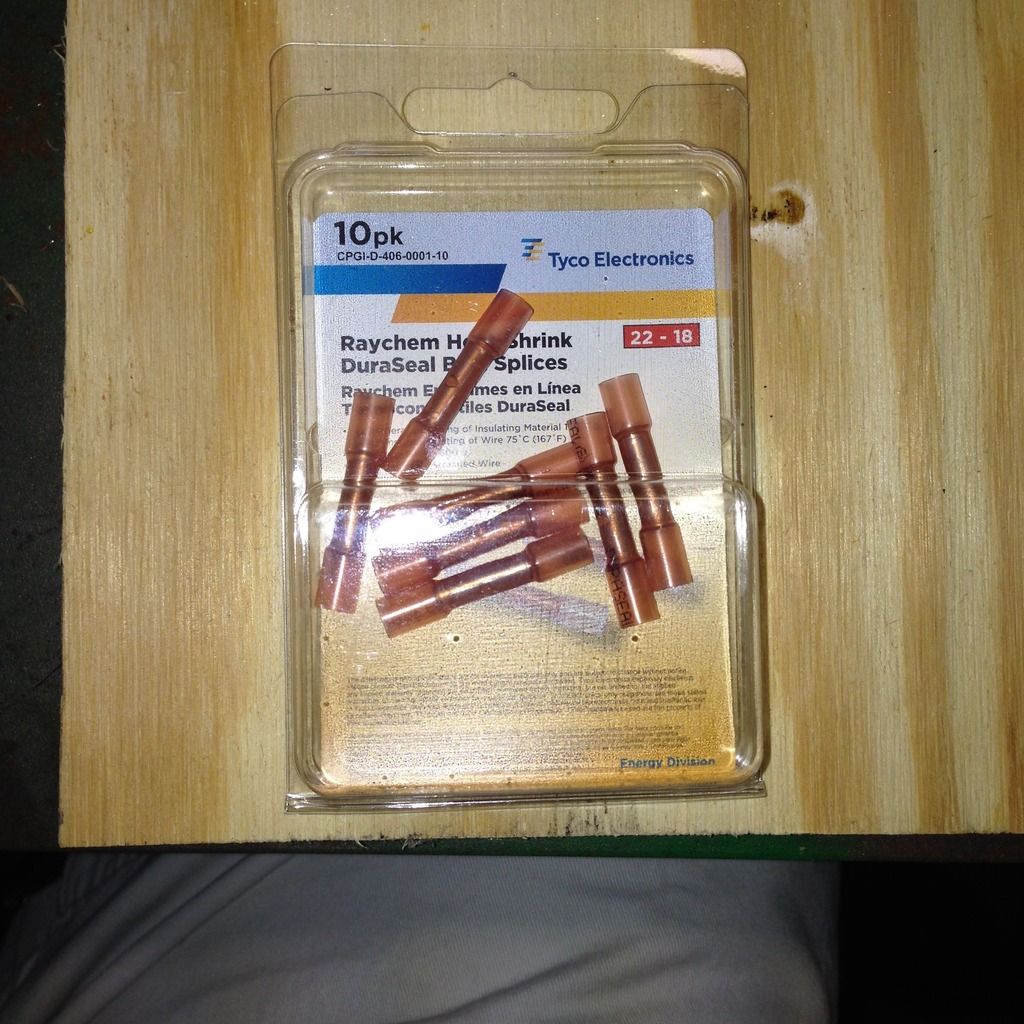
Not a bad first attempt, but clearly it could use some improvement. Just to round things out, I got out a butt splicing crimp connector to see what the difference would look like. I used these connectors:
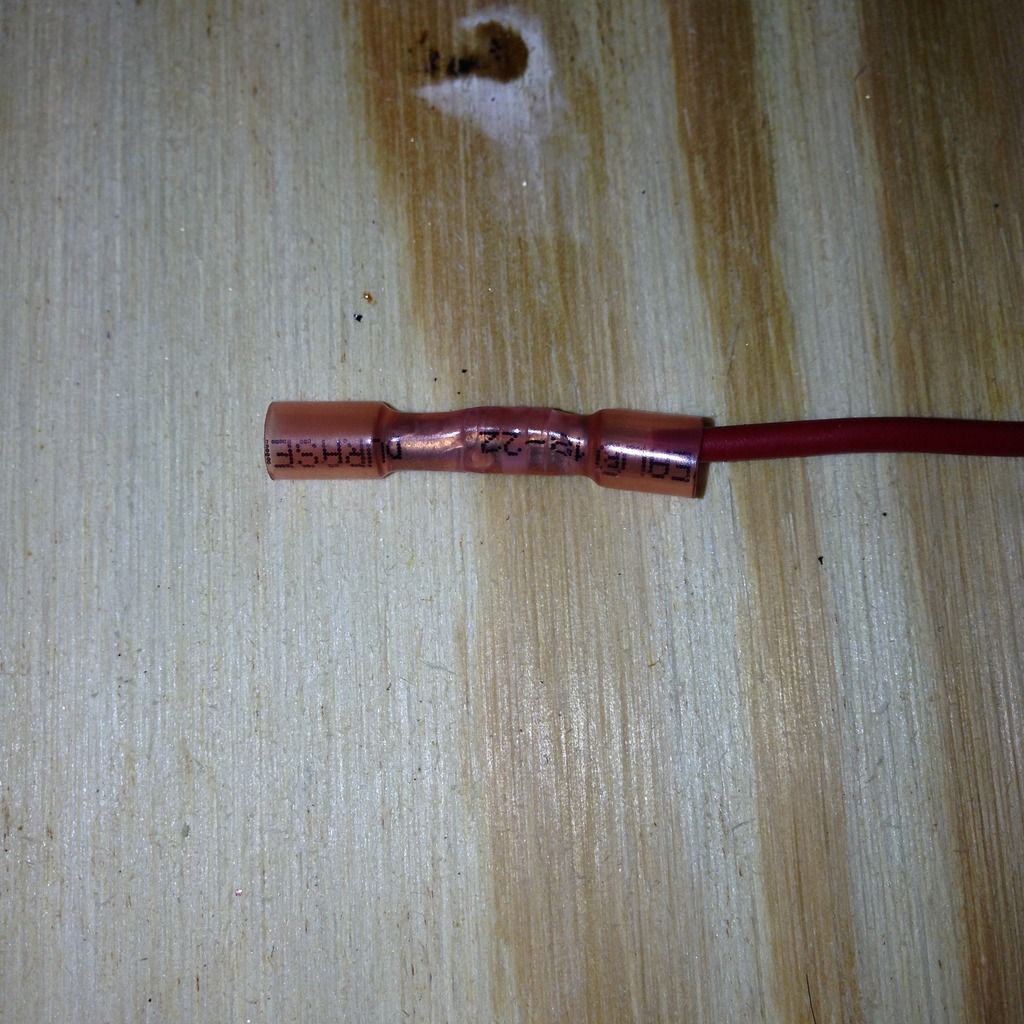
When crimped onto the wire, it looked like this:
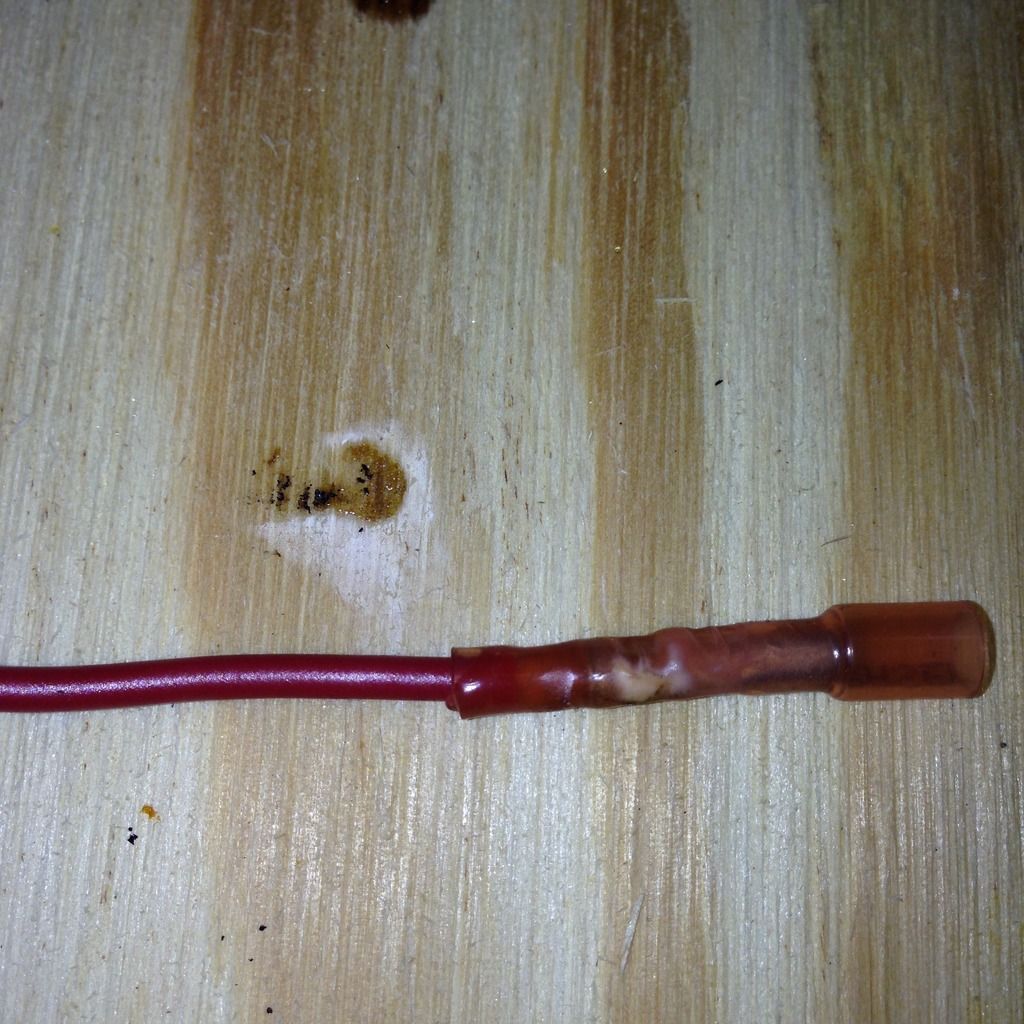
The package says that the cover is heat shrink material, so I gave that a try too. It looked like this:
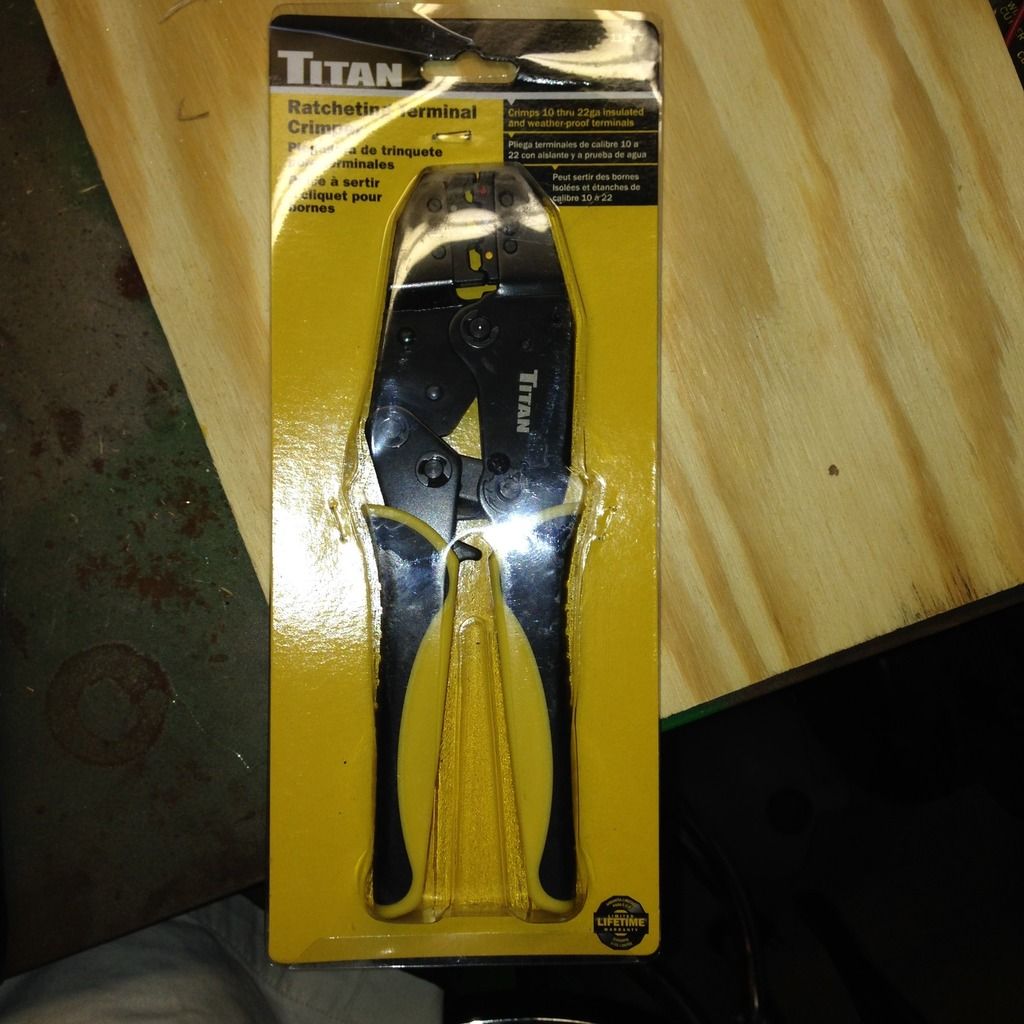
It did shrink, but looks a little "melty" to me. Also, in the first crimp pic, you can see that it was made for 18-22g wire and I jammed a 16g wire in there, so it was a tight fit, and likely not a good connection. But it's just a test.... In case you were wondering how I got that massive crimp, I used the crimping tool that I got from Speedway Motors when I ordered my wire harness. It looks like this:
Once again, I have to apologize for the rotated pics. Apparently, Photobucket is not impressed with iPhone pics. It randomly rotates pics (like the crimping tool pic) and when I manually rotate them in photobucket, they look right, but post wrong. This is also obvious in the crimp pics as they are rotated 180 degrees from each other, which is something that I did not do when I took the pics. Oh well, it's free....
That's all for now, got to rest. Yeah, right!

No comments:
Post a Comment
Let me know what you think. Comments, suggestions, tips or questions. I'll try to post a response as quickly as possible.