
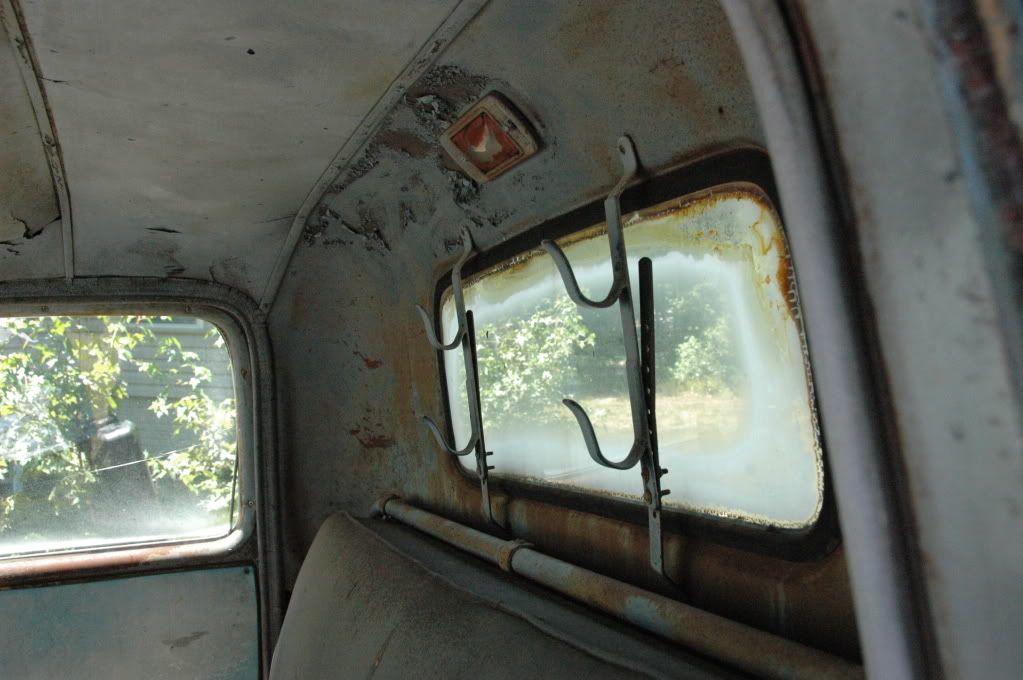
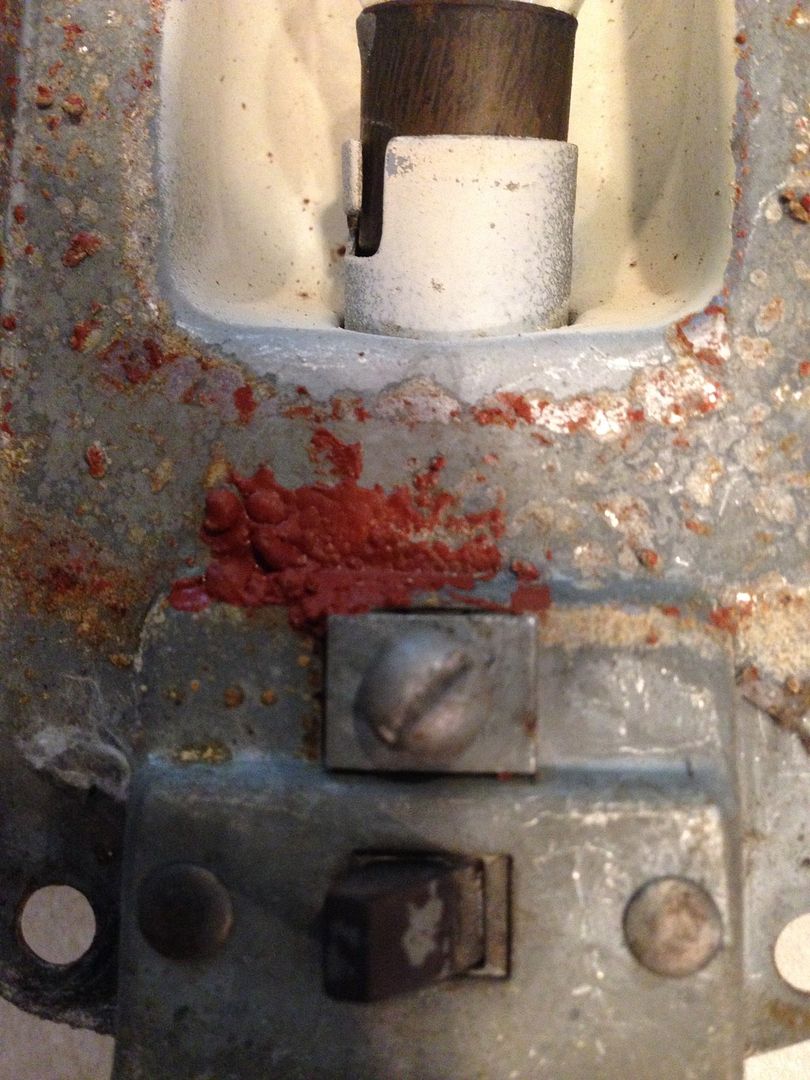
You can see the light is covered in some kind of rose colored something. When I took the light apart, the rose colored something looked like a glob of dried latex paint. It covered most of the glass lens and parts of the light housing.
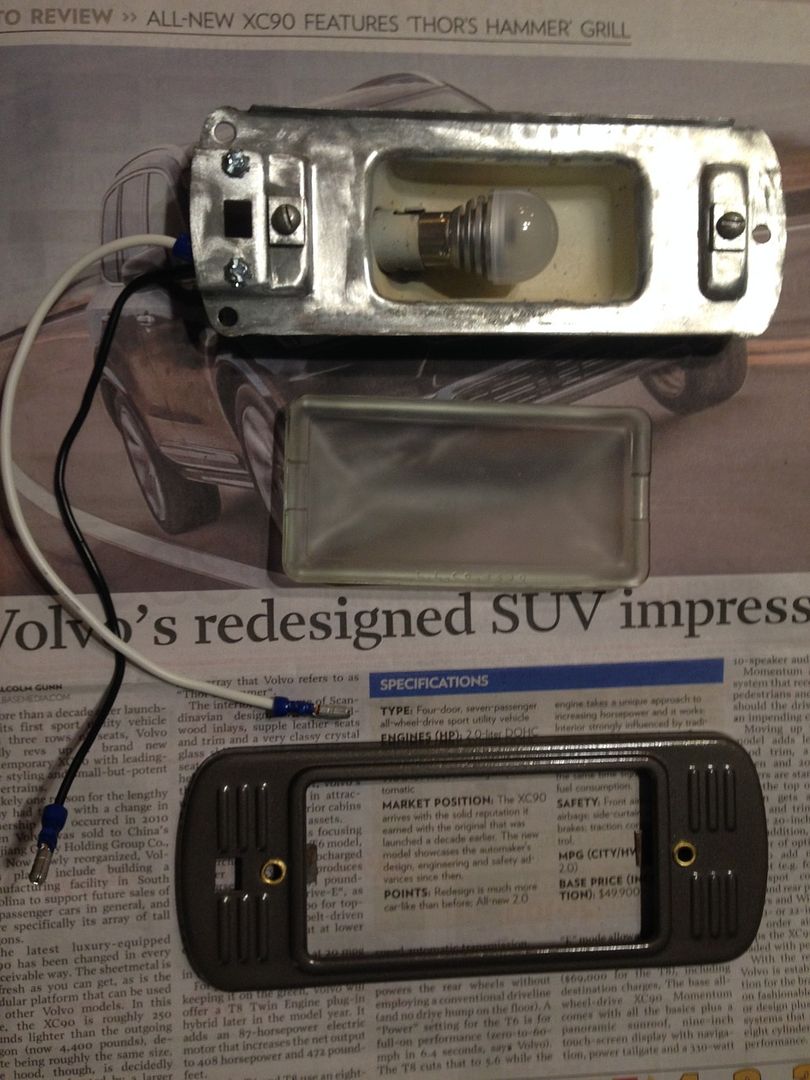
When I got the light out of the truck and apart, it looked like this:
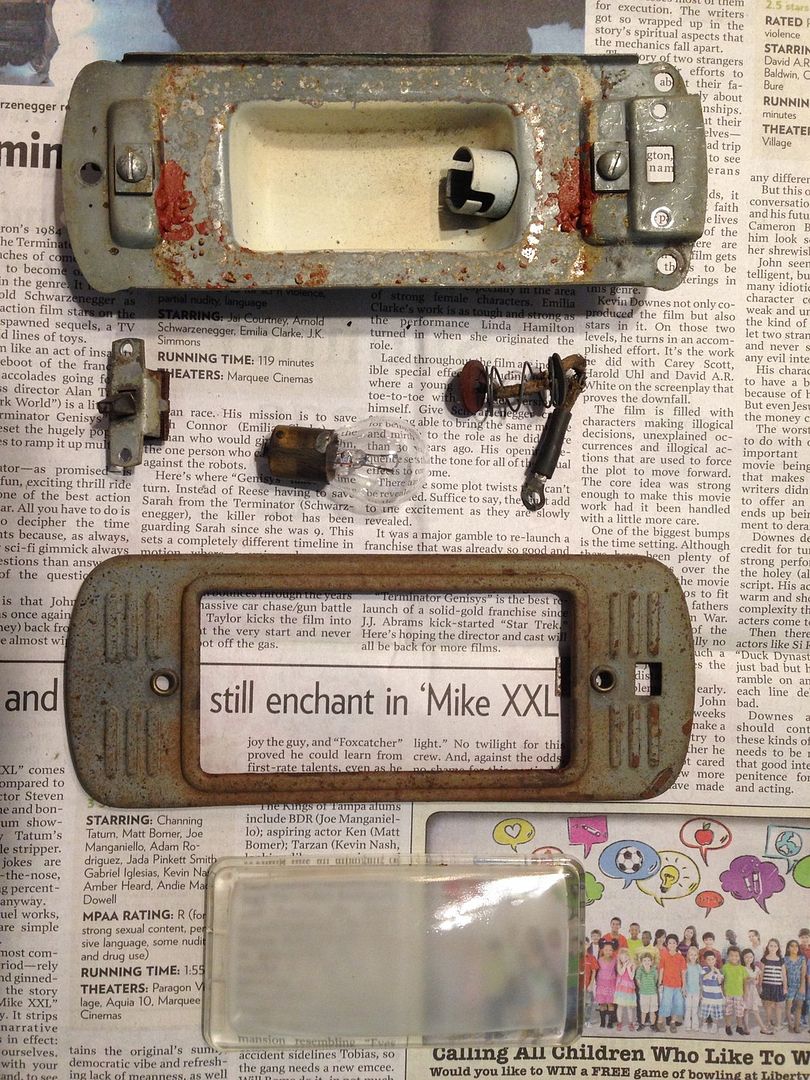
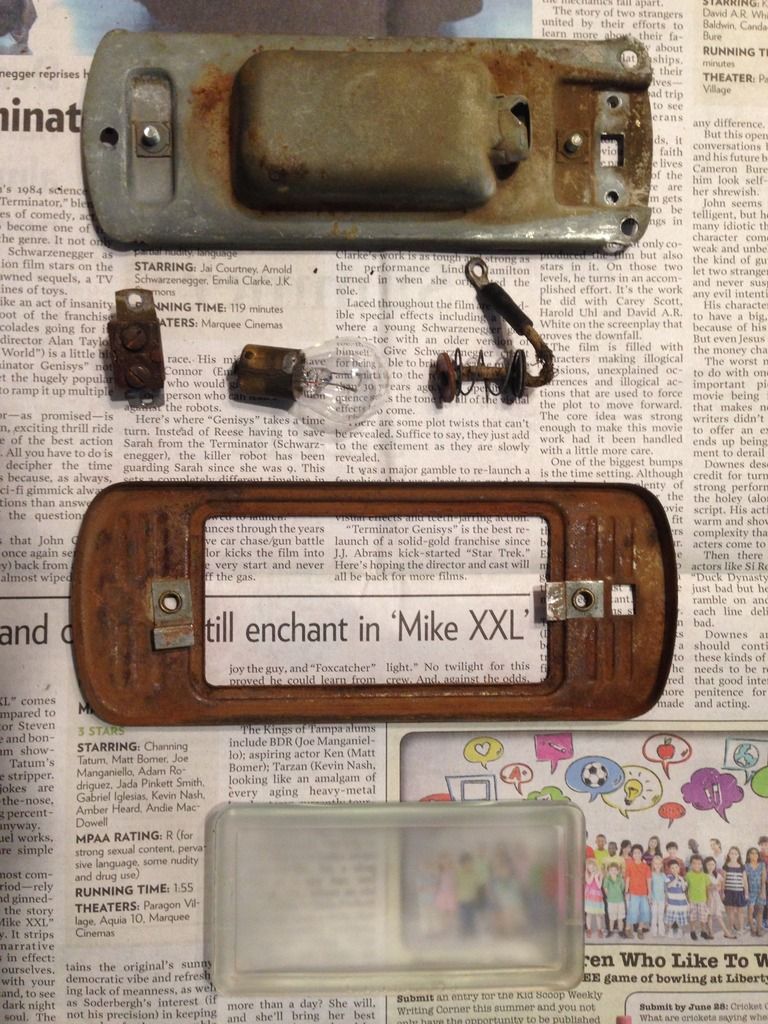
The light housing is on top. You can clearly see the rose colored material. Next are the switch, 6v bulb and socket wiring. Below that is the cover, which holds the lens. Below the cover is the glass lens. The underside of each piece looked like this:
In these photos, the glass lens had already been cleaned of the rose colored material. It was in thick globs inside of the lens. It dissolved easily in Formula 409 cleaner. It sort of dissolved in plain water.
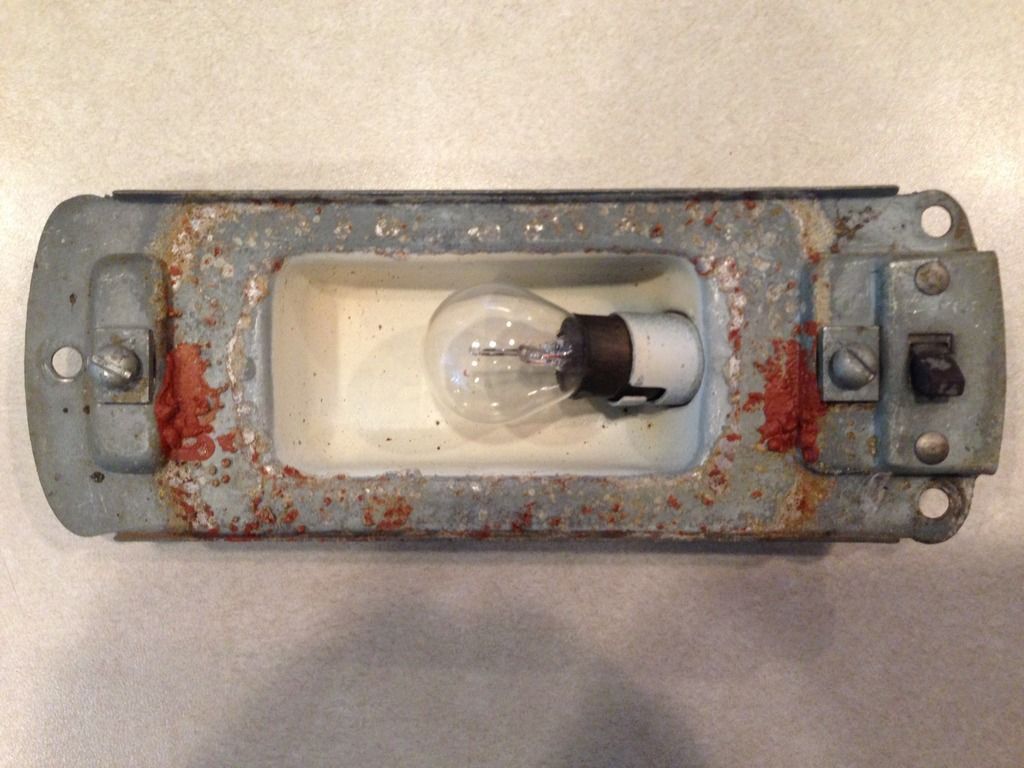
Here is a close up of the light housing:
Here is a close up of the light housing switch:
Here is a close up of the switch underside:
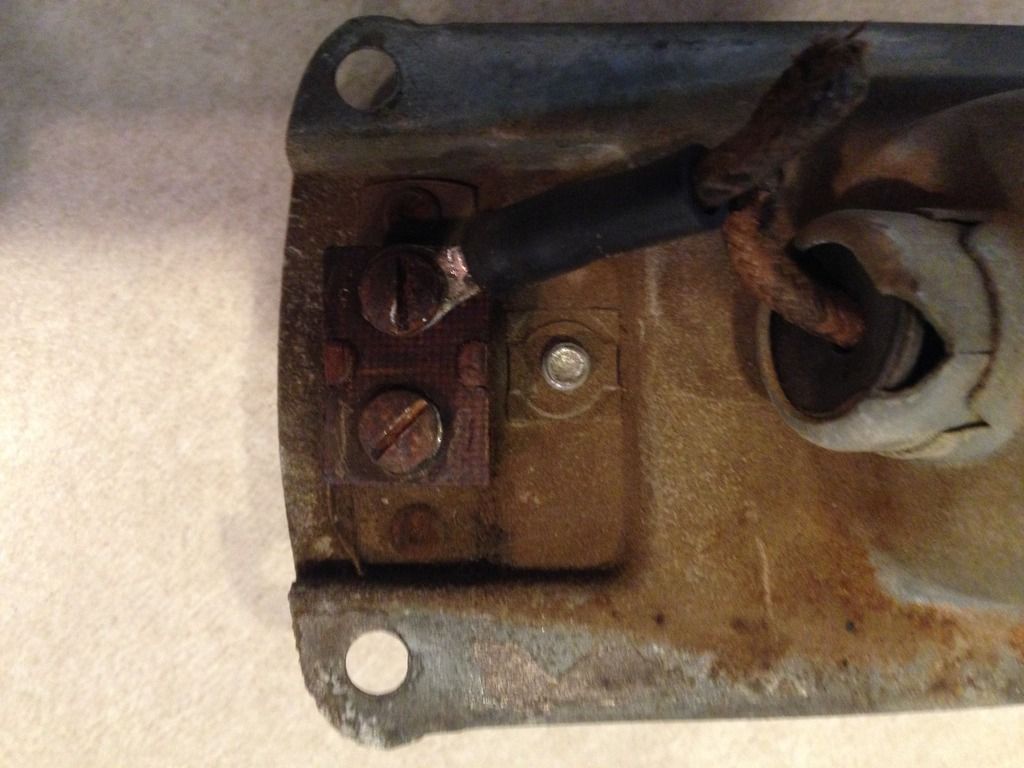
The switch is a single pole single throw (SPST) type of switch. The truck wiring brought one power lead to the switch (the terminal that is now empty). The other terminal connected to the positive side of the light bulb through the socket wire harness. Grounding was accomplished through the light housing frame and into the truck body/frame. The switch would simply connect/disconnect the power to the light bulb.
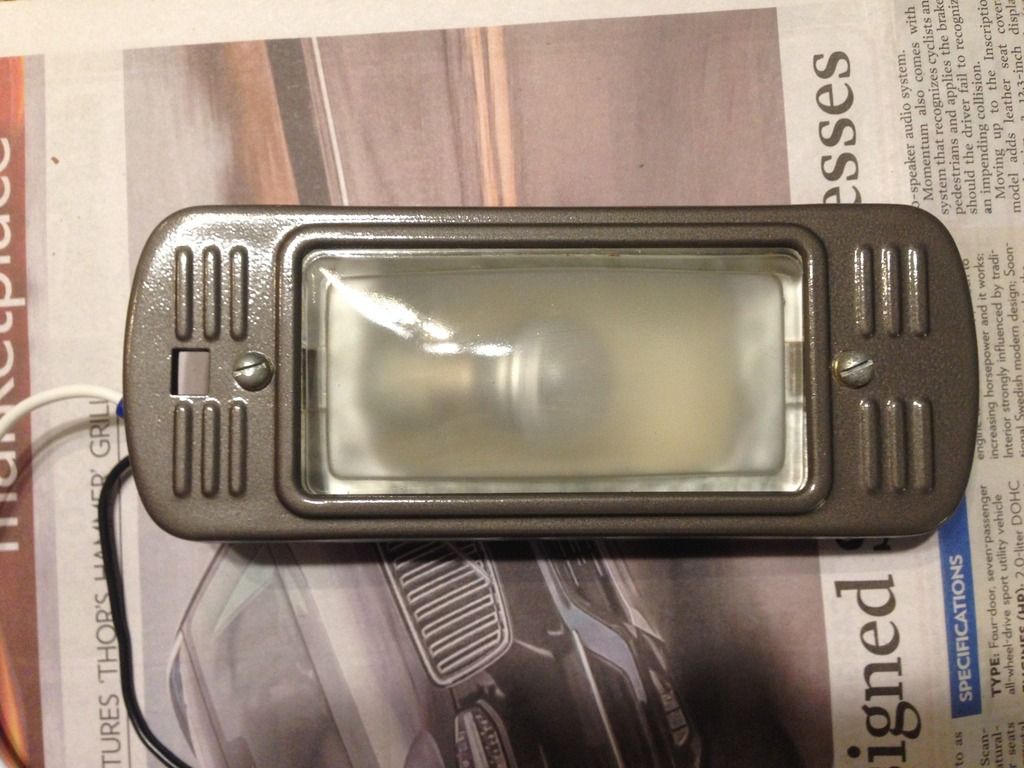
Cleaning consisted of light application of the dremel and abrasive wheel. Here are the light housing and cover after cleaning.
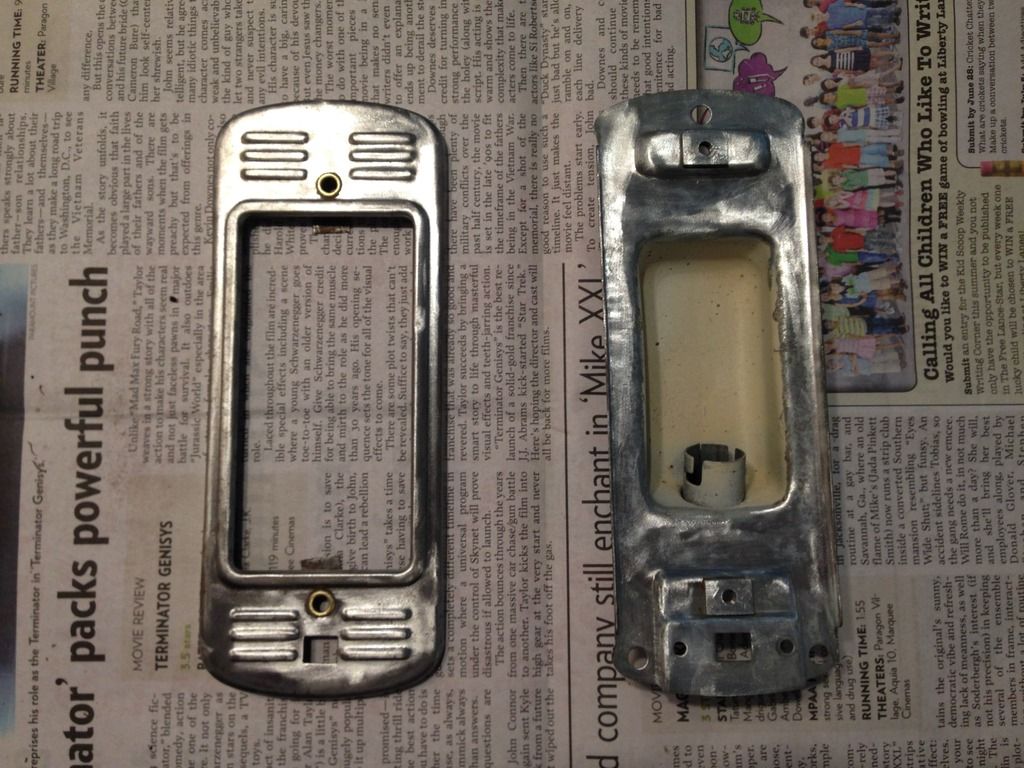
A couple of things to note that are now visible: The screw holes used for mounting the lens cover to the light housing have brass eyelets through them. I did not clean or remove the cream colored paint inside the bulb area. I'm guessing it is for reflective purposes and it was in good enough condition to just leave it alone.
Here is the underside of each after cleaning:
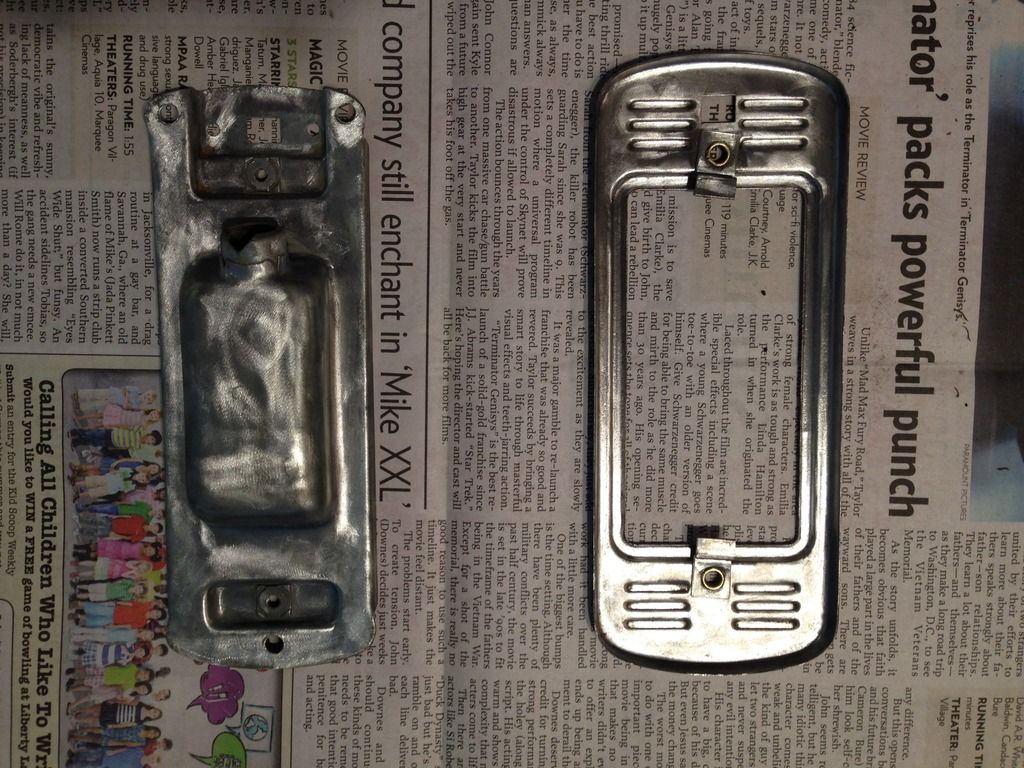
Some swirl marks are visible on the light housing, but no one will ever see them, so I just left them.
Here is a close up of the light housing. You'll notice the new socket wire harness is already installed and the bulb is inserted into the socket. The bulb is the Sylvania 1156 LED version. The original bulb was a #87, which is a 6 Volt bulb. I could have gotten a 12 Volt version (#93), but wanted to stay away from the incandescent bulbs whenever possible. The 1156 uses the same size socket (S8), but the incandescent version would have been too hot for the housing. So I found the LED version and got it at my flaps.
Here are the three restored assemblies:
You'll note that the switch was left out of the restored light housing. I originally looked for a replacement or NOS. No NOS was found and none of the mini or sub-mini SPST switches were a good fit. Then I realized that the replacement wire harness I already had bought (Speedway Motors 20 circuit harness) used the headlight switch to operate the dome light. This means that the harness sends both positive and negative leads from the headlight switch to the dome light, obviating the need for the switch at the light. I decided to leave the hole as it was and not weld it closed, in case someone down the road wanted the switch at the light. The wiring, then, is positive (black) to the light socket wire and ground (white) to the light socket housing. The cover was painted with Rustoleum Dark Bronze Hammered paint over Rustoleum Automotive Primer. I still need the internal gasket and will order it when I'm ordering other stuff. Several of the companies sell them.
Here is how it looks assembled:
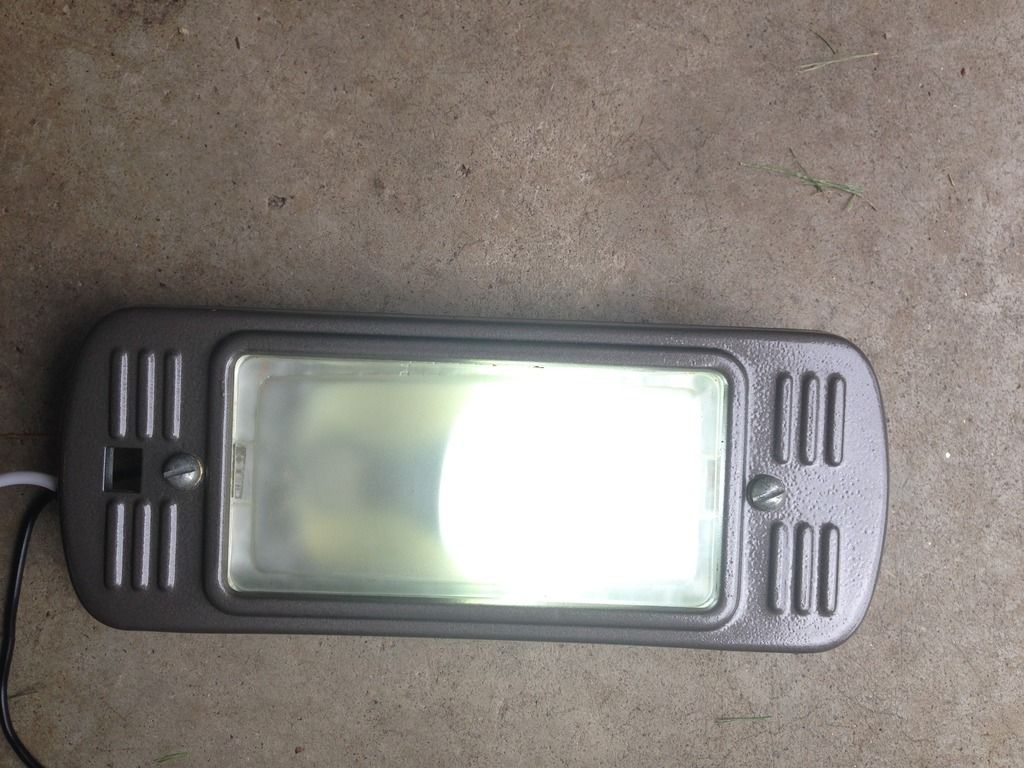
Here is how it looks attached to the battery and lit up:
So that's it, a quick little project to take a break from doing the brakes. Next weekend it will be back to the brakes. For now, the light is put away waiting for me to need it again....
No comments:
Post a Comment
Let me know what you think. Comments, suggestions, tips or questions. I'll try to post a response as quickly as possible.