Well...I started the process of bleeding the brakes and found out that it wasn't as straightforward as I had hoped that it would be. In fact, being a noob at all of this, I made some mistakes. So, here's the story so far:
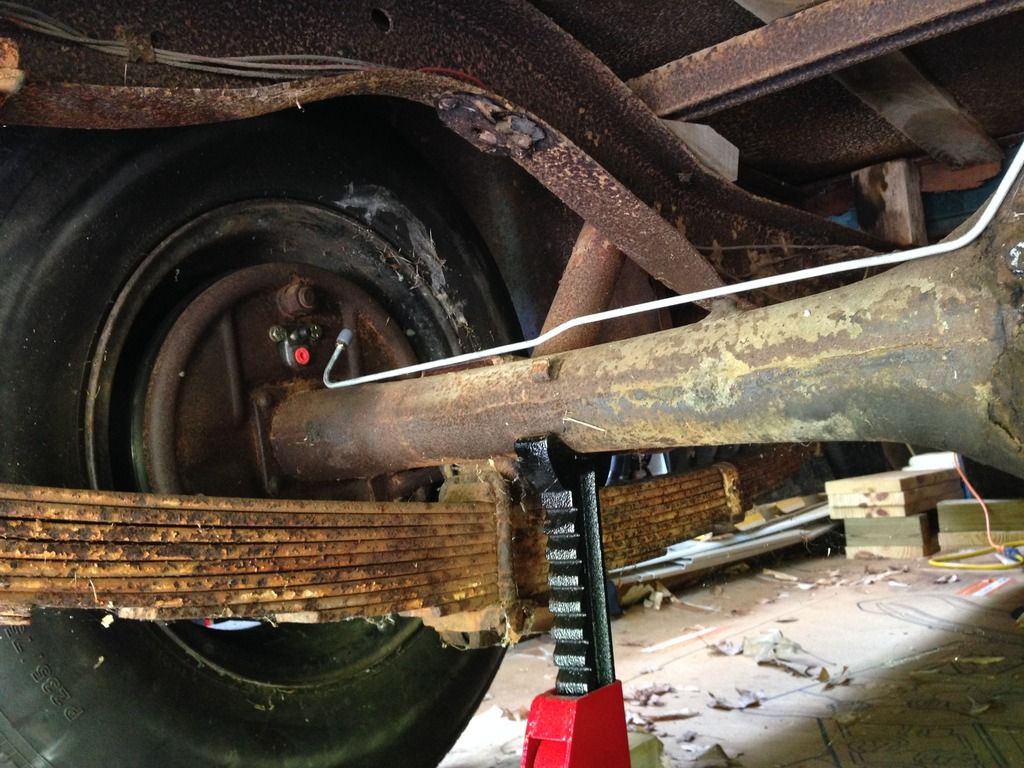
I started by filling the reservoir. Then, according to the Chevy shop manual for my truck, I should start the bleeding process on the rear driver's side wheel. So I went under the truck and loosened the brake bleeder valve and hooked a piece of clear hose to the nipple on the valve and put the other end into an old plastic bottle. Then I went to the brake pedal and worked it back and forth with my hand, pumping the brake fluid into the system. After a couple of pumps, I would refill the reservoir and pump some more. After a while, I checked the bottle to see if any fluid had reached that wheel, being the farthest from the master cylinder. If no fluid, then I repeated the process until fluid did appear. Once fluid appeared, I got my helper to sit in the truck and work the pedal for me, while I was under the truck waiting for the bubbles to stop and then I could tighten the valve and move to the next wheel. Unfortunately, I forgot to tell my helper to watch the fluid level in the master cylinder and we pumped it dry, forcing air back into the brake lines and ruining our earlier effort. Time for a break.
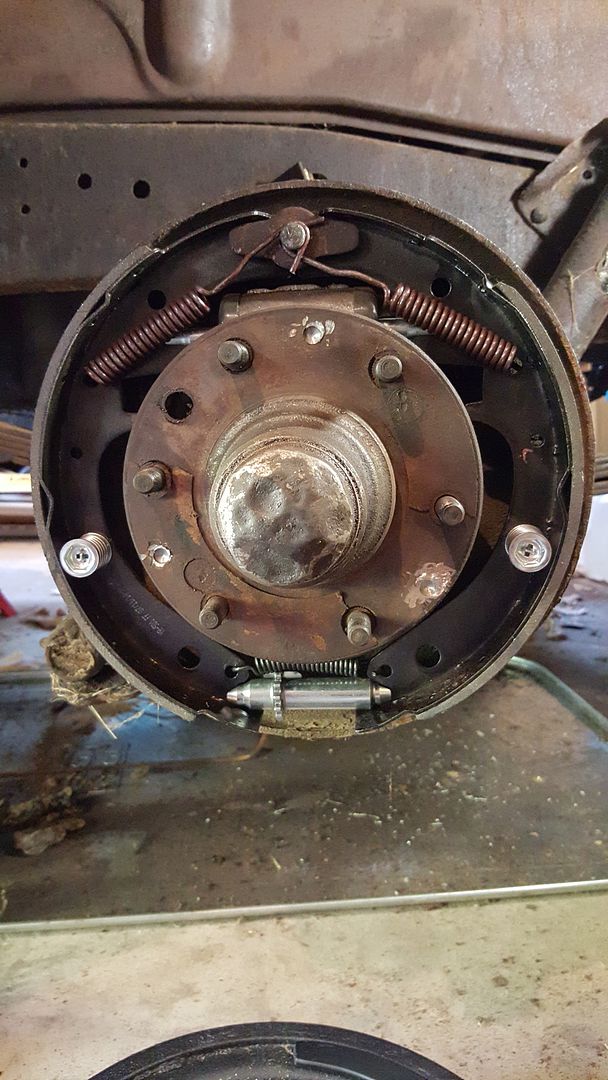
After thinking about it for a while, I decided to get a "one man" brake bleeder tool. Basically, you attach it to the brake bleeder valve, open it slightly and then squeeze the handle on the tool and it draws a vacuum and sucks the air and fluid out of the line. Similarly, once the bubbles are gone, you tighten the valve and move on. However, I never could seem to get a tight fit with the adapter that hooks onto the valve. So I decided to go onto my truck forum and ask about the whole brake bleeding process. Once I had posted my question, I got some disappointing feedback. Unbeknownst to me, I had omitted an entire step in the brake rebuild process. According to the forum members and then backed up in the shop manual, I was supposed to adjust the new brake shoes prior to bleeding the system. That meant a whole new set of steps before I can go back to bleeding. Those steps included loosening the anchor pin nut on the back of the backer plate. The nut can be seen in this picture. It is the very large, rusty nut above the new wheel cylinder.
The nut is 15/16" and is supposed to be torqued at 60-80 ft-lbs when done. Add to that rust and dirt and 60 years and that thing was on tight. I soaked all 4 of these nuts with AeroKroil and let them sit for a full day. Then I came back with a breaker bar and a 3 foot long pipe as an extender. Between the breaker bar and the extender, I had enough leverage to break all 4 nuts free. After that, you are supposed to adjust the star wheel through the slot in the backer plate.
This pic shows the anchor pin at the top. It's where the brake shoe return springs attach. It also shows the brake shoe adjuster with the star wheel. The backer plate has a slot cut into it, so that you can adjust the brake shoes without having to take the drum off.
Anyway, you are supposed to adjust the brake shoes by rotating the star wheel until "heavy drag" is felt when rotating the wheel. Once you have heavy drag (and the anchor pin nut is loosened, but not too loose) you are supposed to tap on the backer plate and nut and then check to see if the drag changed any. If it did, then you rotate the star wheel some more, tap some more and check the drag some more. Once you go through the process and the drag does not change between pre taps and post taps, you know the brake shoes are centered within the brake drum. Then you tighten the anchor pin nut to the proper torque. Then you rotate the star wheel in the opposite direction by the specified number of clicks. This moves the brake shoes away from the brake drum and removes the heavy drag. Then you can put the cover back into the slot and move onto the next wheel. Once all of the wheels are done, then you can bleed the brakes.
I got as far as the last adjustment on the star wheel on the first wheel. I had been rotating the star wheel with a screwdriver. It worked ok on tightening the star wheel but was completely inadequate for loosening it. So, I had to stop the adjustment and go to the FLAPS for the special tool (ie, a heavy duty bent screwdriver). And that's where I'm at currently. Waiting for some time to go out and make that last adjustment and move on to the other wheels. Then I can start bleeding the brakes again. In the interim, I've learned that it takes a whole lot more brake fluid to clear out a brand new set of lines than I had originally though. So I'll also stock up on that. Hopefully this weekend I'll get some of it done. One thing is for sure, it is a learning process!


No comments:
Post a Comment
Let me know what you think. Comments, suggestions, tips or questions. I'll try to post a response as quickly as possible.