
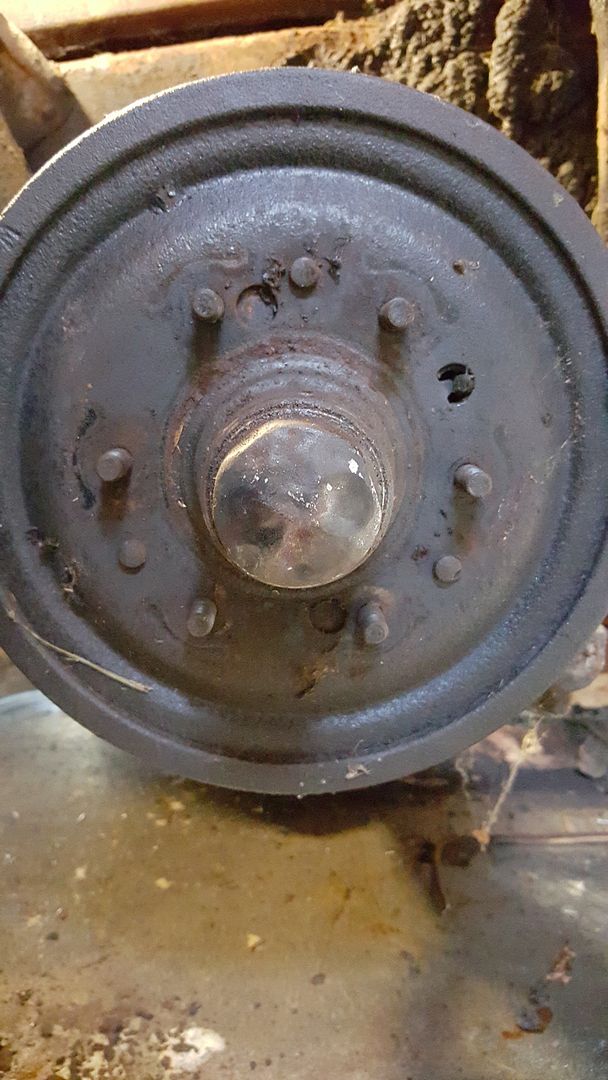
You can clearly see the evenly spaced 6 wheel lugs and in between the lugs you can see the 3 rivets. Here is a closeup after grinding the heads off and drilling out the rivets:
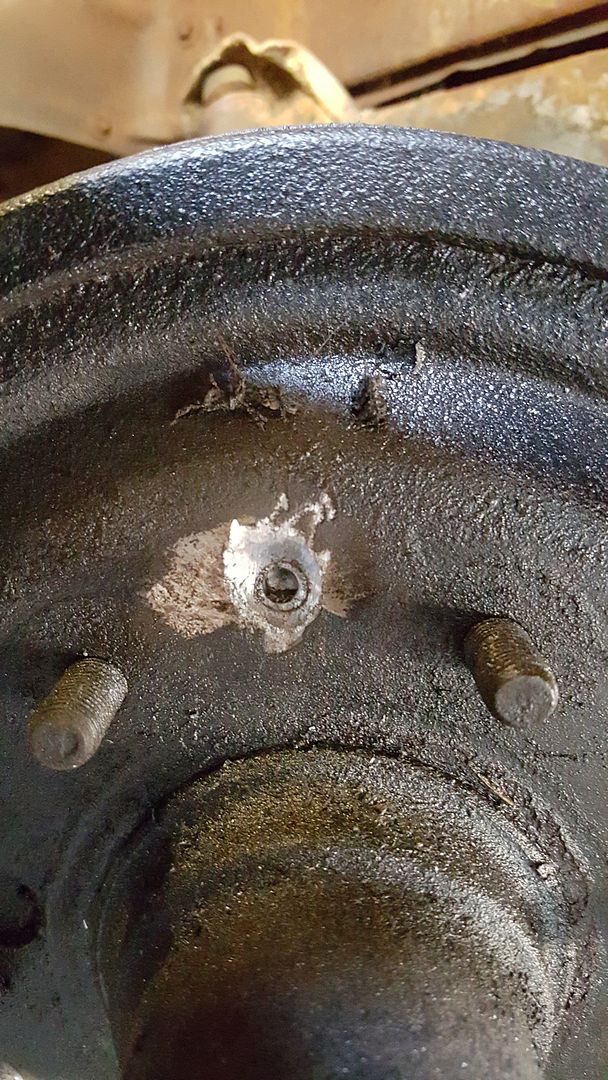
Another thing that is interesting in that pic is that you can see a ring around the drilled out hole. That ring is the actual rivet in the brake drum hole. What makes it interesting is that ring shows because the Aerokroil (penetrating oil) that I had been spraying into the lugs and the other holes in the drum had crept around the back side of the drum and found its way to the rivets and had enough room to creep between the rivet and the drum. That stuff is about the best penetrating oil around.
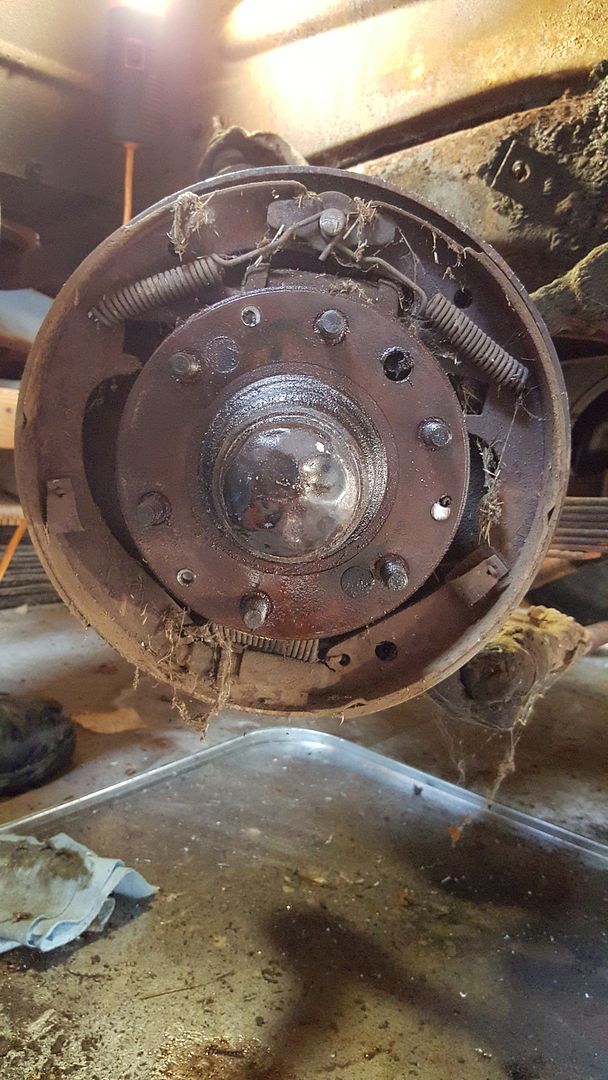
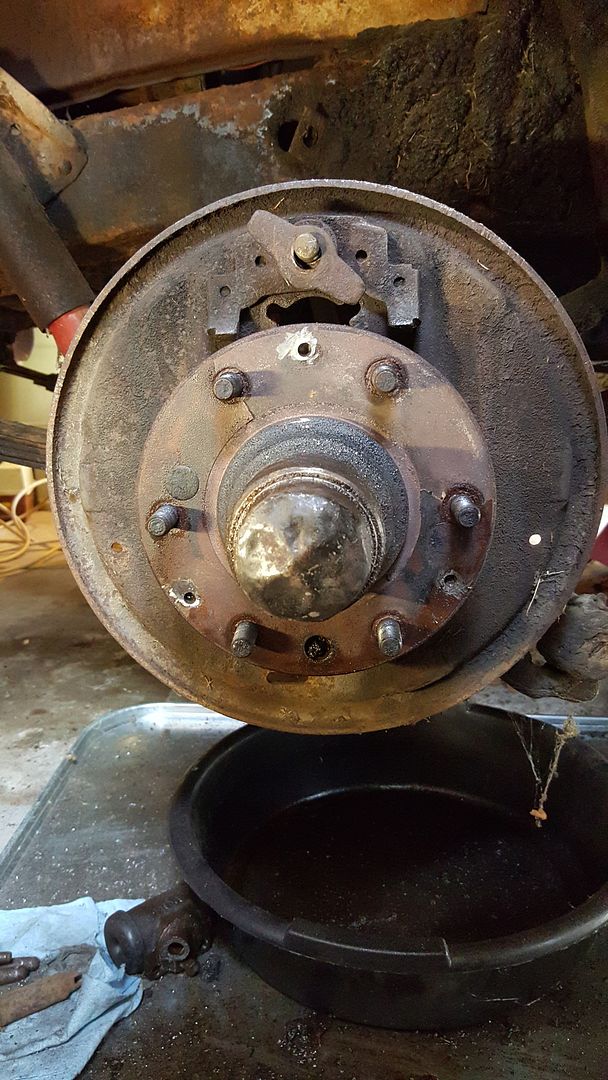
Once I got to that stage, I knew it was only a matter of time before the drum was off. Once it was off, it looked like this:
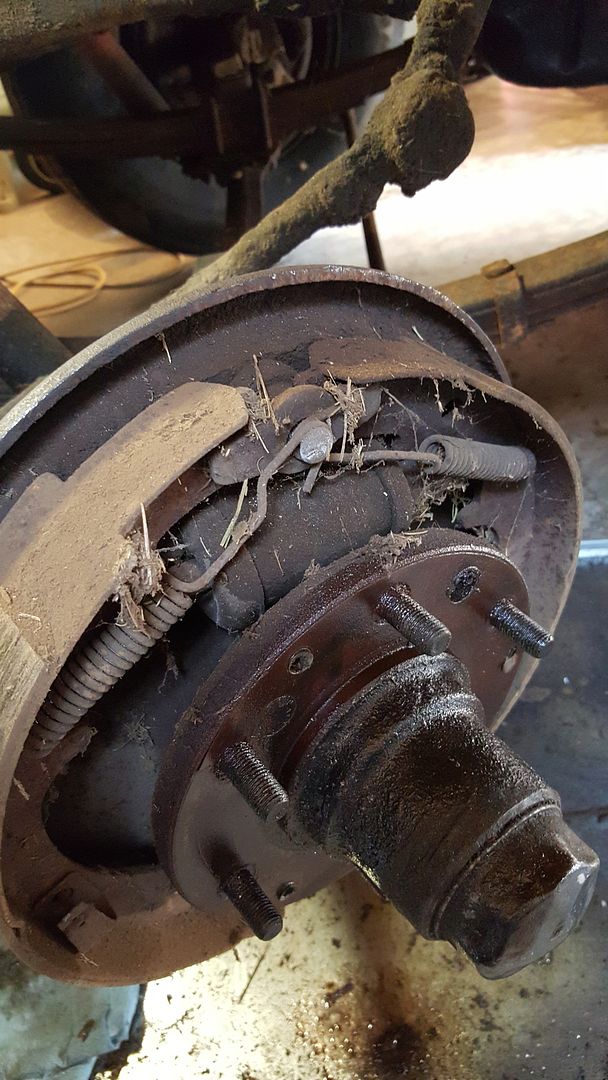
Which is about the same as the right front. Here's a shot from a different angle:
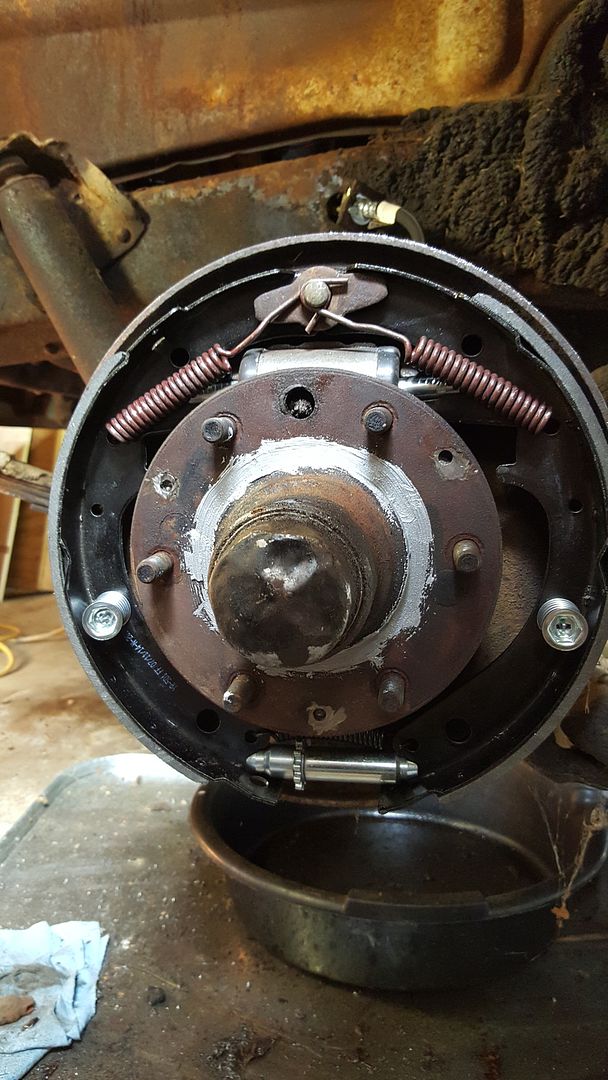
Here it is after being cleaned:
What I've learned through this rebuild, is that there is a specific process that you need to follow. So once everything was off and clean, it was time to rebuild. The steps are:
1. Remove bleed valve from wheel cylinder
2. Insert wheel cylinder into backing plate and attach with screws and lock washers
3. Reattach bleed valve
4. Attach soft brake hose and copper washer to wheel cylinder
5. Attach soft brake hose to brake hard line
6. Attach brake hose clip to bracket on frame.
In my case, since I wasn't reusing the hard line, I had an extra step between steps 4 and 5. That step was to remove the old hard line and route/attach the new hard line from the master cylinder to the point in the frame where the bracket is. As usual, this was much harder than it should have been. The routing from the master cylinder was very tight and required several attempts before I figured out exactly where it had to go. The route takes it past the master cylinder, around the brake pedal attach point and past the gear shift linkages on the side of the transmission. In reality, there is only one way it can go. It just took me a while to figure out what that way was. Once all of the steps were done, it looked like this:
When I was assembling this wheel, I realized that I forgot to add the anti-sieze around the wheel hub on the right wheel that I did yesterday. Probably not a big deal, as I doubt that this brake drum will sit on that hub for 60 years without being removed like the last one did! Nevertheless, I did add it to this wheel hub.
So that's it for the wheel rebuilds. Next up is for me to tighten each connection to the proper tightness. Then I can fill the system with brake fluid and bleed the system. In theory, at that point, I should be able to use the brakes to stop the truck!
One thing that I realized after spending so much time under the truck, is that I can not get away without an emergency brake rebuild. So, sadly, that will mean tearing up the rear brakes again, when I get the parts for the e-brake. That will be on another day, though.
That's all for now. I'll update this when I've got fluid in the system....
No comments:
Post a Comment
Let me know what you think. Comments, suggestions, tips or questions. I'll try to post a response as quickly as possible.